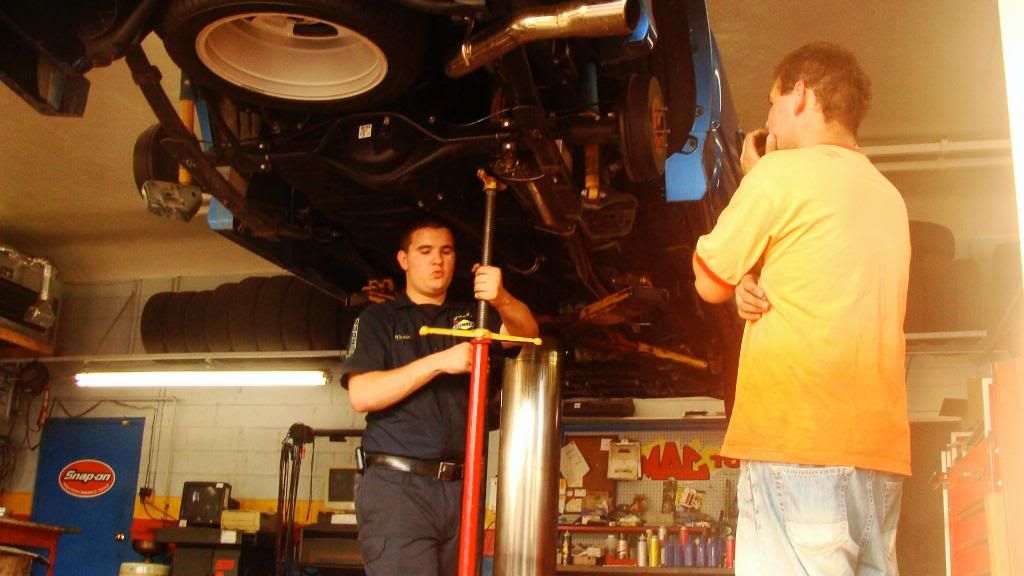
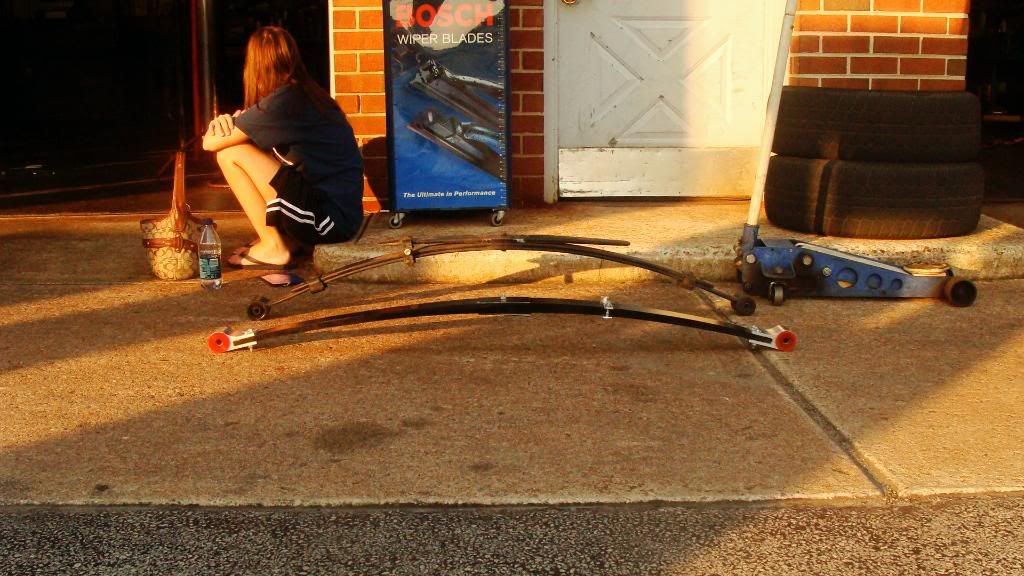
Whats up guys? alright i installed the composite leaf springs this weekend. a lift and air tools and a high stand would make this job save your back and you tons of time on the install. out of a scale of 1-10 id say a 6.
here are the composite leafs the literally weigh 10 pounds each :rockon:
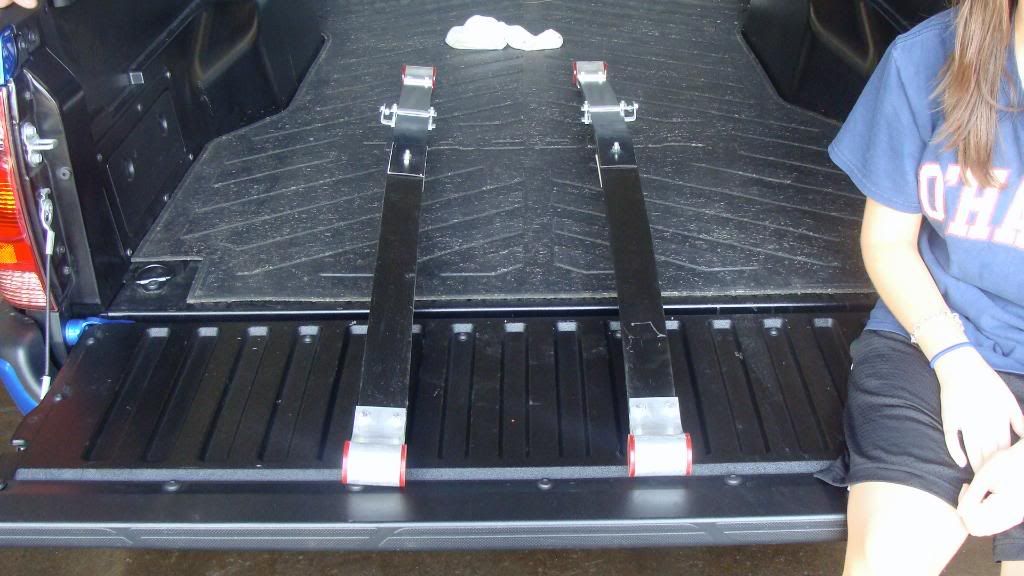
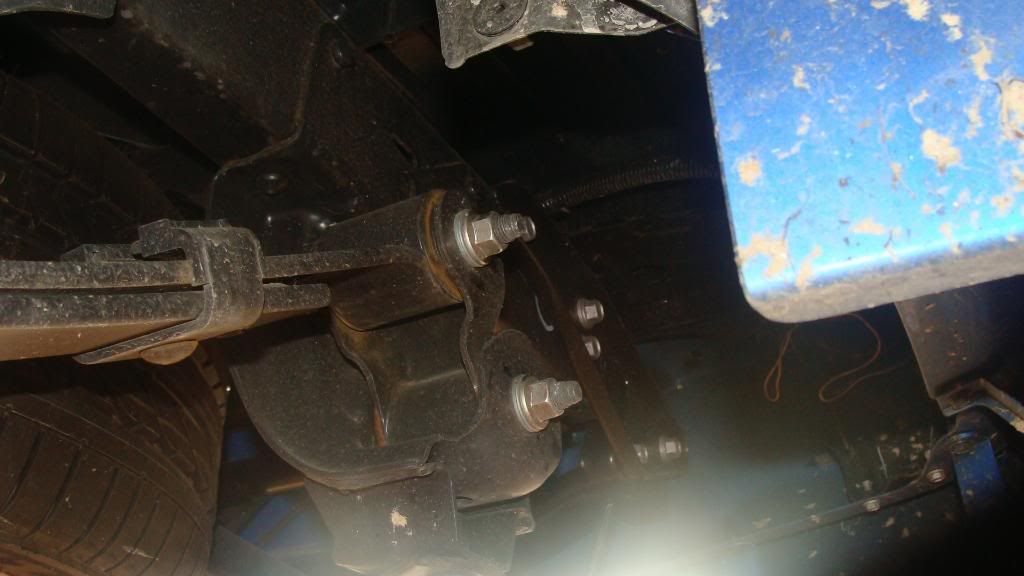
polyurethane bushings :biggrin:
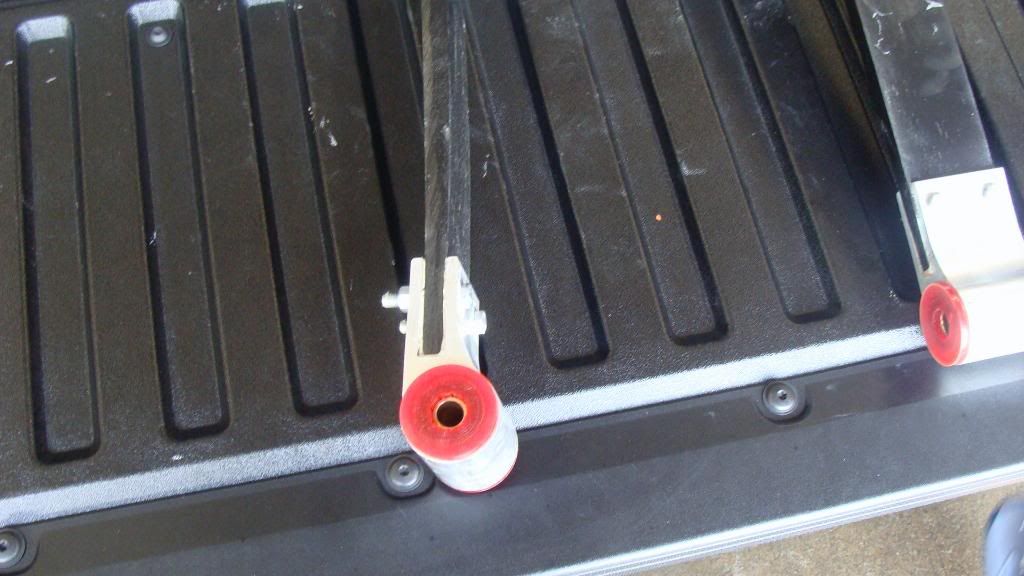
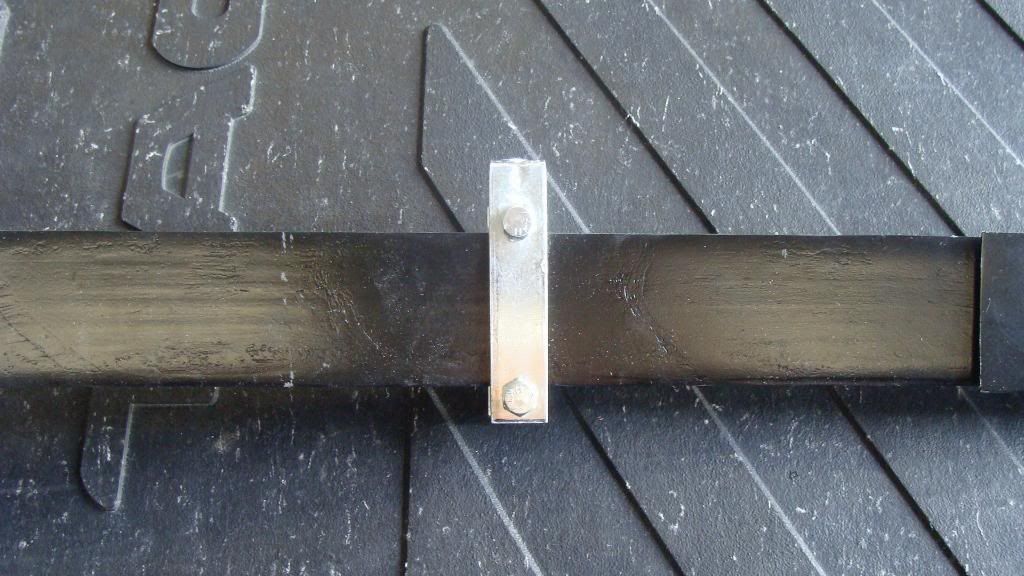
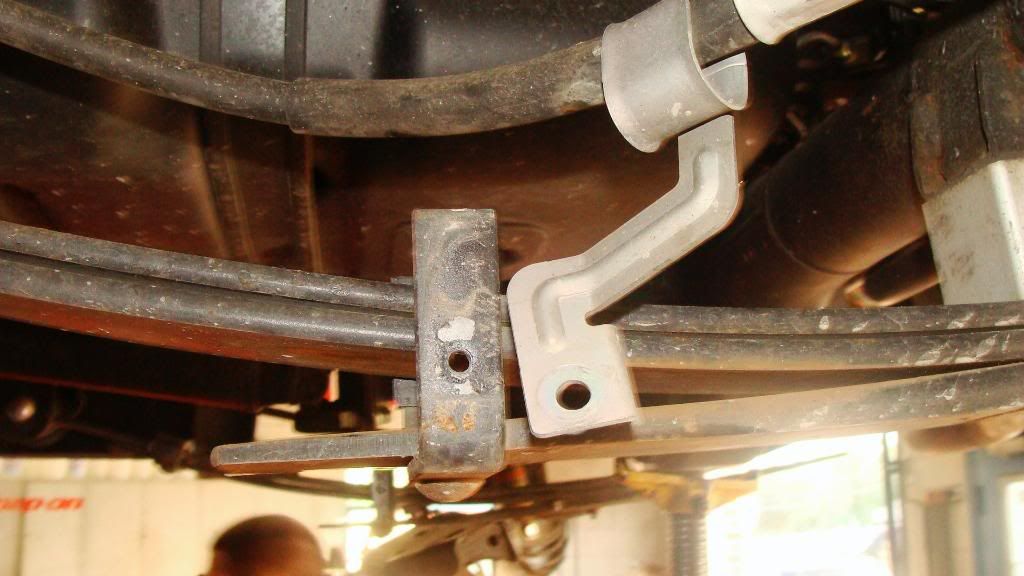
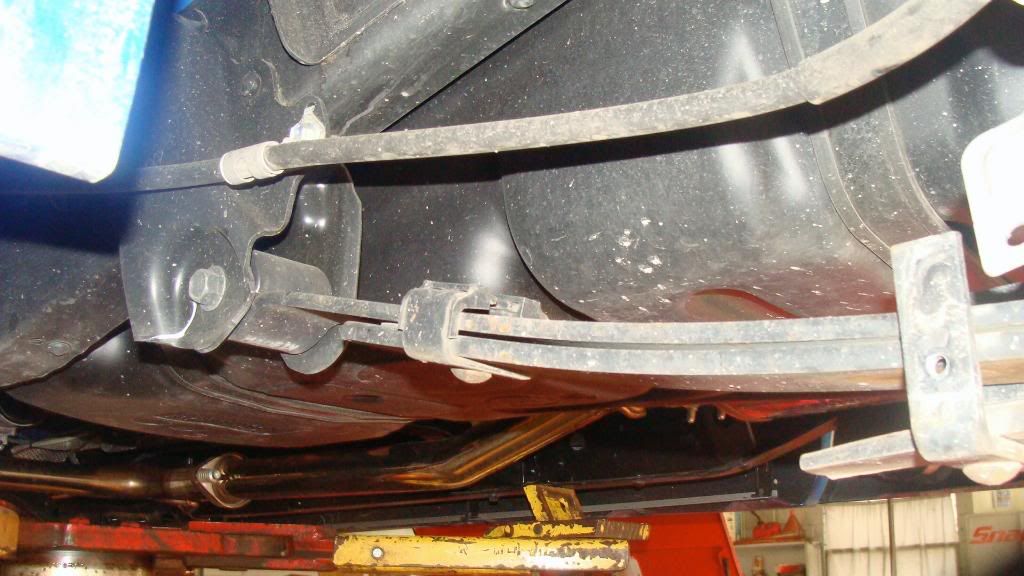
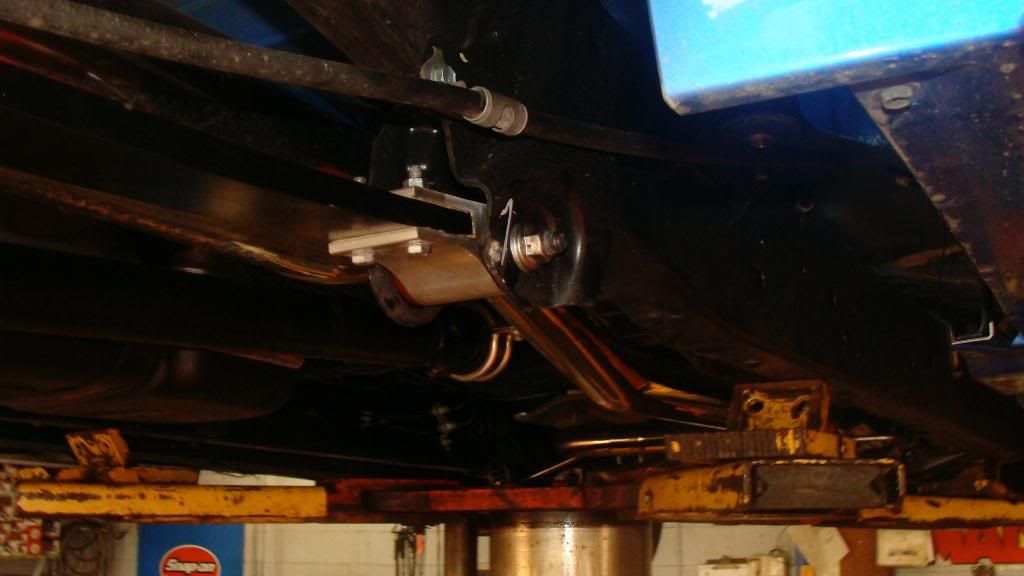
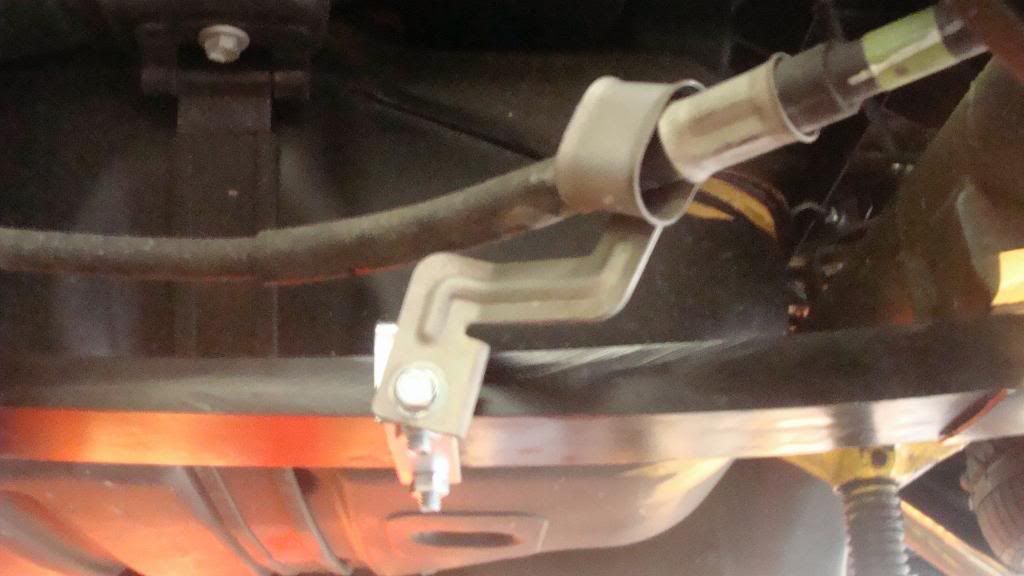
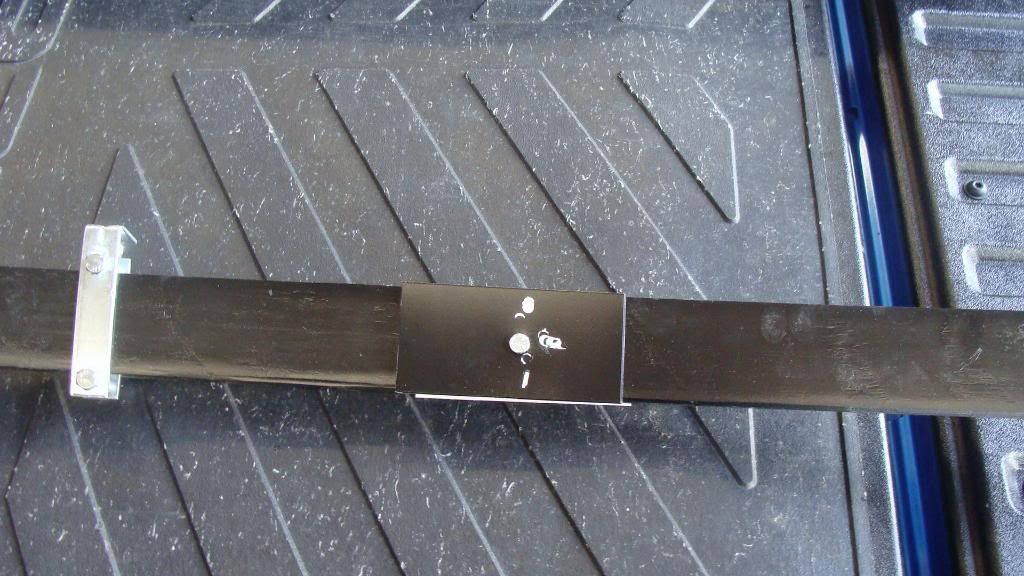
brake line bracket
First remove the rear wheels with 21mm tire iron/or impact wrench
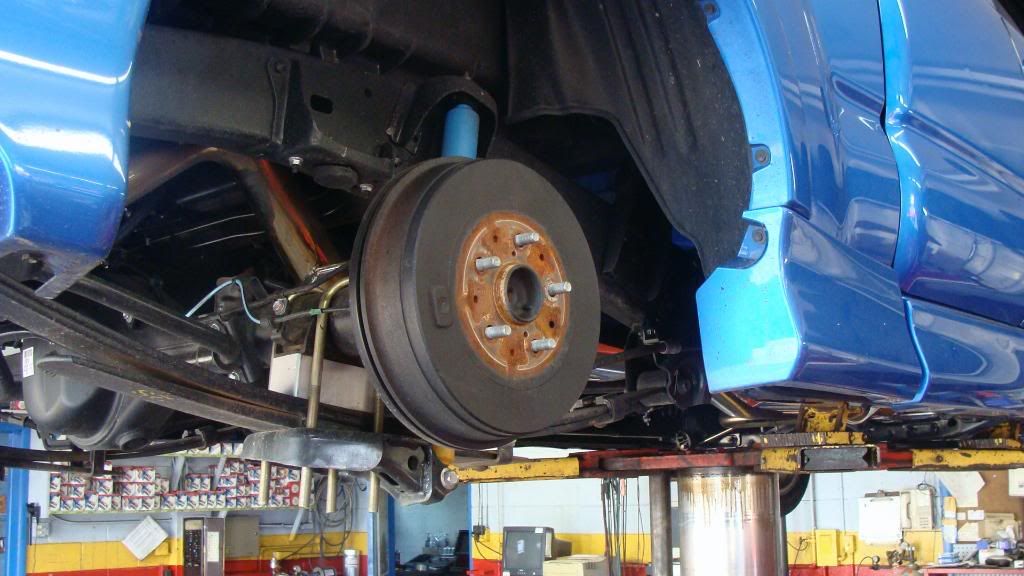
Next remove the brake line with a 12mm socket wrench
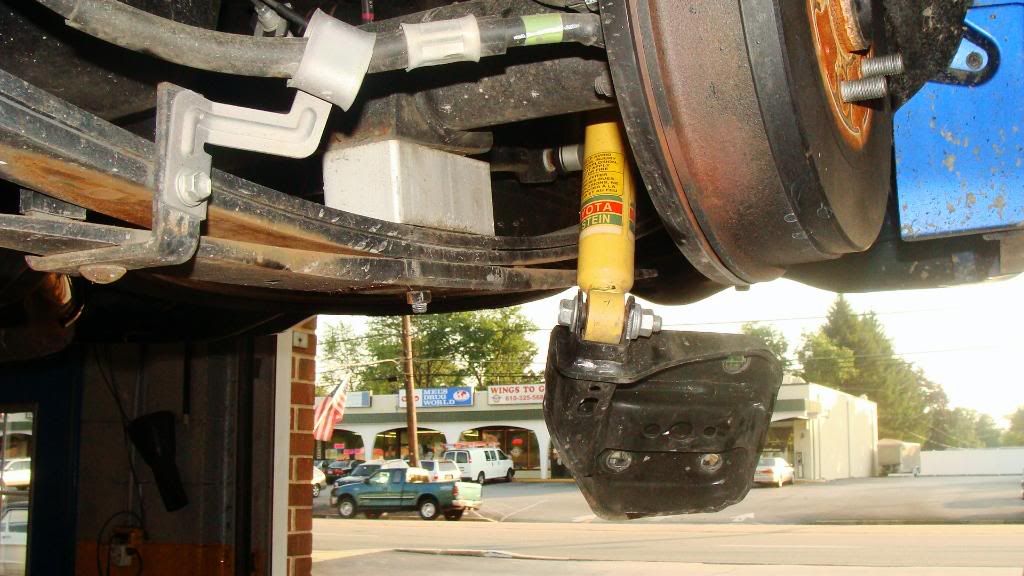
Third Remove the u-bolts and swing away the shock absorber bracket
(Note: Remove Lowering blocks if applicable)
follow by jacking up the rear axle with a high stand to relieve pressure off of the leafs
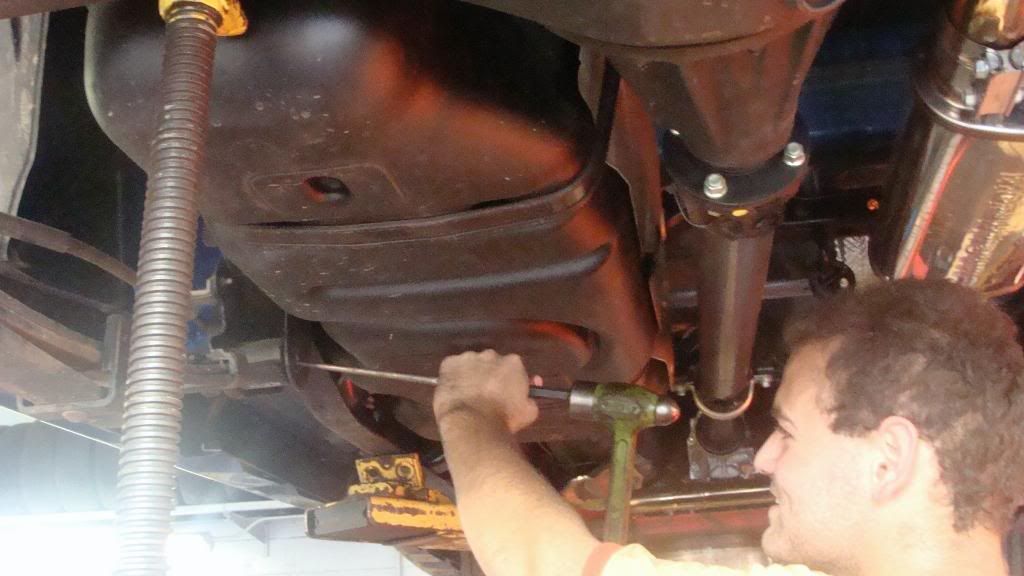
than remove the front bolt on the leaf you will need a 19mm socket and open ended-wrench
than punch out bolt with a punch
than loosen (you do not have to remove) the lower bolt on the rear of the leaf Its a shackle for the leaf to roll forward
(Note: on passenger side remove the rear of the exhaust from hanger)

Than leaf should move forward than remove the upper bolt with a 19mm socket and 19mm open ended-wrench
leaf should come free...
Stock leafs vs composite stockers weigh a ton
Now for the Replacement
Place the rear of the leaf in first make sure that the brake line bracket is facing the front of the vehicle and the nut and bolt facing the outside of the truck(Re-Use stock hardware)
next put the front of the leaf in its place
Now re-install the brake line... you will need an 11mm socket wrench and a 11mm open ended-wrench i put the nut on the out side but it came on the inside
and than tighten leafs to 74ft lbs
now my battery died on this point so i didnt get pictures of this
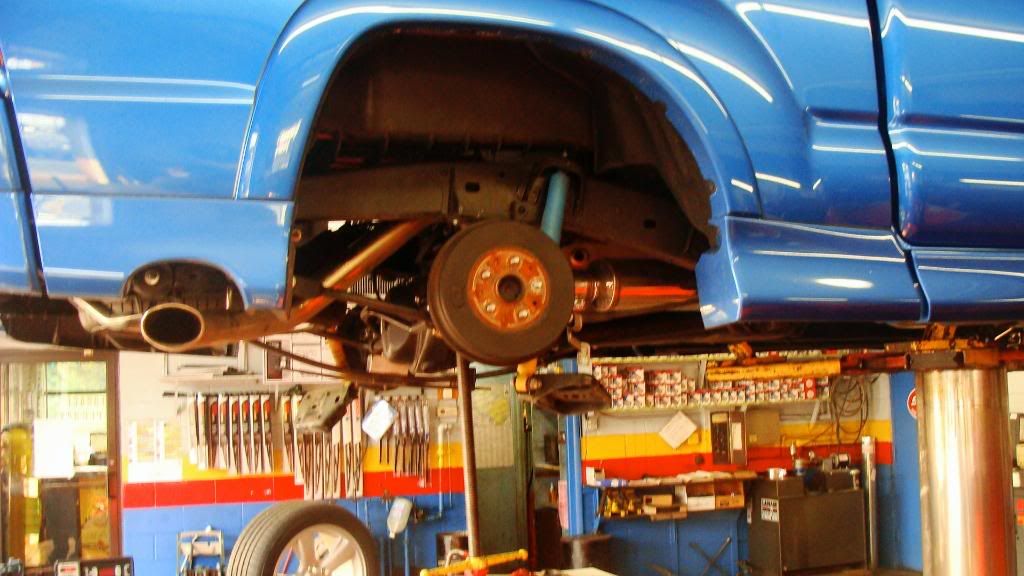
but the leafs are drastically flatter than the stockers so you will need to use a high stand to push on the bottom of the shock to compress shock so you can reinstall the STOCK u bolts once it is compressed make sure the bolt in the middle of the leaf is in the middle of the leaf seat. and than install the u bolts
once that is complete than torque the u-bolts to 50ftlbs and than you have completed one side to sittin sic composite leaf springs... and do the same on the other side.
Disclosure: I am not responsible for any damages or injuries that happened while working on your vehicle... please use all proper tools and jacking procedure to limit the chance of injury thank you and enjoy
My review:
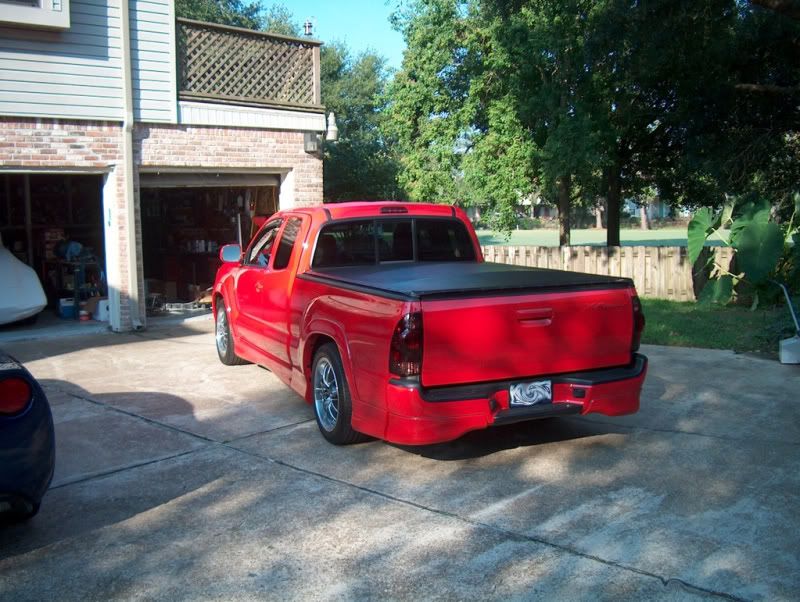
I had them on for two days now the ride is stiffer it is alot more comfortable at higher speeds bottoming out has basically disappeared unless a its a bad pot hole and wheel hop is gone... it lays tires alot easier lol
10 out of 10 For performance
10 out of 10 for stance
8 out of 10 for install
I recommend this drop to any one it is a need mod :top: shane did a phenomenal job
here are the composite leafs the literally weigh 10 pounds each :rockon:
polyurethane bushings :biggrin:
brake line bracket
First remove the rear wheels with 21mm tire iron/or impact wrench
Next remove the brake line with a 12mm socket wrench
Third Remove the u-bolts and swing away the shock absorber bracket
(Note: Remove Lowering blocks if applicable)
follow by jacking up the rear axle with a high stand to relieve pressure off of the leafs
than remove the front bolt on the leaf you will need a 19mm socket and open ended-wrench
than punch out bolt with a punch
than loosen (you do not have to remove) the lower bolt on the rear of the leaf Its a shackle for the leaf to roll forward
(Note: on passenger side remove the rear of the exhaust from hanger)
Than leaf should move forward than remove the upper bolt with a 19mm socket and 19mm open ended-wrench
leaf should come free...
Stock leafs vs composite stockers weigh a ton
Now for the Replacement
Place the rear of the leaf in first make sure that the brake line bracket is facing the front of the vehicle and the nut and bolt facing the outside of the truck(Re-Use stock hardware)
next put the front of the leaf in its place
Now re-install the brake line... you will need an 11mm socket wrench and a 11mm open ended-wrench i put the nut on the out side but it came on the inside
and than tighten leafs to 74ft lbs
now my battery died on this point so i didnt get pictures of this
but the leafs are drastically flatter than the stockers so you will need to use a high stand to push on the bottom of the shock to compress shock so you can reinstall the STOCK u bolts once it is compressed make sure the bolt in the middle of the leaf is in the middle of the leaf seat. and than install the u bolts
once that is complete than torque the u-bolts to 50ftlbs and than you have completed one side to sittin sic composite leaf springs... and do the same on the other side.
Disclosure: I am not responsible for any damages or injuries that happened while working on your vehicle... please use all proper tools and jacking procedure to limit the chance of injury thank you and enjoy
My review:
I had them on for two days now the ride is stiffer it is alot more comfortable at higher speeds bottoming out has basically disappeared unless a its a bad pot hole and wheel hop is gone... it lays tires alot easier lol
10 out of 10 For performance
10 out of 10 for stance
8 out of 10 for install
I recommend this drop to any one it is a need mod :top: shane did a phenomenal job
Last edited: