shook
Active Member
- Joined
- Jan 13, 2007
- Messages
- 1,792
- Reaction score
- 8
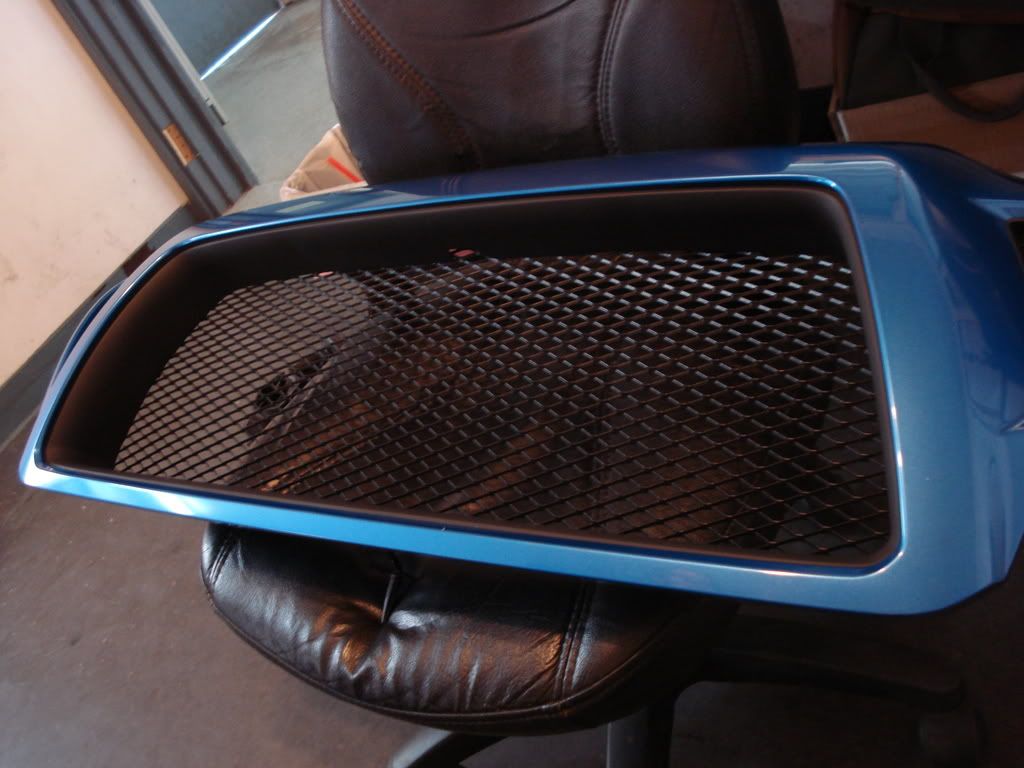
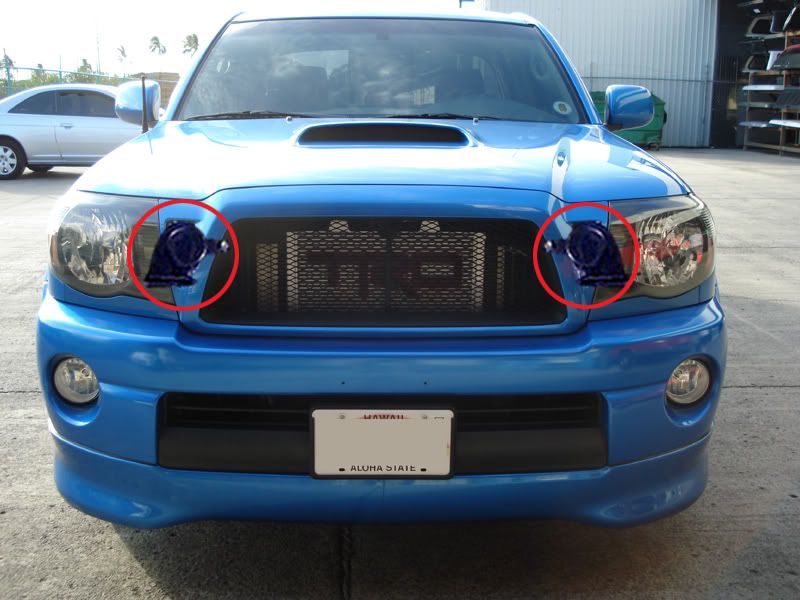
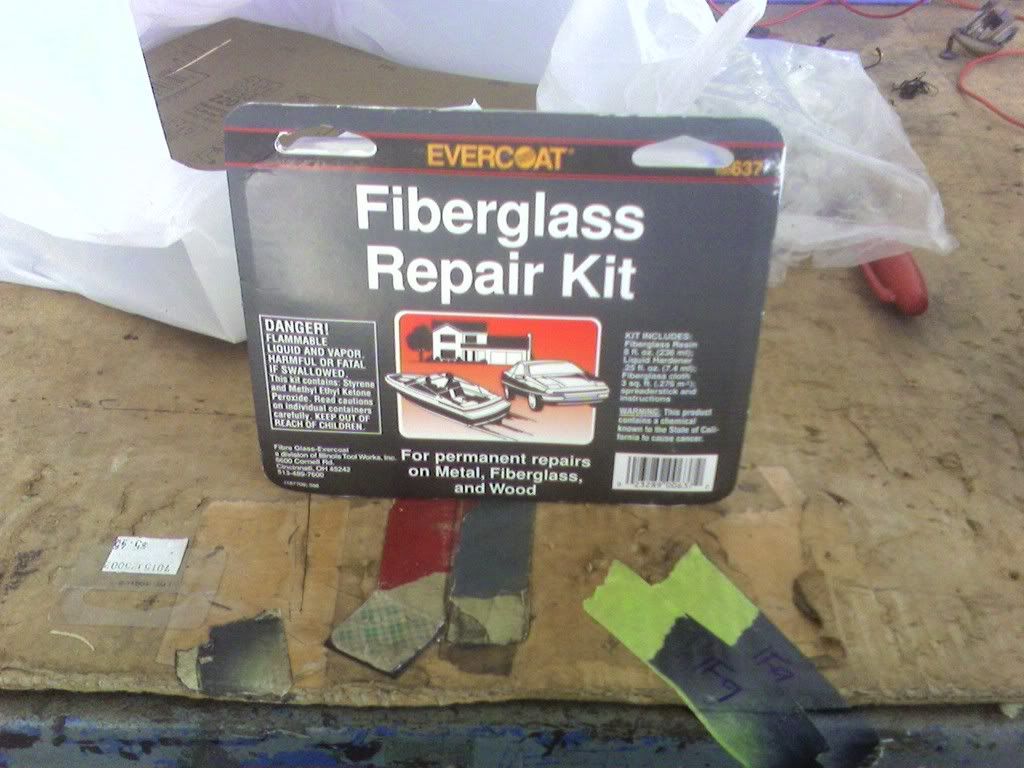
Its been about 3 weeks since I randomly decided to chop my grill but only actually been working on it for about 2 days. The way I decided to patch up the holes to recess the grill is with fiberglass and bondo. Youre gonna need some sandpaper ( I picked up 3 different grades, 60\220\400 ),a can of Bondo, some cheap paint brushes, cheap mixxing cups (I used 2 but bought 3cups just incase) painters tape and a Fiberglass repair kit that you should be able to find at any parts store.
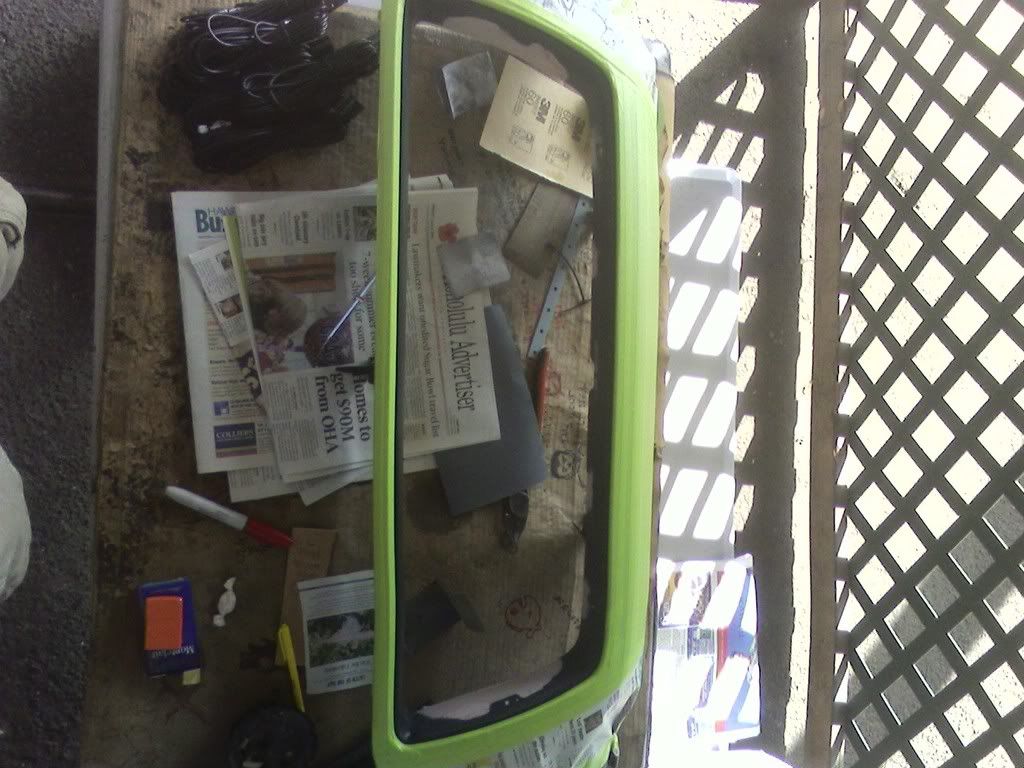
1.Of course the first thing you do is gut out the inside of the grill and use the 60grit sand paper to sand down any high spots and to scuff up the sides of the grill where youre going to be laying the fiberglass to patch up the holes. You want to scuff both sides, front and back :top:
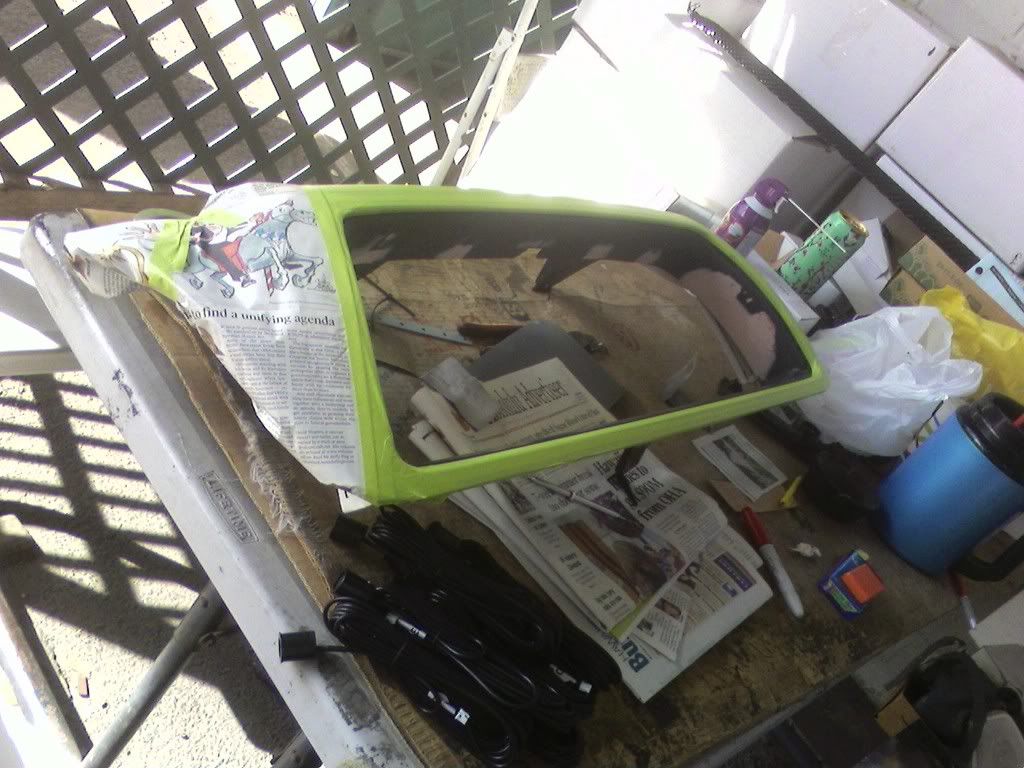
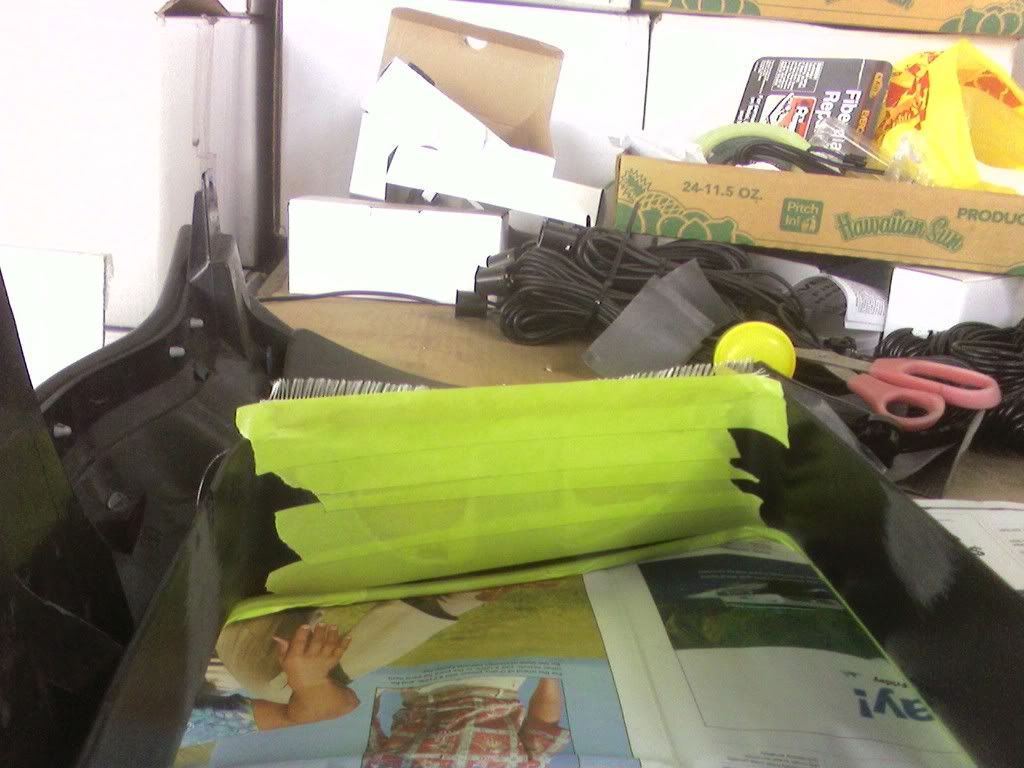
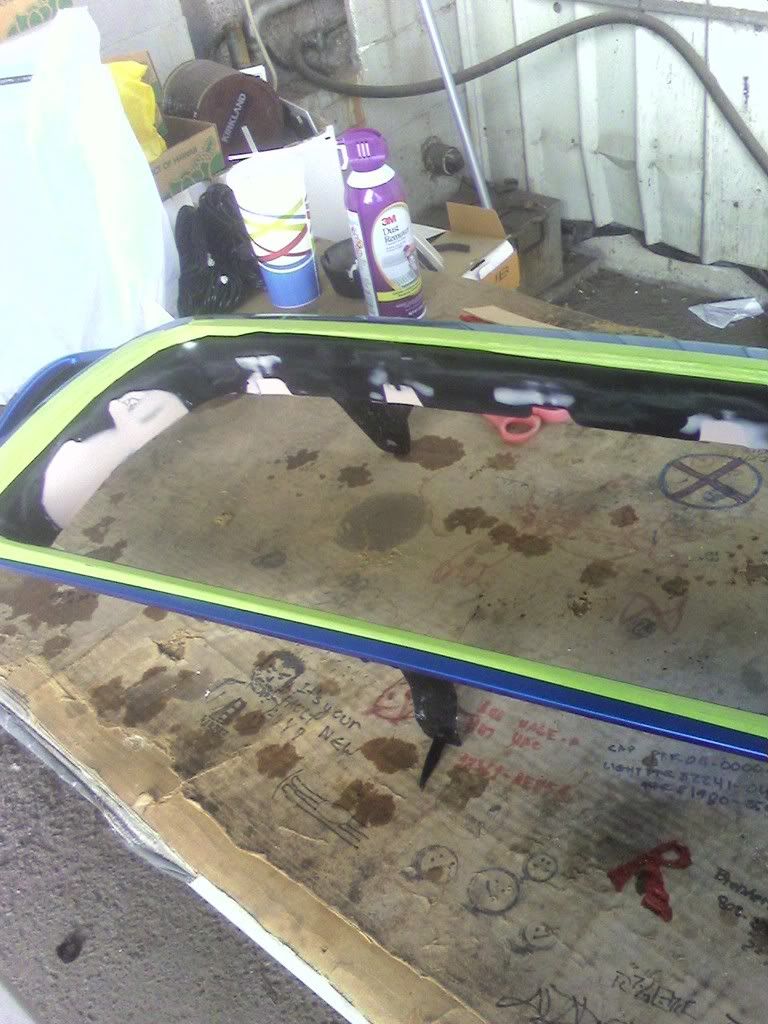
2.Tape up the front of your grill with painters tape to project it from getting damaged while youre working on it and also to protect it from any resin that might drip down when applying the fiberglass. You also want to tape across the holes to help with laying the fiberglass over the holes. I used 3 strips to patch up the holes, two of the strips went the whole length of both holes but only covered halfway up while still overlapping each other and the last strip to go the whole length of the holes but covering the whole height.
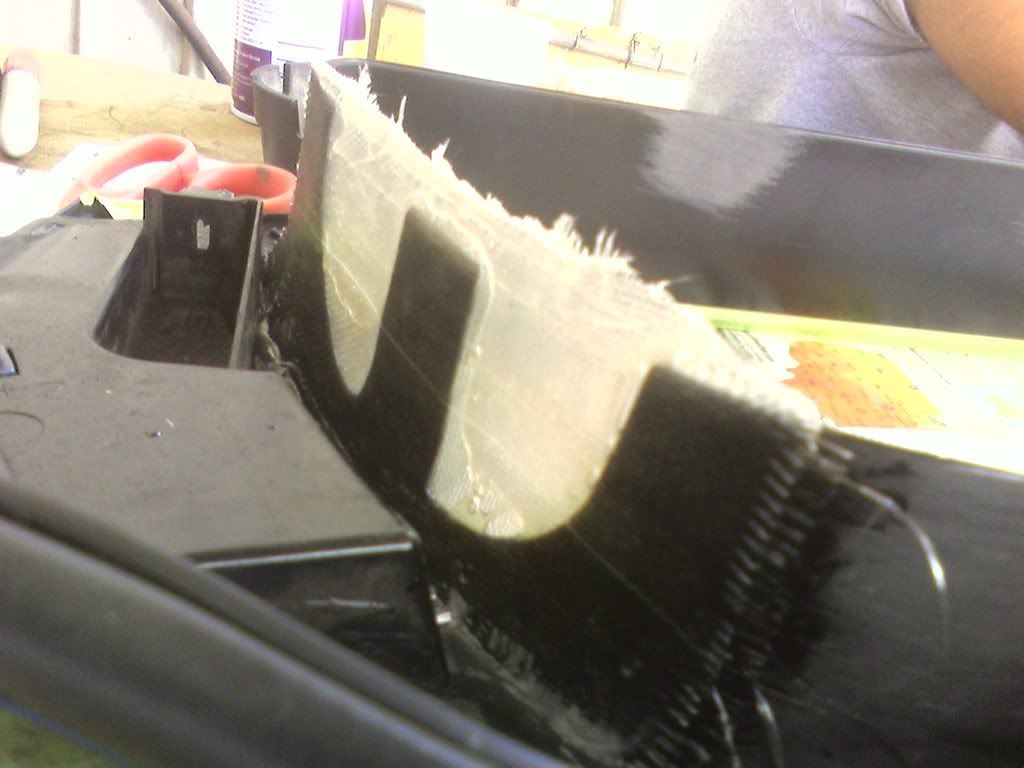
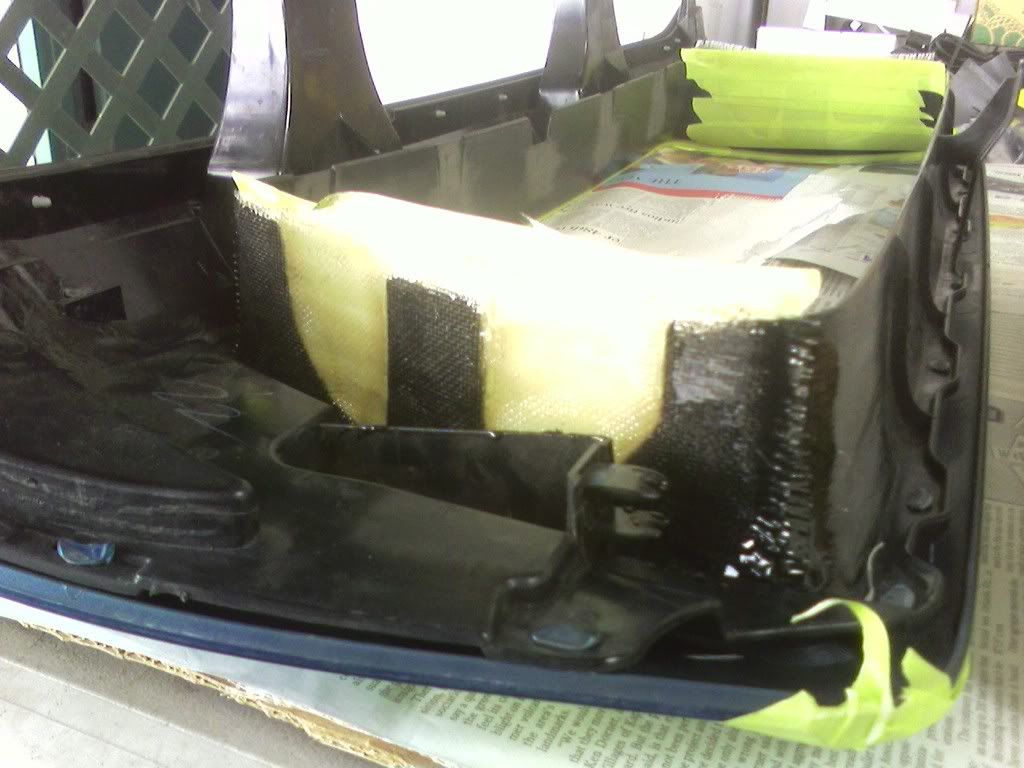
Depending on how much hardener you add you might have to work fast, it took me only an ounce of resin and used 12drops of hardener for each side of the grill (read the instructions that come with the Fiberglass repair kit) mix a batch in a cup. After mixxing, apply the resin on the whole surface area that you will be laying the sheets of fiber glass on and then lay one of the half sheets into place, I started from the bottom up. After laying the sheet on just dab it into place and then start from one end to the other and apply more resin making sure you cover the whole sheet of fiberglass.
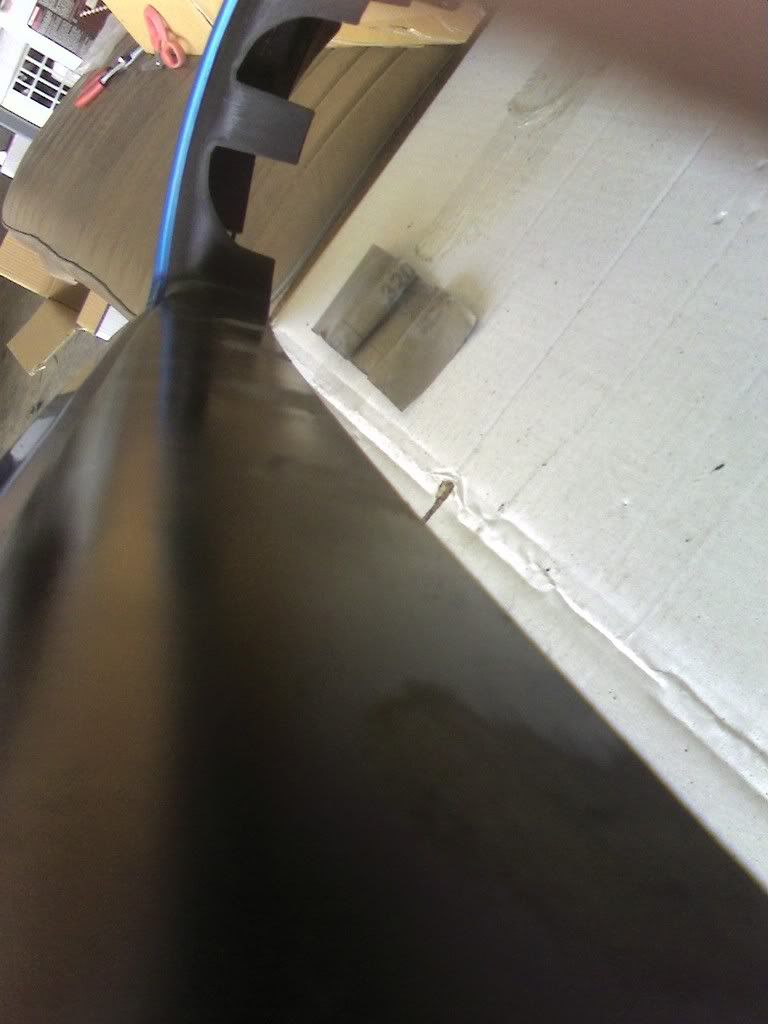
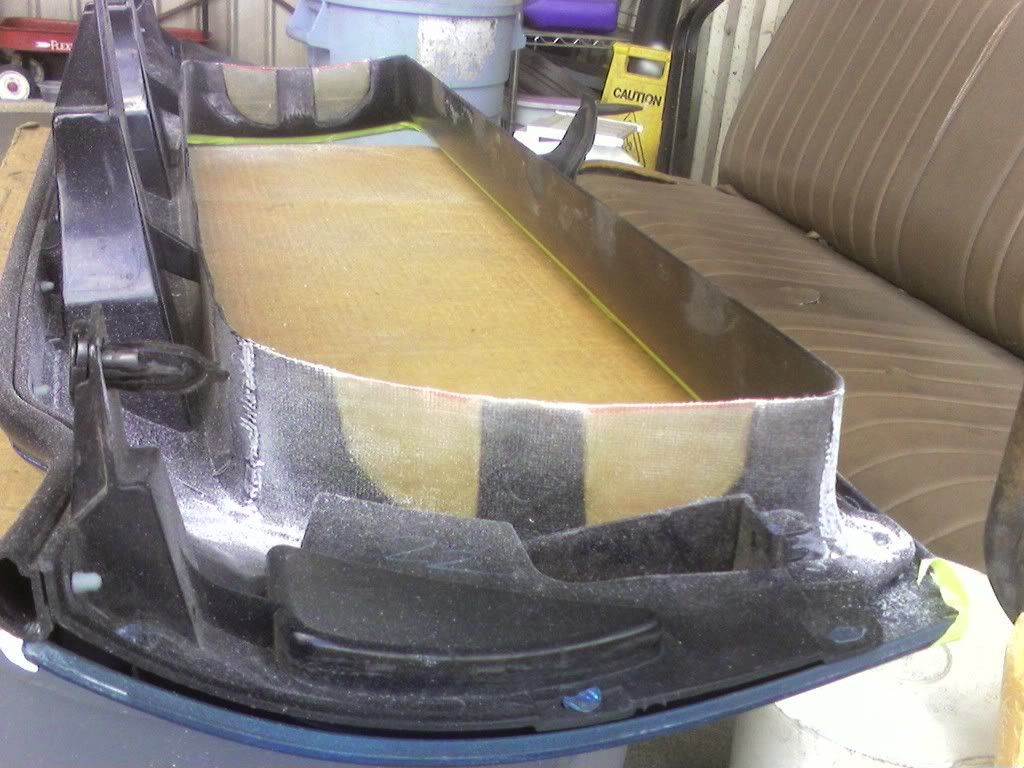
You want to make sure you make good contact on the plastic areas of the grill and push out any air bubbles. When the first sheet looks like its stuck on pretty good go ahead and lay the other half sheet making sure it over laps the first sheet, dont worry about making it flush with the top of the grill, its better to have some over hang because youll trim it flush after its all done. Again once the second sheet is stuck on good wet the whole surface area with resin and apply the last full sheet covering both half sheets and repeat the process of brushing the resin and pushing out the air bubbles. When done set it aside and wait for it to cure, should take about an hour, you can use the left over resin to test and see if its cured and hard, it should looks like this when youre done.
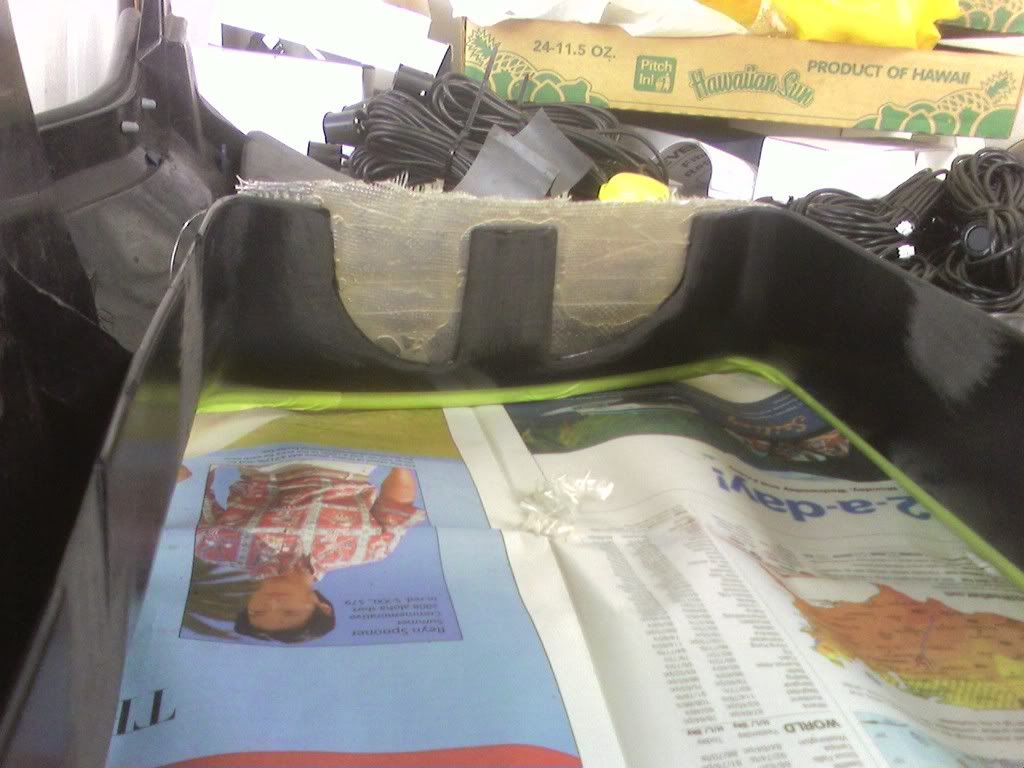
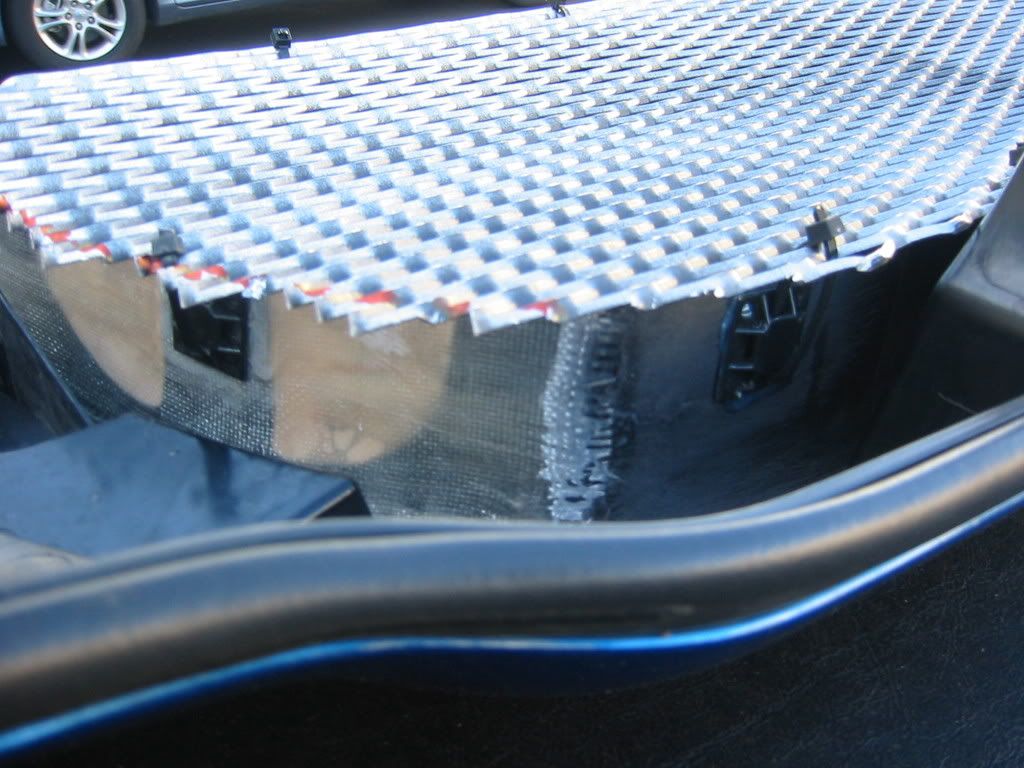
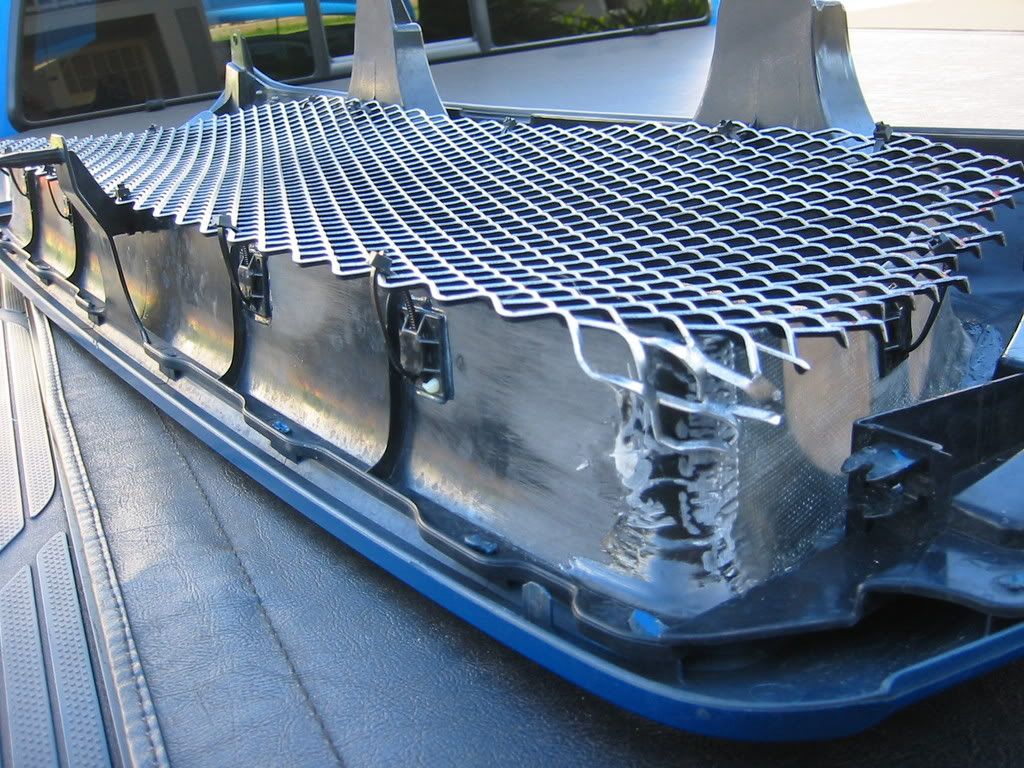
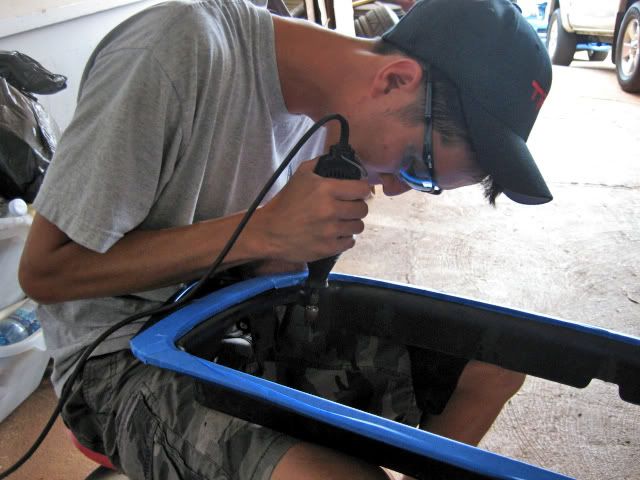
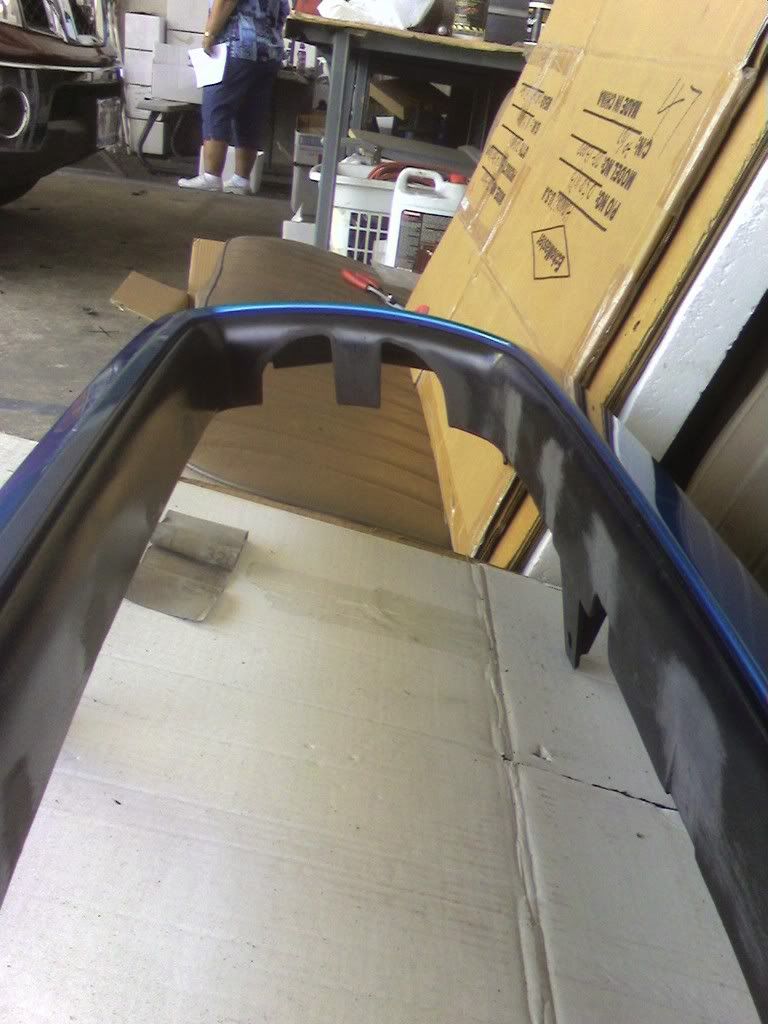
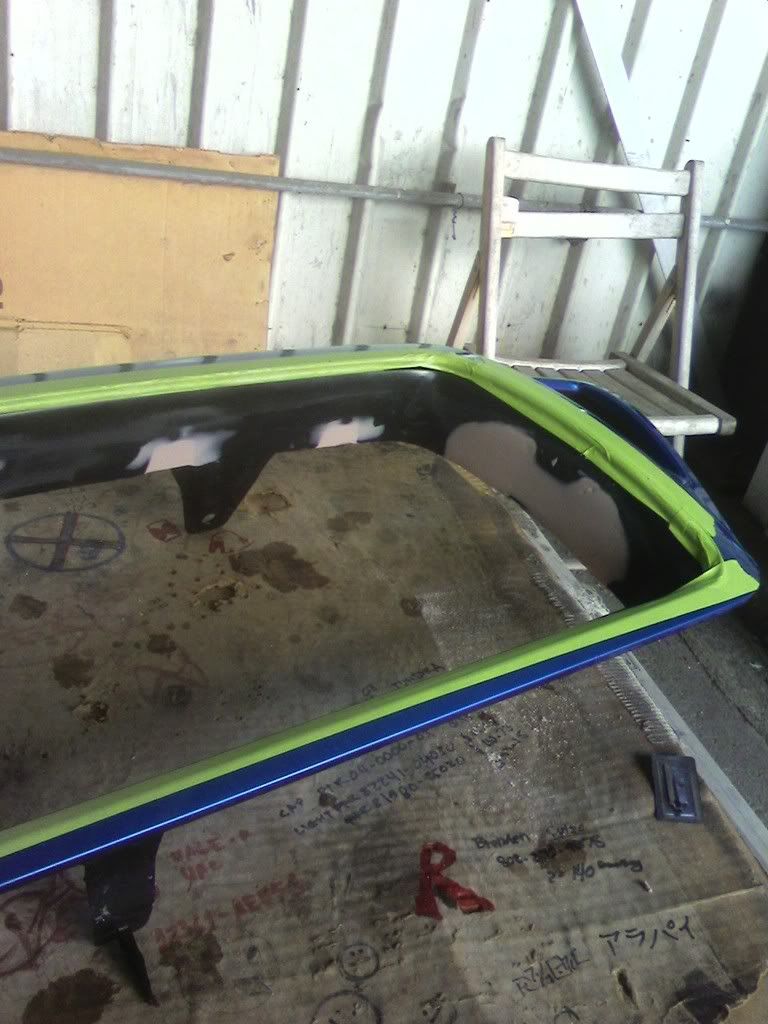
3.After its all cured and hard you can take off the support tape and trim off the excess, used a small piece of cardboard and trace out the curve you want and trace it on the fiberglass with a sharpie. I used a dremel to trim off the excess fiberglass but becareful not to push too hard. If the patch feels weak you can mix up another batch and add more layers of fiberglass but keep in mind its just there to help hold the bondo and if you decide to add more layers you might want to scuff it up before laying more.
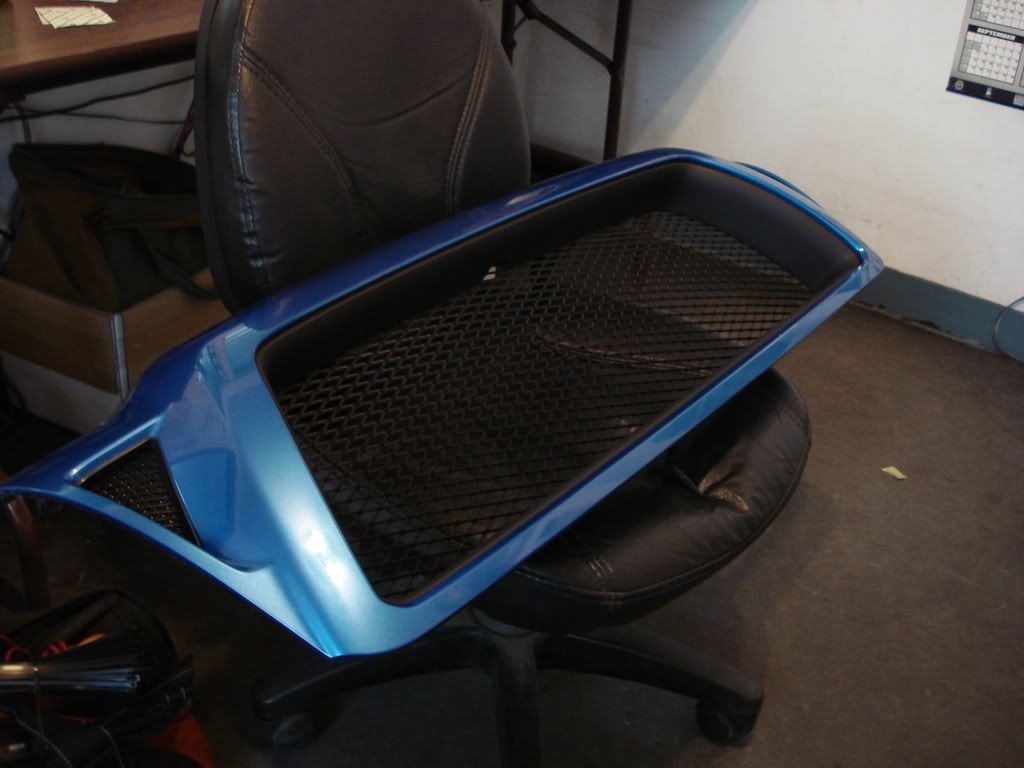
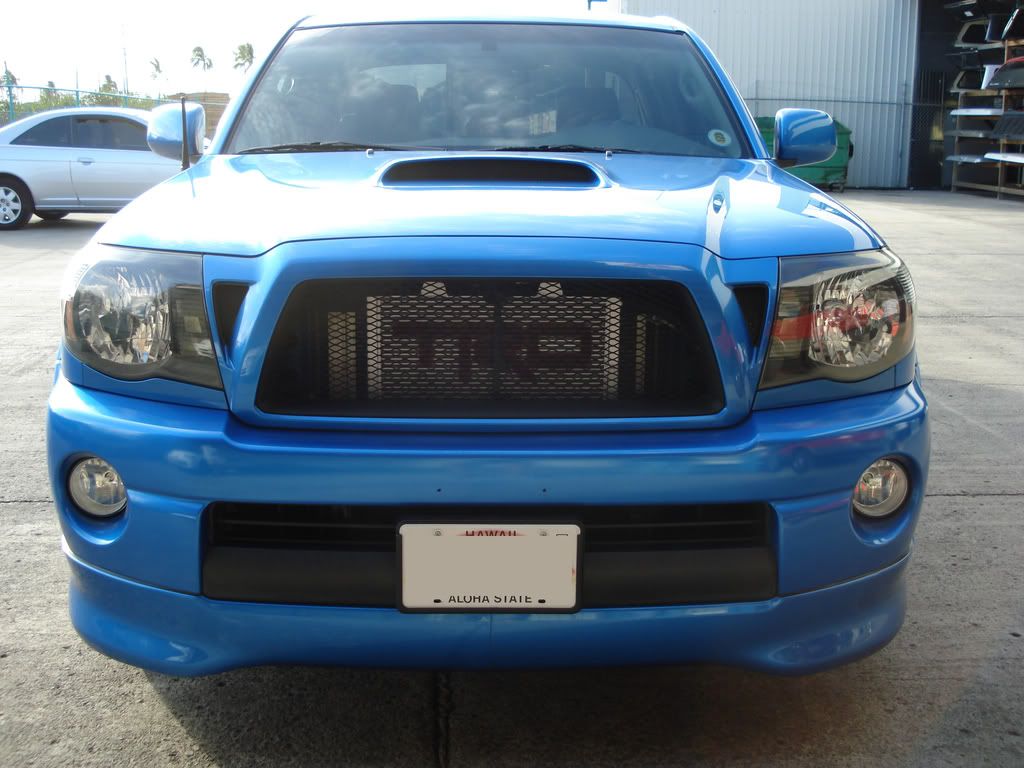
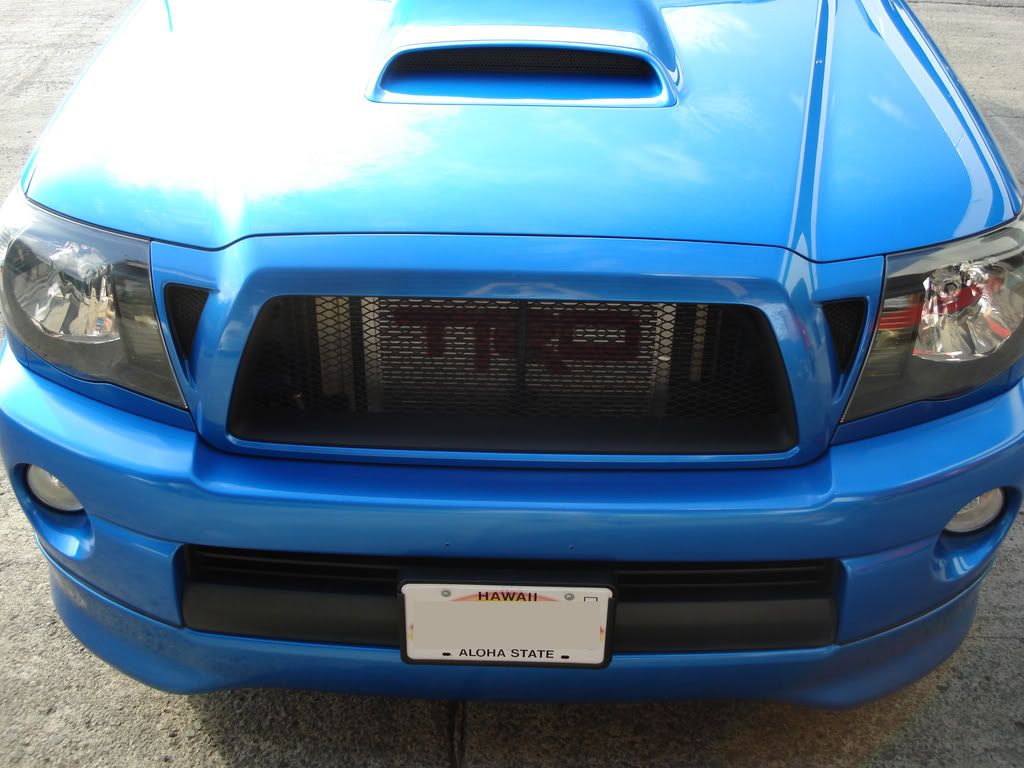
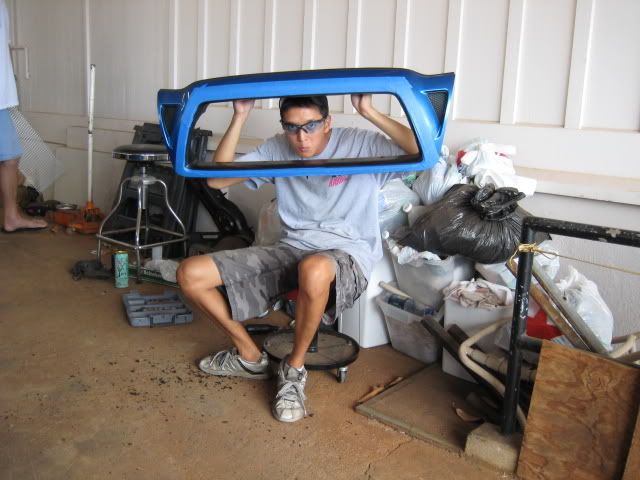
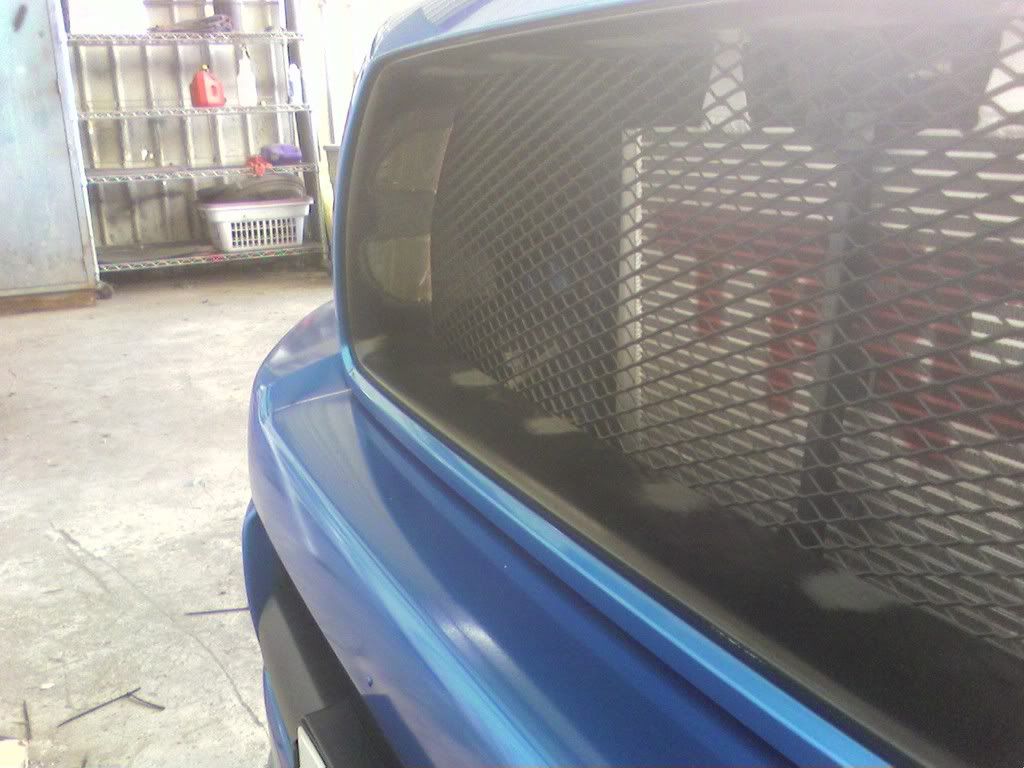
And the test fit.
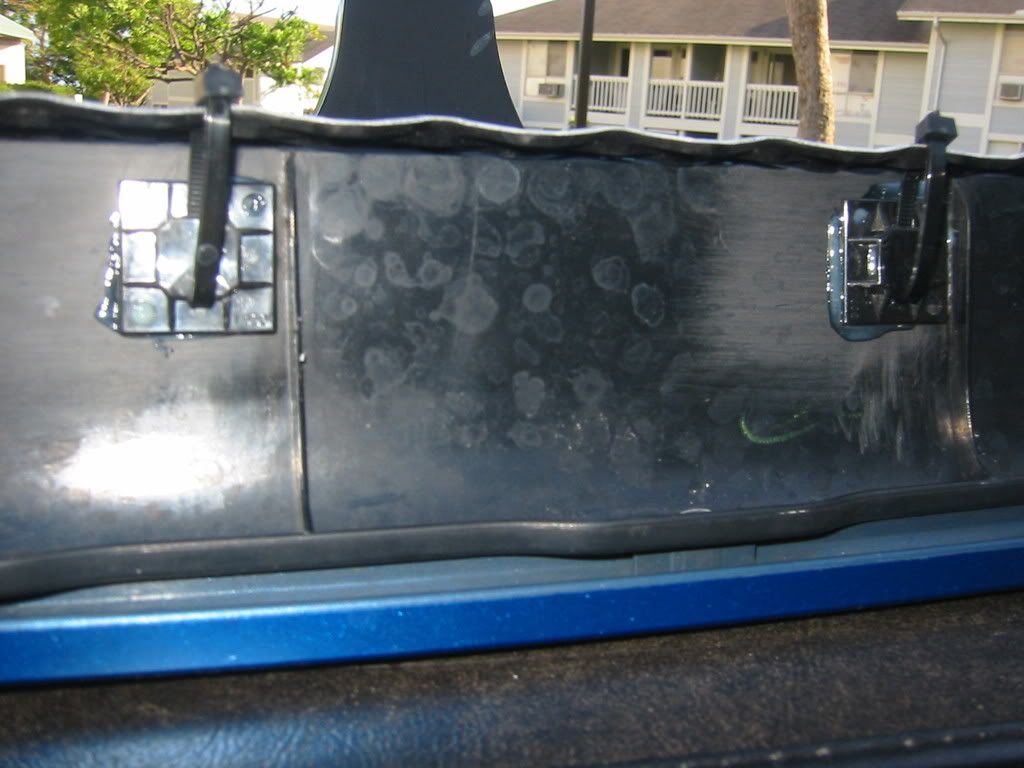
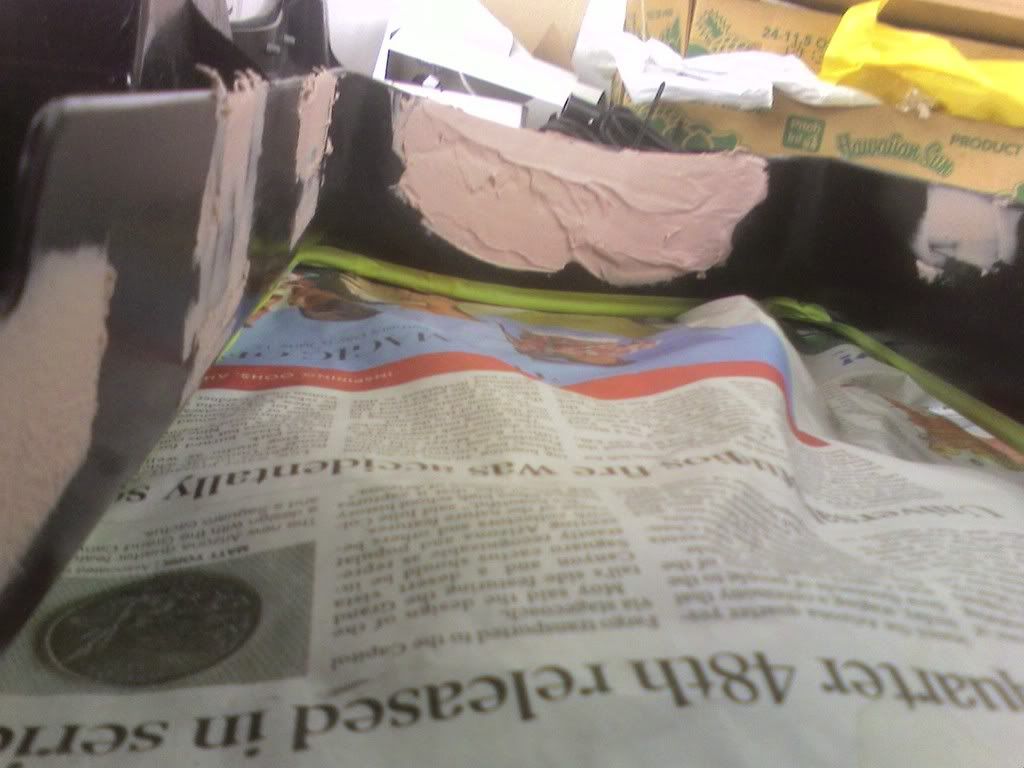
4.Next you scuff up the fiberglass where youll be adding bondo. Mix up some bondo and again, depending on how much hardener you add, you might have to apply it on pretty quick. Mix up a good size patch to cover the entire side and its up to you but I wanted to apply some bondo on the top and bottom of the grill to make it flat. Apply it over the flberglass, it doesnt have to be perfect, youre gonna be sanding it down and shaping it anyways.
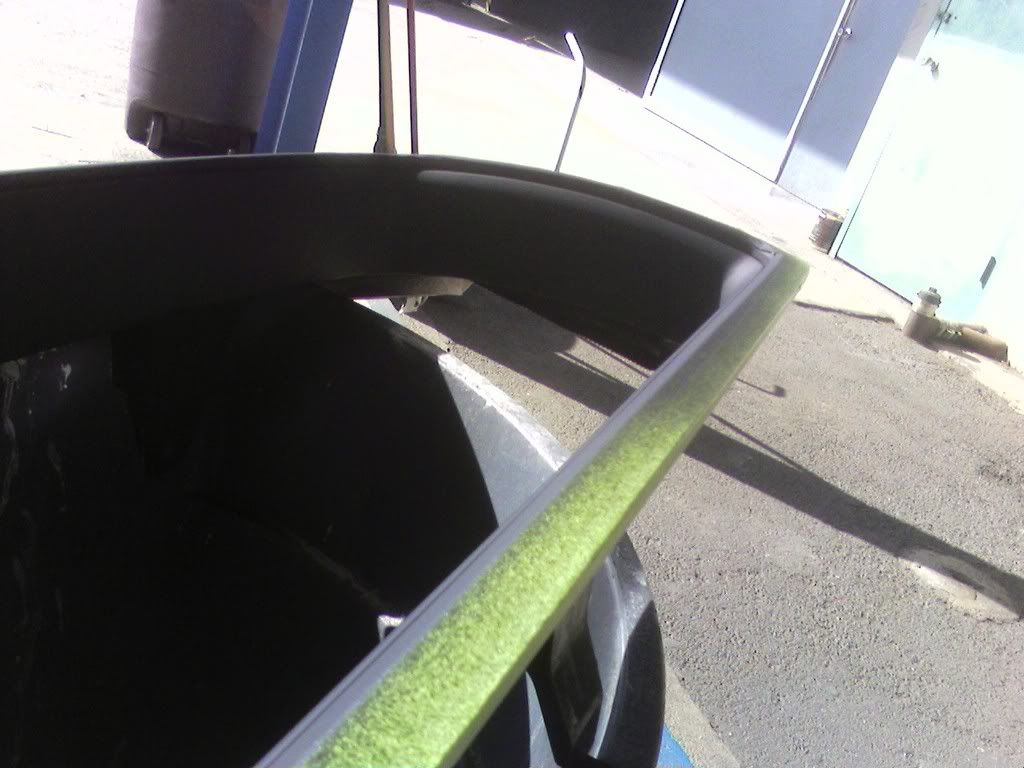
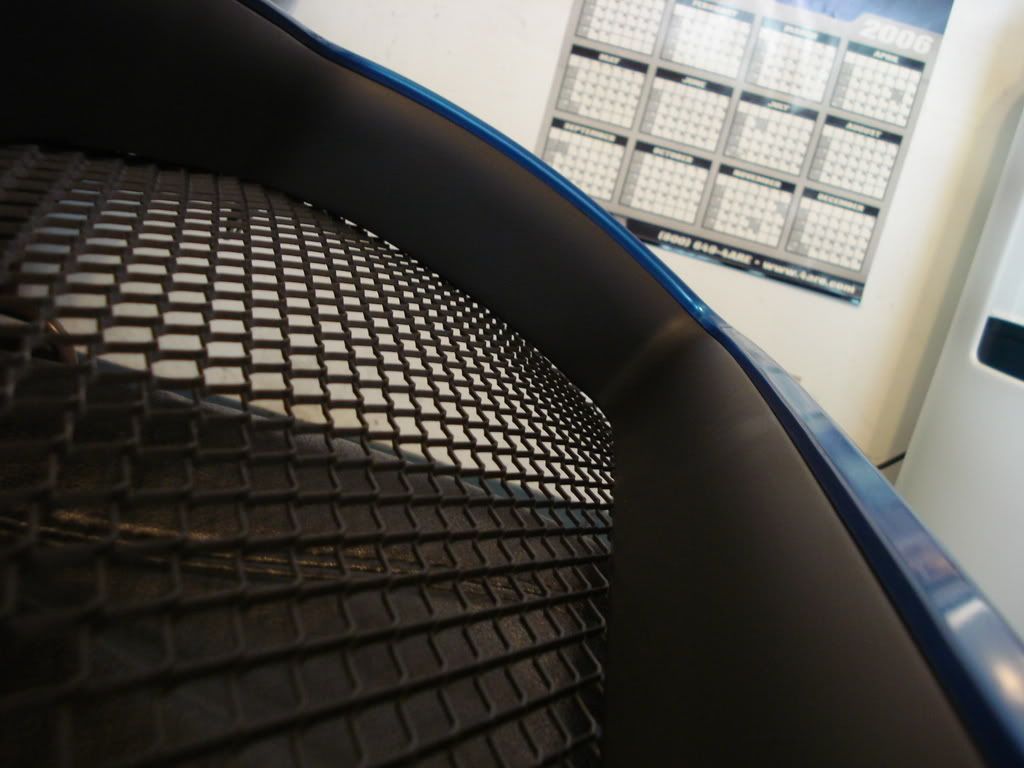
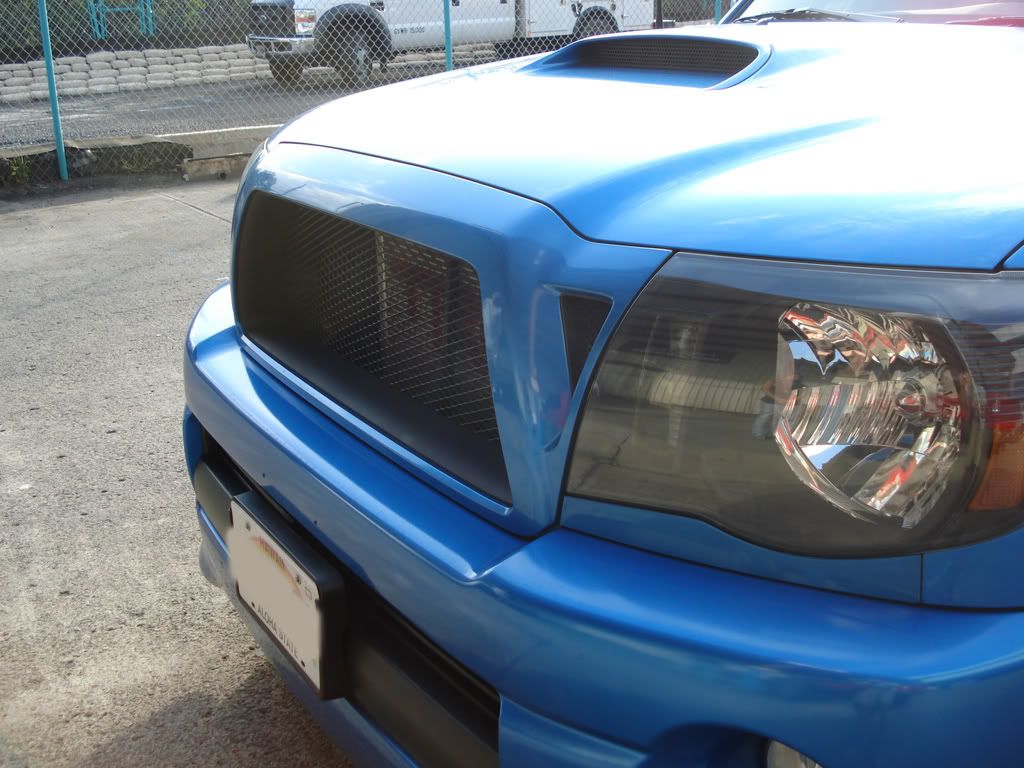
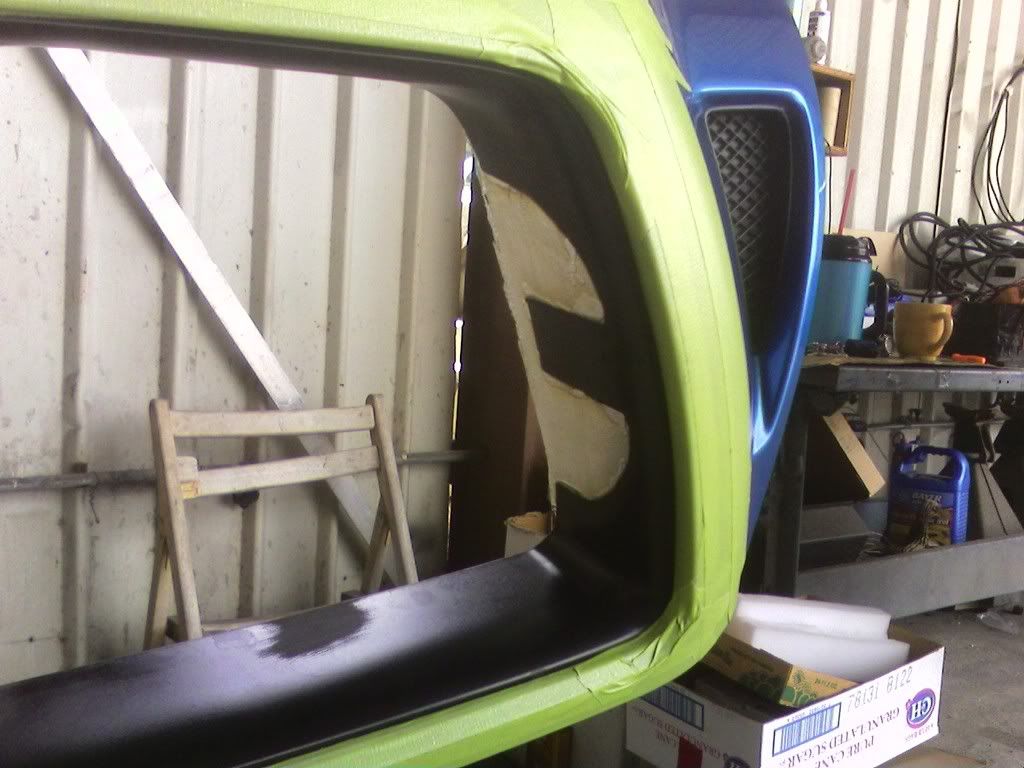
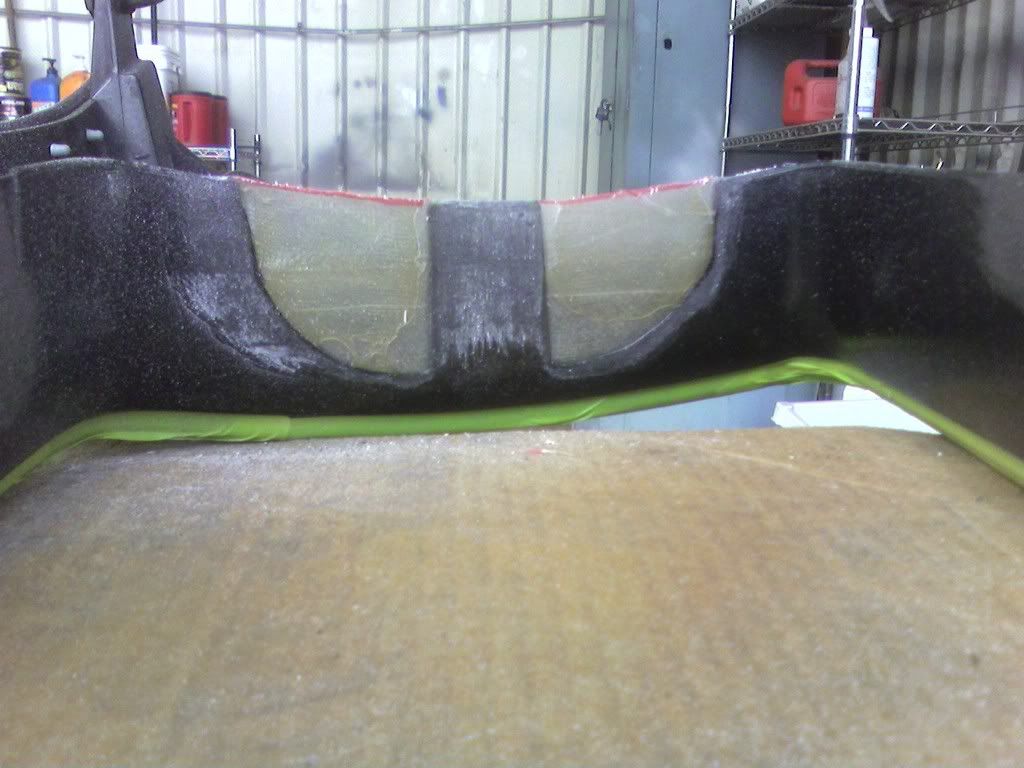
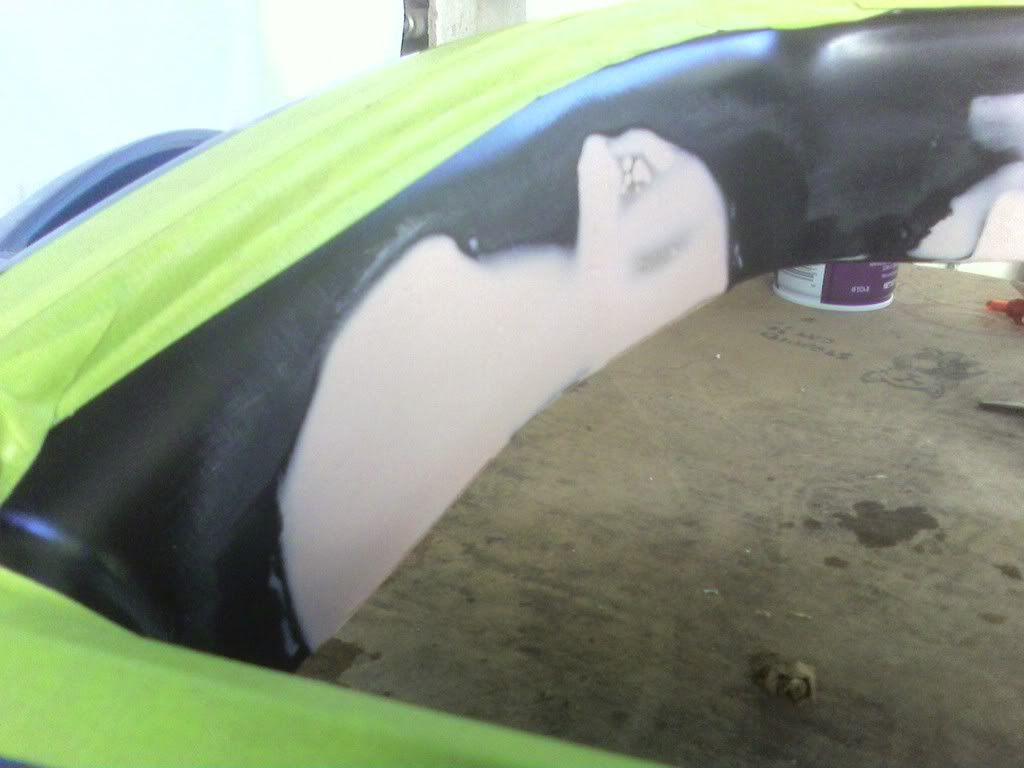
After about 20minutes you can start sanding down the bondo, start with the 60grit untill its pretty flat and close to flush then use the 220 shape it and smoothen it out. You want to get it down to where you can pretty much see the patched area but have it feel like theres a smooth transition between the plastic and the patched area. You probably wont get it perfect the first time so no worries, just get it as close as possible. Feel with your hand for any high spots and work it down, if you feel low spots, dont worry, you can always add more bondo later to shape and sand. Should look something like this.
Before sanding and shaping
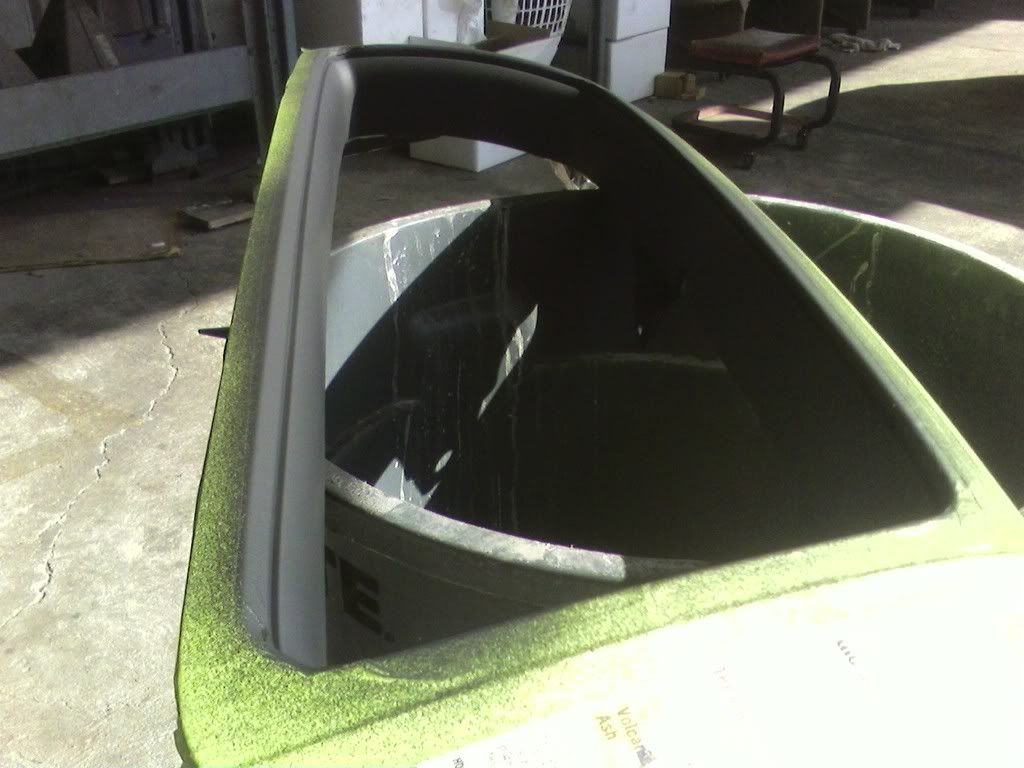
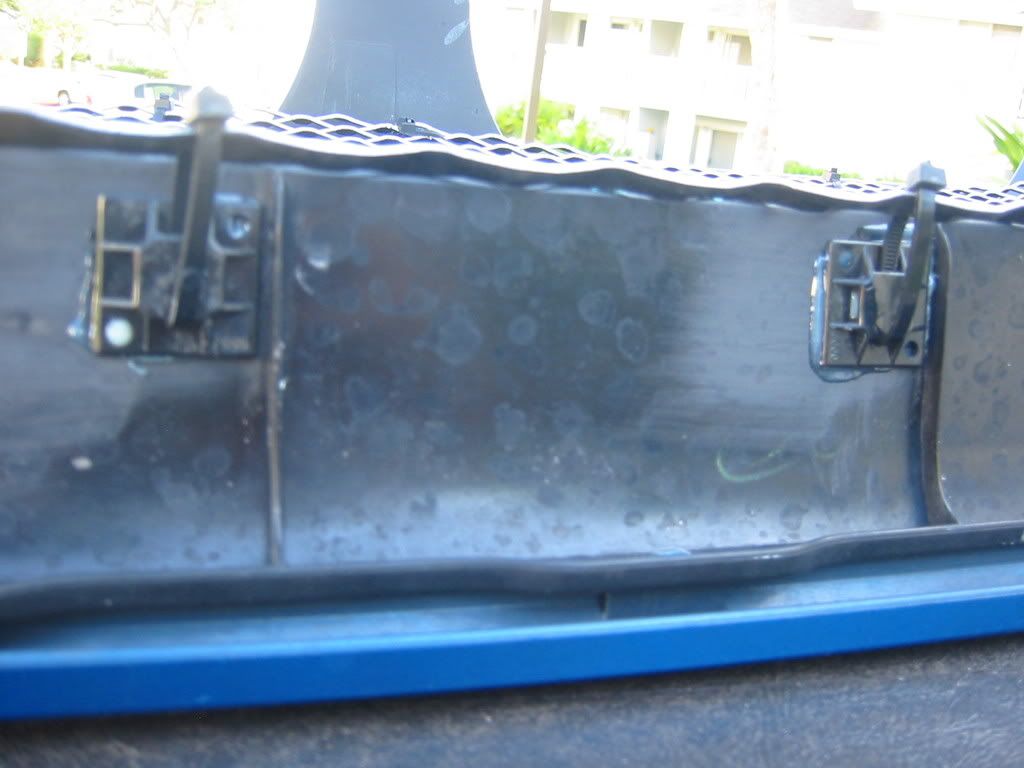
After
And the test fit
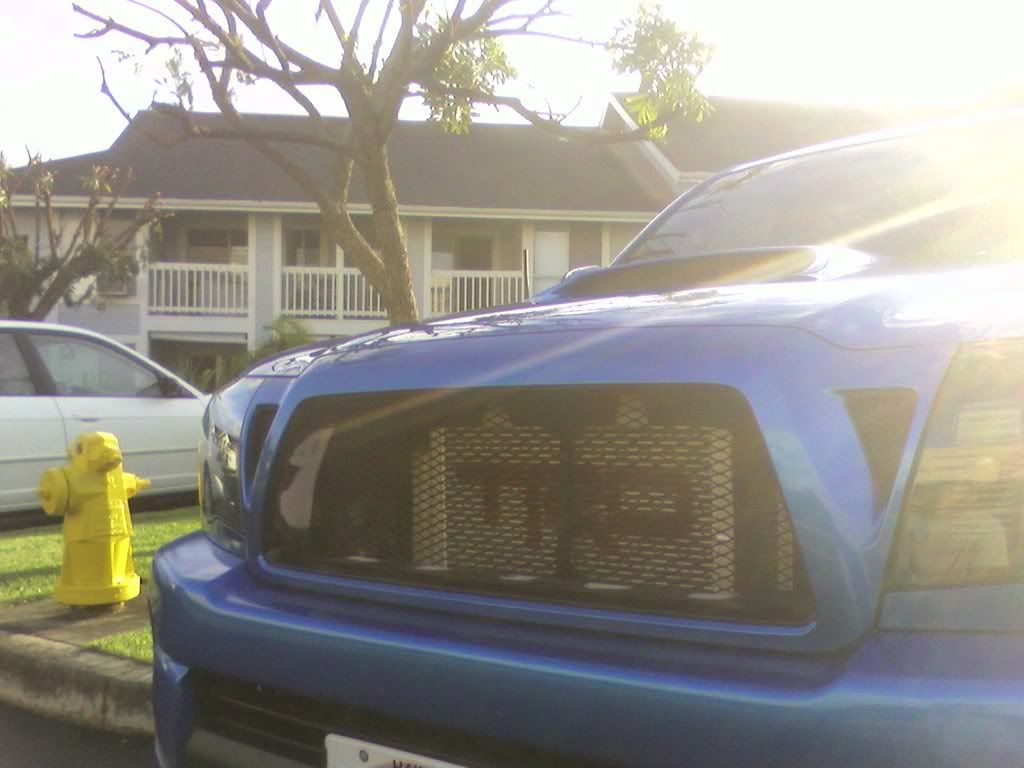
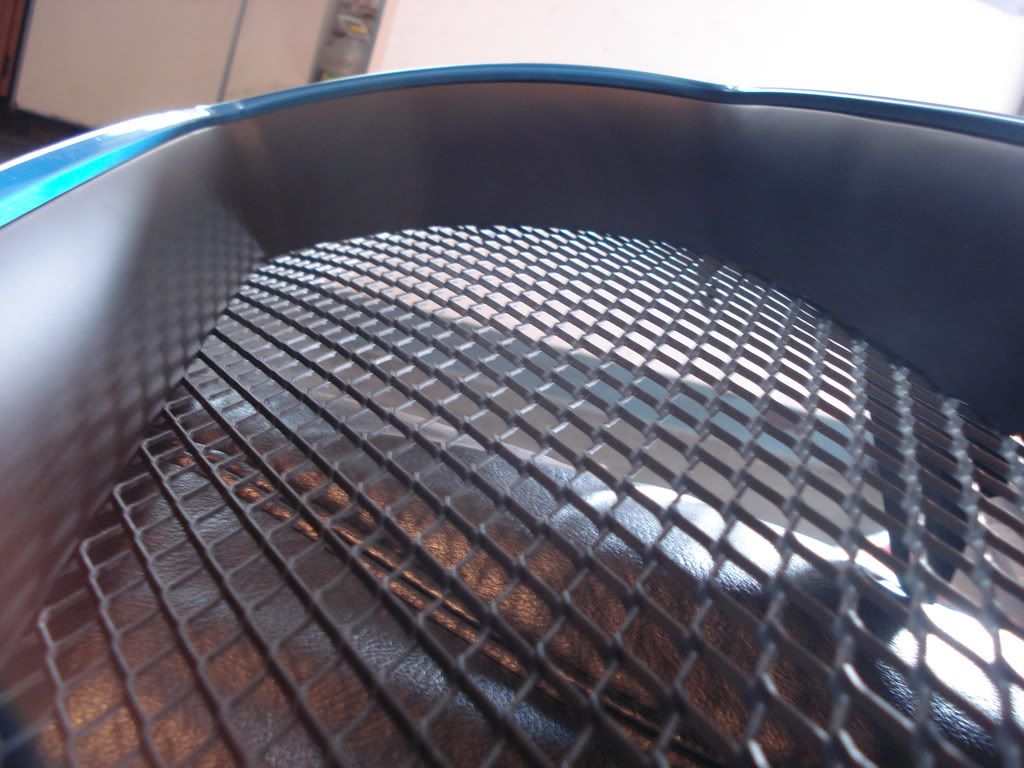
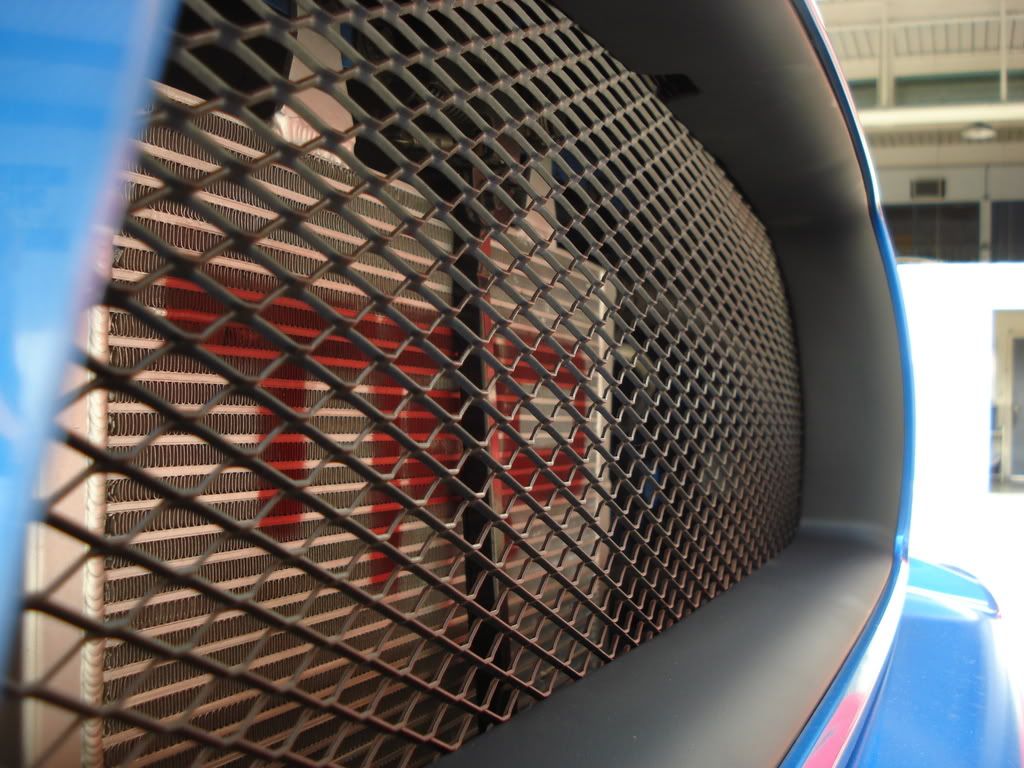
Thsi is as far as I got today, mix up another batch of bondo and fill in any low spots and sand\shape till youre satisfied then go over the whole area with 220 and then 400grit till its all smooth. Use a filler primer and paint whatever color you want. So far this project only costed me about $40, you can get mesh grill from Home Depot or you can use the Grillcraft grill if youre a baller ! which Im not haha :laugh: I should be done soon and will post up the finished pictures :top:
1.Of course the first thing you do is gut out the inside of the grill and use the 60grit sand paper to sand down any high spots and to scuff up the sides of the grill where youre going to be laying the fiberglass to patch up the holes. You want to scuff both sides, front and back :top:
2.Tape up the front of your grill with painters tape to project it from getting damaged while youre working on it and also to protect it from any resin that might drip down when applying the fiberglass. You also want to tape across the holes to help with laying the fiberglass over the holes. I used 3 strips to patch up the holes, two of the strips went the whole length of both holes but only covered halfway up while still overlapping each other and the last strip to go the whole length of the holes but covering the whole height.
Depending on how much hardener you add you might have to work fast, it took me only an ounce of resin and used 12drops of hardener for each side of the grill (read the instructions that come with the Fiberglass repair kit) mix a batch in a cup. After mixxing, apply the resin on the whole surface area that you will be laying the sheets of fiber glass on and then lay one of the half sheets into place, I started from the bottom up. After laying the sheet on just dab it into place and then start from one end to the other and apply more resin making sure you cover the whole sheet of fiberglass.
You want to make sure you make good contact on the plastic areas of the grill and push out any air bubbles. When the first sheet looks like its stuck on pretty good go ahead and lay the other half sheet making sure it over laps the first sheet, dont worry about making it flush with the top of the grill, its better to have some over hang because youll trim it flush after its all done. Again once the second sheet is stuck on good wet the whole surface area with resin and apply the last full sheet covering both half sheets and repeat the process of brushing the resin and pushing out the air bubbles. When done set it aside and wait for it to cure, should take about an hour, you can use the left over resin to test and see if its cured and hard, it should looks like this when youre done.
3.After its all cured and hard you can take off the support tape and trim off the excess, used a small piece of cardboard and trace out the curve you want and trace it on the fiberglass with a sharpie. I used a dremel to trim off the excess fiberglass but becareful not to push too hard. If the patch feels weak you can mix up another batch and add more layers of fiberglass but keep in mind its just there to help hold the bondo and if you decide to add more layers you might want to scuff it up before laying more.
And the test fit.
4.Next you scuff up the fiberglass where youll be adding bondo. Mix up some bondo and again, depending on how much hardener you add, you might have to apply it on pretty quick. Mix up a good size patch to cover the entire side and its up to you but I wanted to apply some bondo on the top and bottom of the grill to make it flat. Apply it over the flberglass, it doesnt have to be perfect, youre gonna be sanding it down and shaping it anyways.
After about 20minutes you can start sanding down the bondo, start with the 60grit untill its pretty flat and close to flush then use the 220 shape it and smoothen it out. You want to get it down to where you can pretty much see the patched area but have it feel like theres a smooth transition between the plastic and the patched area. You probably wont get it perfect the first time so no worries, just get it as close as possible. Feel with your hand for any high spots and work it down, if you feel low spots, dont worry, you can always add more bondo later to shape and sand. Should look something like this.
Before sanding and shaping
After
And the test fit
Thsi is as far as I got today, mix up another batch of bondo and fill in any low spots and sand\shape till youre satisfied then go over the whole area with 220 and then 400grit till its all smooth. Use a filler primer and paint whatever color you want. So far this project only costed me about $40, you can get mesh grill from Home Depot or you can use the Grillcraft grill if youre a baller ! which Im not haha :laugh: I should be done soon and will post up the finished pictures :top:
Last edited: