Welcome!

By registering with us, you'll be able to discuss, share and private message with other members of our community.

SignUp Now!

Write-Up: Stock HU Color Change

Stevenredx

New Member
Joined
Jan 14, 2007
Messages
13,448
Reaction score
4
Came across this and thought some may be interested... i would do this for sure if i didn't plan on swapping my stock HU out for a navi/tv unit soon.

Source: toyotanation

Authur: slvrAZtaco

Tools needed:
Small sized screwdriver
10mm Socket setup
Soldering Iron
Solder sucker
Solder
Needle nose pliers or tweezers
And of course... new LEDs.

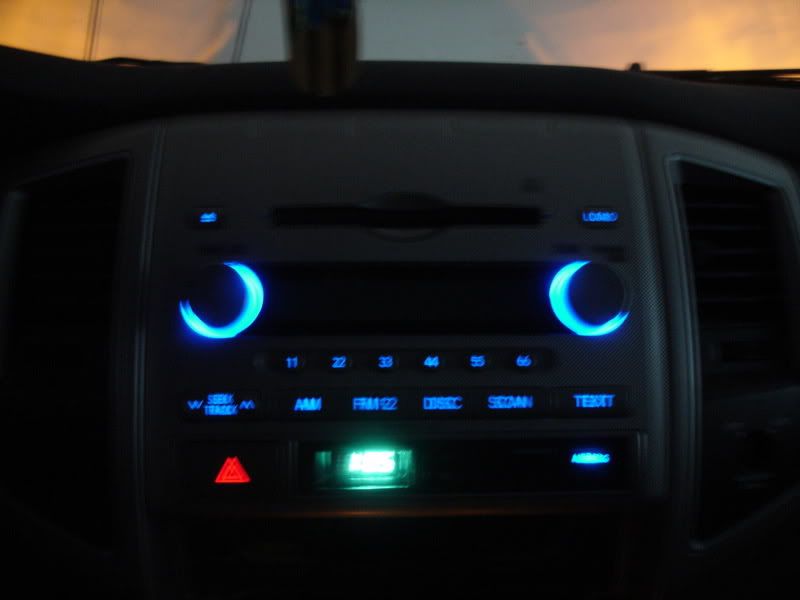
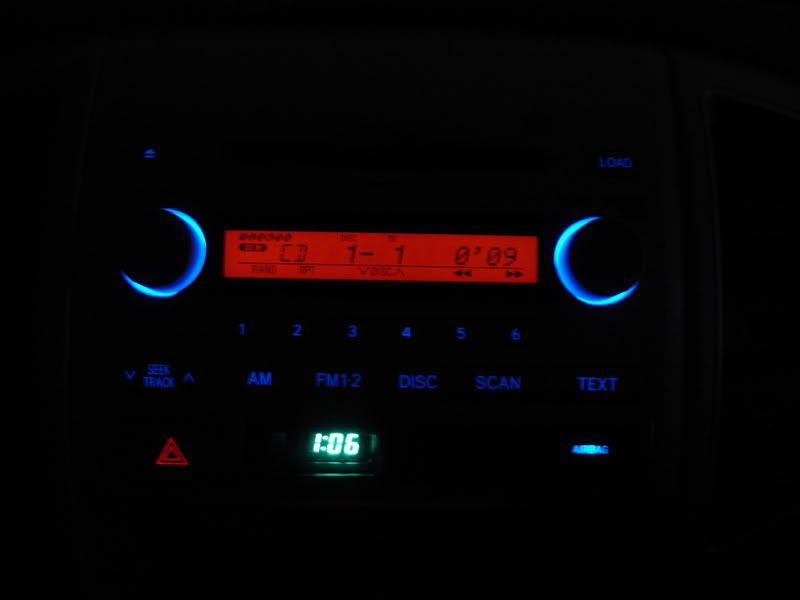
The LEDs I used are a little bit smaller then the OEM LEDs. I used UT-672 LEDs 470nm wavelength. You will need 30 LEDs for the directions below; I would recommend ordering a few extra. If you want to replace the lights near the CD slot or the LCD backlighting then you will need to order more.

***If you do not know how to solder or properly remove soldered components do not attempt this, serious damage could occur. I am not responsible for any damage, you are taking the fate of your stereo into your own hands.***

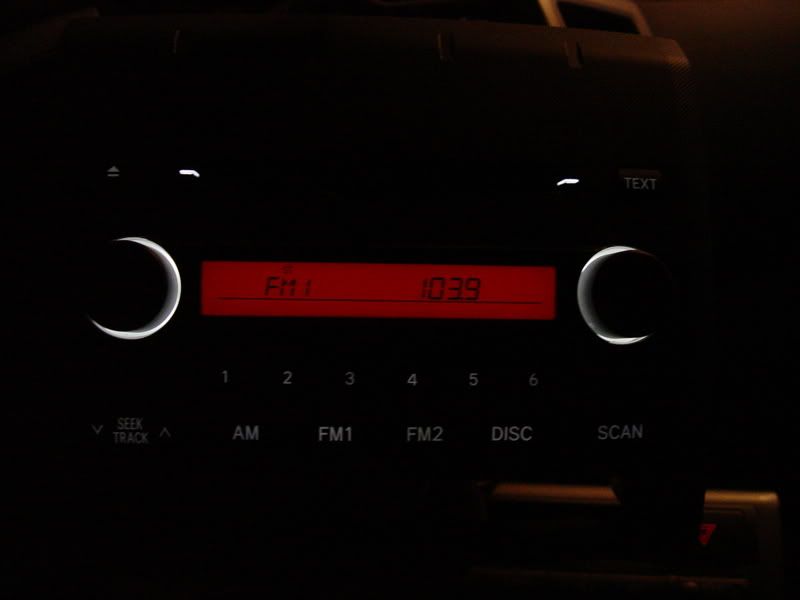
First you need to remove the stereo, to do this you must remove the climate controls. Insert your small screwdriver under the climate control and pry the lower part outward. Once the lower clips pop, grab the entire unit and carefully pull it straight out (toward you). Once the climate control is out you will see 4 bolts, these bolts are holding the stereo bracket. Remove these 4 bolts using the socket setup, then grab the stereo and pull it straight out (toward you). Once you have the stereo loose there are 4 wires that need to be removed, 3 to the stereo and one for the clock/hazard multiswitch.

DSC01597.jpg


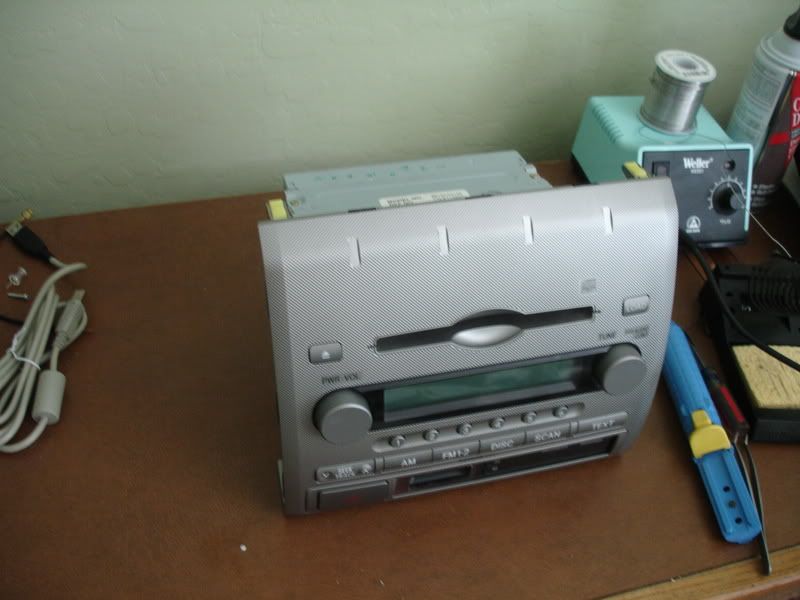
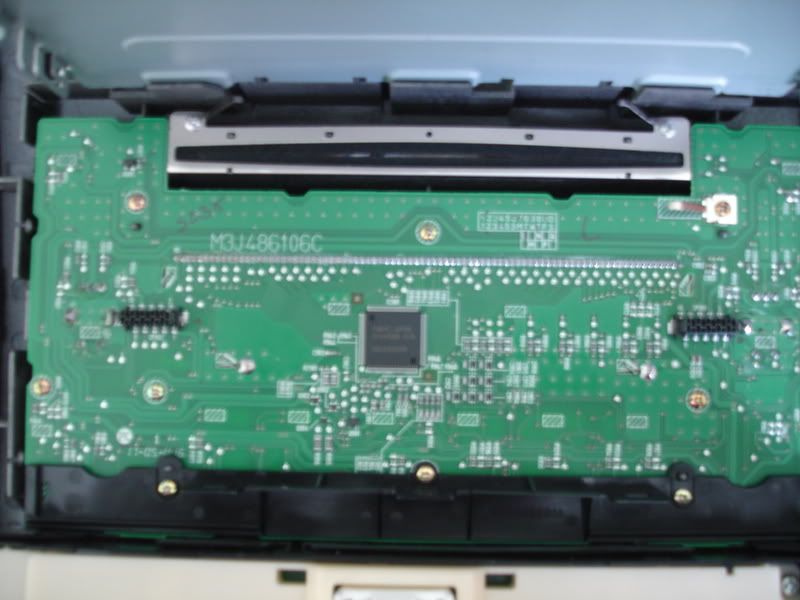
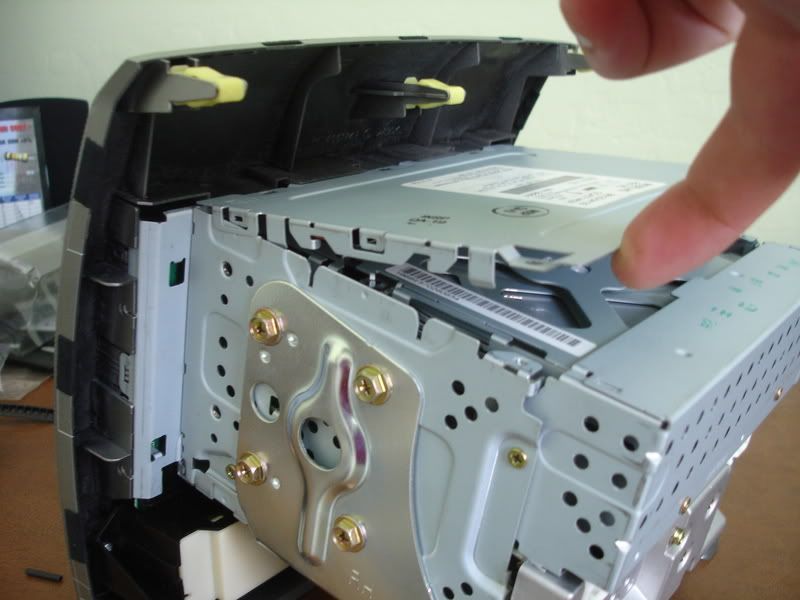
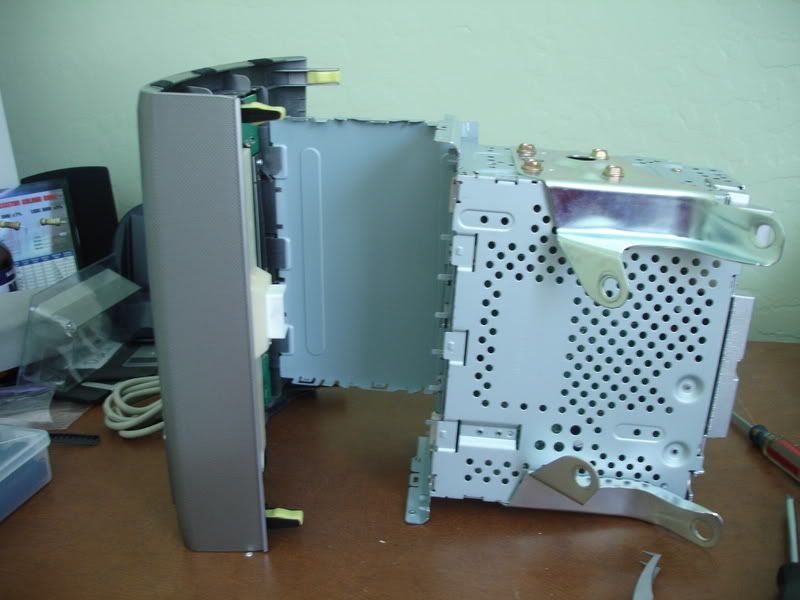
Here is the stereo once it is out. Rotate the face of the stereo away from you and remove the two screws on the top cover, and the four screws; two on each side, and the three on the bottom.

DSC01599.jpg

DSC01600.jpg

DSC01604.jpg


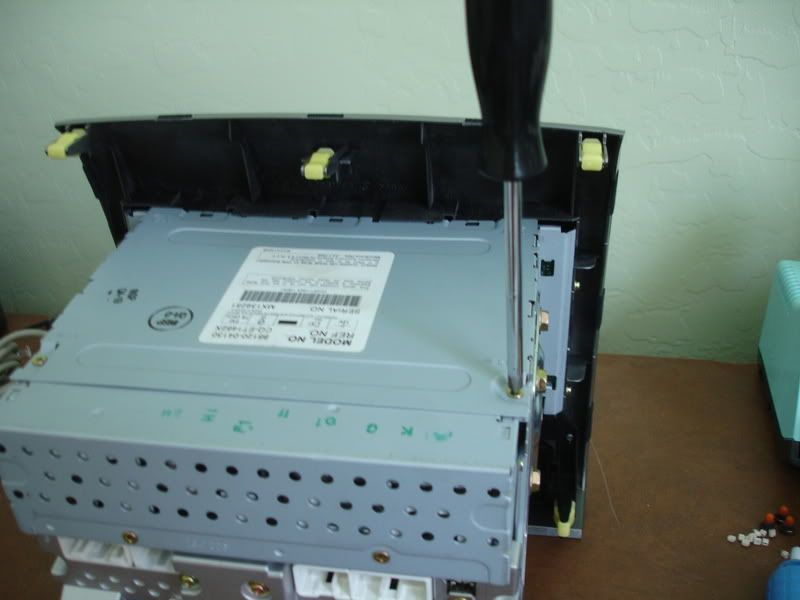
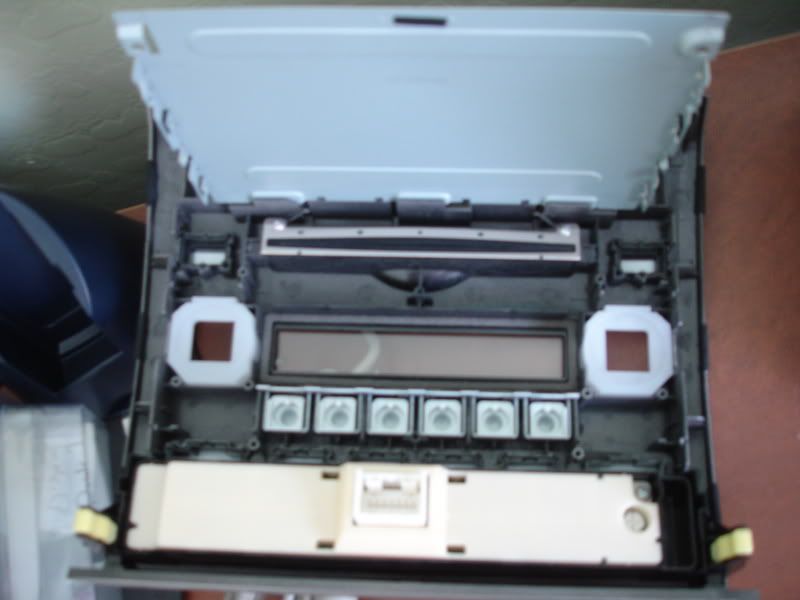
Once the screws are removed, carefully pry the top cover up. You do not have to remove it from the face.

DSC01601.jpg


Next move the stereo so the face is facing up. Remove the volume and station knobs by pulling them straight away.

DSC01603.jpg


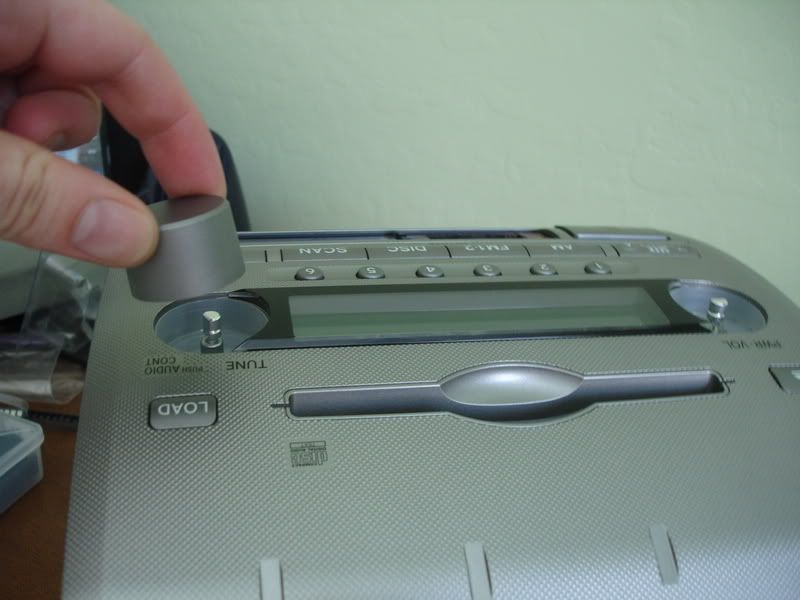
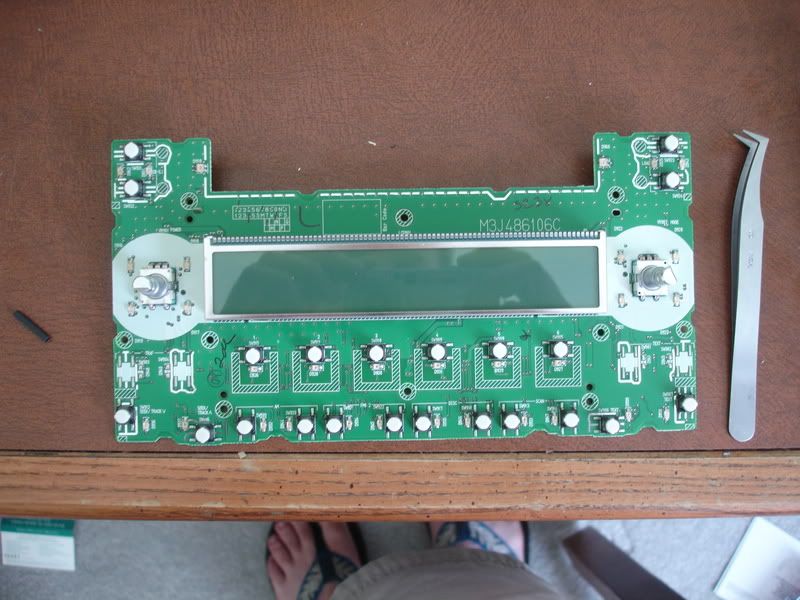
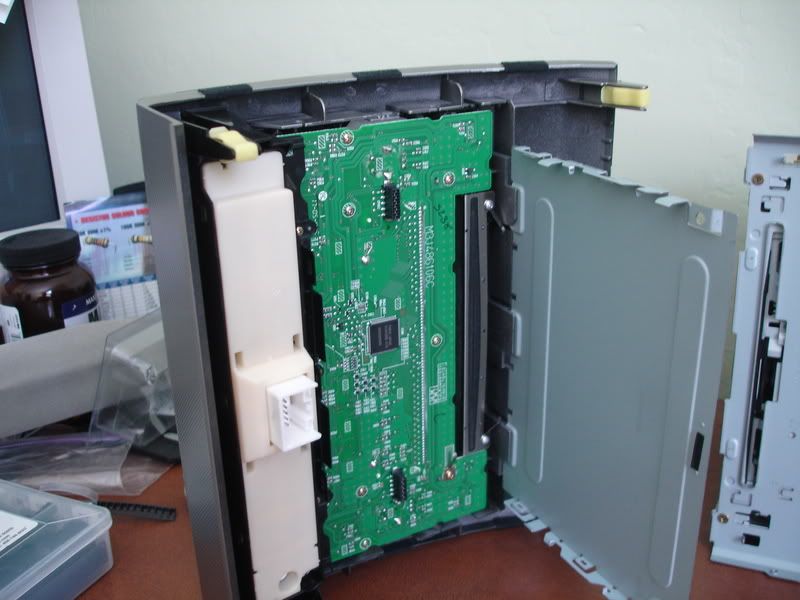
Once the knobs are removed you can start to "pry" the face away from the stereo. There are two large clips on the sides and numerous plastic clips along the top and bottom.

DSC01602.jpg

DSC01605.jpg


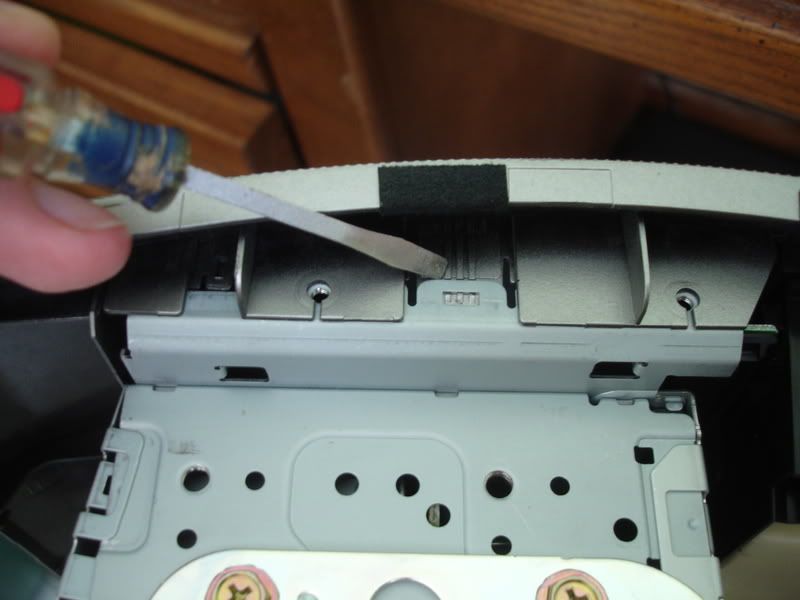
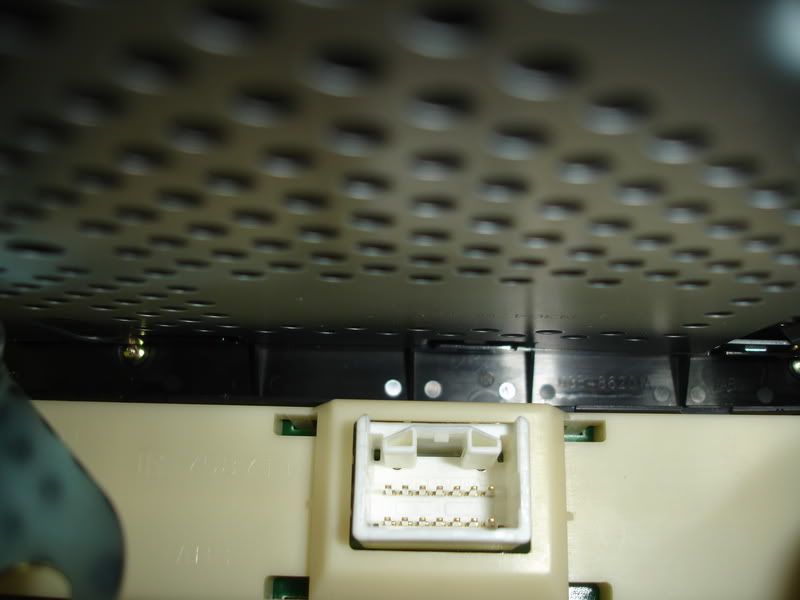
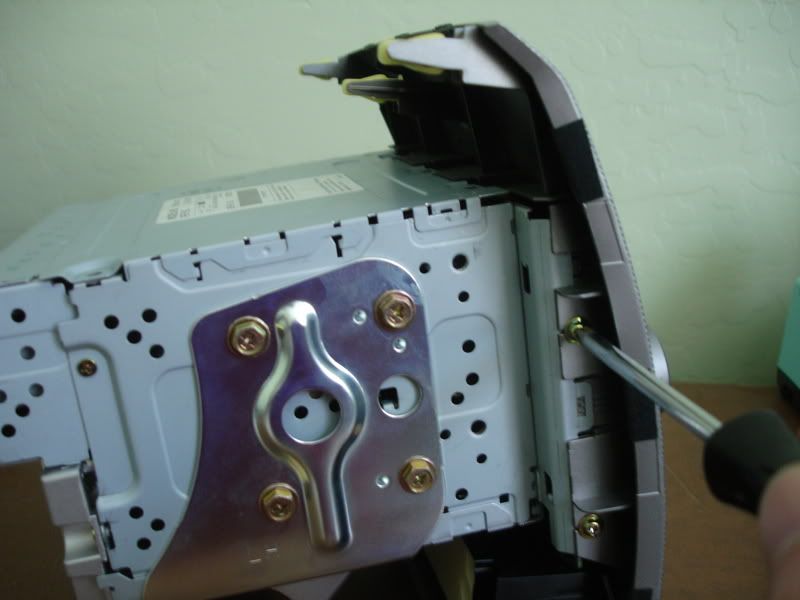
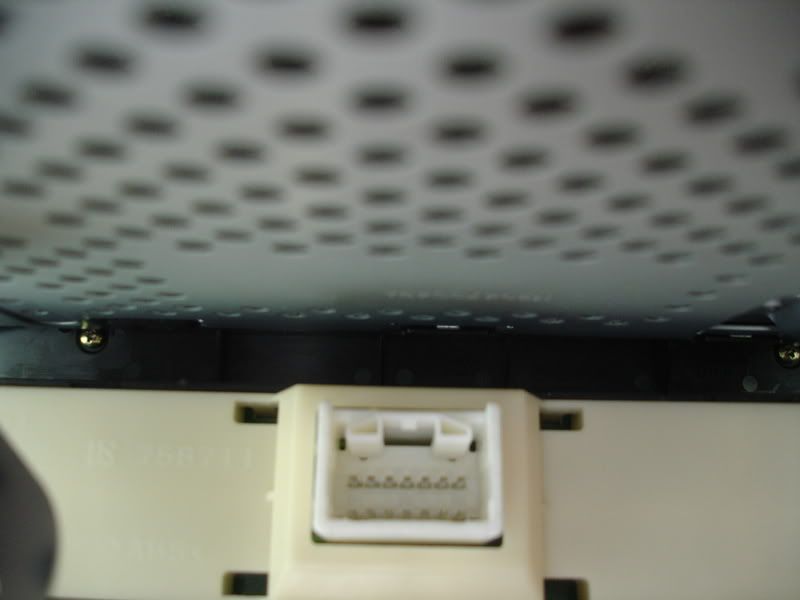
When you have all the clips released then you can pull the face away from the unit. There are two electrical connections that will cause some resistance. Also watch the top plate that was released earlier, ensure that it does not drop back down.

DSC01606.jpg


Here you can see the two electrical connections

DSC01607.jpg

DSC01608.jpg


CONTINUED IN POST #2
 

Stevenredx

New Member
Joined
Jan 14, 2007
Messages
13,448
Reaction score
4
CONTINUED FROM POST #1

Now set the unit aside and place the face, face down. You will see 9 or 10 screws, remove all of these screws and set them aside.

DSC01609.jpg


After you remove the screws you can the pull the PC board away from the face.

DSC01610.jpg

DSC01611.jpg


You can then locate all the LEDs on the board, they are placed near each button and there are 4 surrounding the volume and station knobs. The LEDs for the LCD screen are under the LCD screen. In order to change these LEDs the entire LCD must be removed. These instructions do not cover the LCD color change.

If the picture is clear enough, you should see the "blue" end of the LED. This is the Cathode side of the LED. All the LEDs are oriented in the same direction, all cathodes are to the right or up depending on where the LED is mounted. There are two LED's that are not the same as all the rest. These can be found on either side of the CD slot. You can probably replace these LEDs as well, but once again I did not feel the need to. They are not normally lit, and only light (green) when you are loading or unloading a CD.

DSC01613.jpg


Use your soldering skills to remove the LEDs and solder in the new ones. Fortunately none of the LEDs are glued to the PC board and most can be salvaged, if for some reason you want to keep them. My method is to remove all the solder from both the anode and cathode sides, using the solder sucker. Then using my tweezers I gently pull up on the LED while heating both sides.

Once the LEDs are removed I will then tin each pad and solder in the new LEDs.

Ensure that you have the polarity correct!!! If you have a Digital Multimeter that has a diode test function then you can place the negative probe on the cathode and positive probe on the anode and the LED should still light. Test each LED to ensure that you have not burned any, and that you do not have any cold solder joints.

If you have verified that all your LEDs work then you can reassemble the stereo. Just reverse the directions above.

DSC01614.jpg

DSC01618.jpg

DSC01627.jpg

DSC03535.jpg

DSC03533.jpg
 

07xrunner

Active Member
Joined
Jan 21, 2007
Messages
1,820
Reaction score
0
nice find:rock: has anyone been able to change the climate controls yet ?
 

Stevenredx

New Member
Joined
Jan 14, 2007
Messages
13,448
Reaction score
4
nice find:rock: has anyone been able to change the climate controls yet ?

I took all of that apart and its impossible to change them. They are illuminated by two little bulbs... The acutal plastic is colored so theres no way to do it :thumpdown:
 

07xrunner

Active Member
Joined
Jan 21, 2007
Messages
1,820
Reaction score
0
can you not change the color or the actual plastic ?
 

DOGSTOY06

Banned
Joined
Jan 14, 2007
Messages
3,299
Reaction score
0
hey steven do you think it possible to change the color on a pioneer hu? I like the red but the pioneer hu is blue. of course pioneer says they can't do it. do you know if anyone has?:dontknow:
 

Twisted Creations

New Member
Joined
Mar 18, 2007
Messages
1,324
Reaction score
0
can you not change the color or the actual plastic ?

theatrical lighting gels (like they use on the spot lights), or a vinyl shop should be able to do the plastic pieces whatever color you want :top: If they can be removed and duplicated, and then reinstalled. I have not looked at it, so Steven might know this...
 

Stevenredx

New Member
Joined
Jan 14, 2007
Messages
13,448
Reaction score
4
theatrical gel, or a vinyl shop should be able to do the plastic pieces whatever color you want :top: If they can be removed and duplicated, and then reinstalled. I have not looked at it, so Steven might know this...

I thought about all of this but its just not possible... if i had it all back apart i would get a pic to show. Its really hard to explain how its done :laugh:
 

DOGSTOY06

Banned
Joined
Jan 14, 2007
Messages
3,299
Reaction score
0
steven do you know if you can change the colors on a pioneer hu?:dontknow:
 

Stevenredx

New Member
Joined
Jan 14, 2007
Messages
13,448
Reaction score
4
hey steven do you think it possible to change the color on a pioneer hu? I like the red but the pioneer hu is blue. of course pioneer says they can't do it. do you know if anyone has?:dontknow:

Im sure it can be done.. probabley not alot different from this write up. Just getting it apart and finding the right LED's :top:
 

07xrunner

Active Member
Joined
Jan 21, 2007
Messages
1,820
Reaction score
0
I thought about all of this but its just not possible... if i had it all back apart i would get a pic to show. Its really hard to explain how its done :laugh:
we must find a way ...we must cuz i wanna change mine but i wont do it until i can change them all :laugh:
 

DOGSTOY06

Banned
Joined
Jan 14, 2007
Messages
3,299
Reaction score
0
interesting was curious.actually surprised someone has not tried to.:top:
 

K2

Administrator
Staff member
Joined
Dec 10, 2006
Messages
9,069
Reaction score
44
Great find Steven! Thanks for posting this up! :top:
 

s/chargedxrunner06

Toyota Master Tech
Joined
Feb 20, 2007
Messages
1,166
Reaction score
0
Does anyone know where you can get these UT-672 470nm wavelength LEDS for the HU color change ? store or online website
Because these are definitely smaller than what is in the combination meter which use the PLCC-2 LEDS
 
Last edited:

Stevenredx

New Member
Joined
Jan 14, 2007
Messages
13,448
Reaction score
4
Does anyone know where you can get these UT-672 470nm wavelength LEDS for the HU color change ? store or online website
Because these are definitely smaller than what is in the combination meter which use the PLCC-2 LEDS

I will do some research tomorrow at work and see if i can come up with anything... wish i could have been of more help to you earlier today tho :thumpdown:
 

LOW AND BLOWN

Active Member
Joined
Sep 25, 2007
Messages
1,020
Reaction score
0
Are the one's at lc-led part#ut-672nb not the ones?Sure look close.Just let us know.:top:
 

Stevenredx

New Member
Joined
Jan 14, 2007
Messages
13,448
Reaction score
4
Does anyone know where you can get these UT-672 470nm wavelength LEDS for the HU color change ? store or online website
Because these are definitely smaller than what is in the combination meter which use the PLCC-2 LEDS

Are the one's at lc-led part#ut-672nb not the ones?Sure look close.Just let us know.:top:

Yeah... went back to TN and read through all the post and he did get them from www.lc-led.com I have included a link to the correct page on their site and any of the leds in the last two sections should work fine (i think). Also, he did mention that these from www.lc-led.com are a a little smaller than the stock ones, but they still work fine. :top:

http://www.lc-led.com/Products/department/29
 

LOW AND BLOWN

Active Member
Joined
Sep 25, 2007
Messages
1,020
Reaction score
0
Just did this light change to the head unit,for those intrested it takes 46 leds,which i only had 45 and had to just live with it.Anyway it's a challenge but sure looks much better!:top:
 

LOW AND BLOWN

Active Member
Joined
Sep 25, 2007
Messages
1,020
Reaction score
0
No this is beatin the dead horse but in these pictures i noticed the airbag and clock are different colors,does anybody done this or have a good method of doing this yet?
 
Top Bottom