Ostrichsak
New Member
- Joined
- Apr 21, 2013
- Messages
- 97
- Reaction score
- 0
10th post!
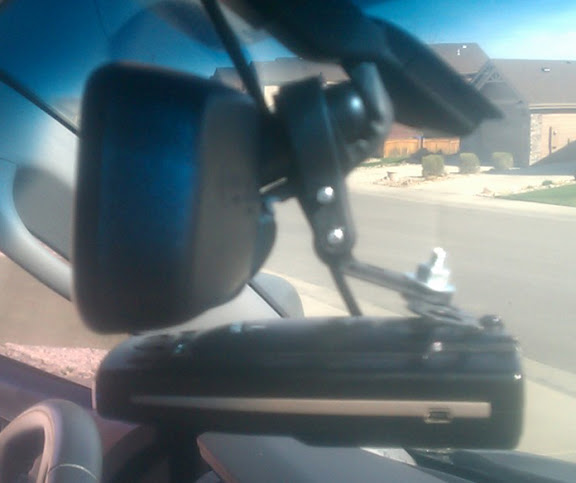
I made a bracket for my radar detector to mount to the rear view mirror rather than the stupid windshield brackets w/suction cups. This same device can be used for a wide variety of things such as GPS devices or engine monitor readouts. The cost is anywhere from free to $2.50 depending on if you ride bicycles or not. It's a simple seat post reflector with the reflector removed. There are a couple sizes so pick based on the thickness of your mirror stem then use padded tape to make up the difference. Pretty simple actually. Just gives you a base to mount whatever you need to it and angles perfectly towards the driver which could be a negative for a radar detector since you want them straight but so far I haven't noticed a decrease in sensitivity to distance radar sources in several cars for about a year or so now that I've had these in all of them.
It seems to work best if you remove the plastic wire loom keeper that's on the bottom of the stem, right where the
bracket is. I tried going around the entire thing but it ended up being harder than just popping it off and throwing it in the glovebox since this bracket does plenty good holding that wire loom you see in place. When you go to attach one of these you will see what I'm talking about.
Enjoy!
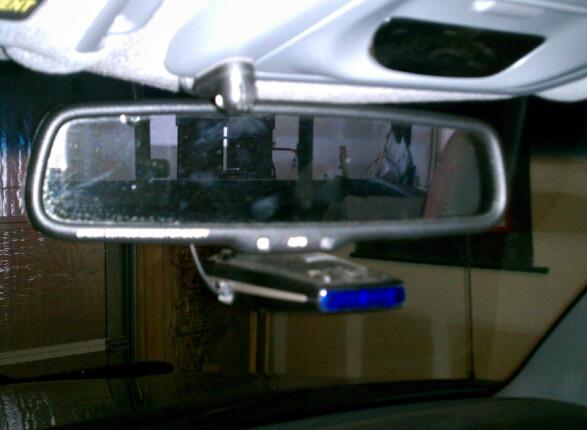
Here's a picture of the bracket from near the driver's view. This was after I did the mirror relocate bracket so it's higher than stock location but gives you an idea. I also bent the bracket slightly so that the radar detector points front to back better (like it would if it were suction cupped to the windshield) rather than being pointed right at the driver for better detection:
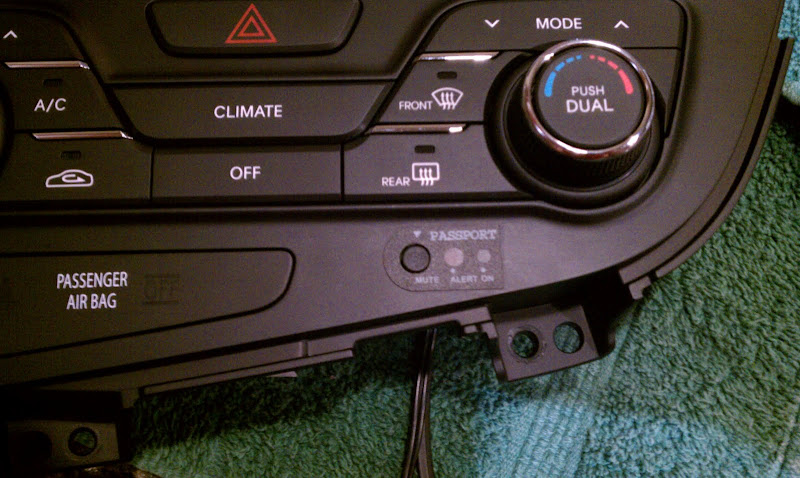
Here's a pic of where I mounted the mute button module. Not as masterful as most of my mute button installs but it works.
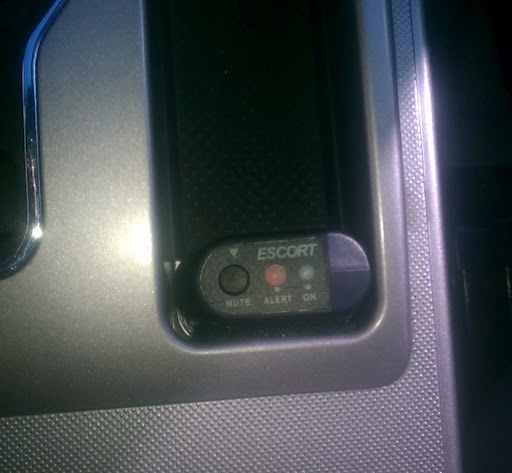
I usually take the mute button install much more serious but this time around I took the easy way out since it was just a quick & dirty install in the driveway. Here's a couple others I've done:
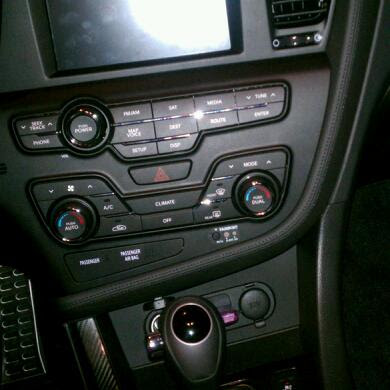
Toyota Camry Hyrbid
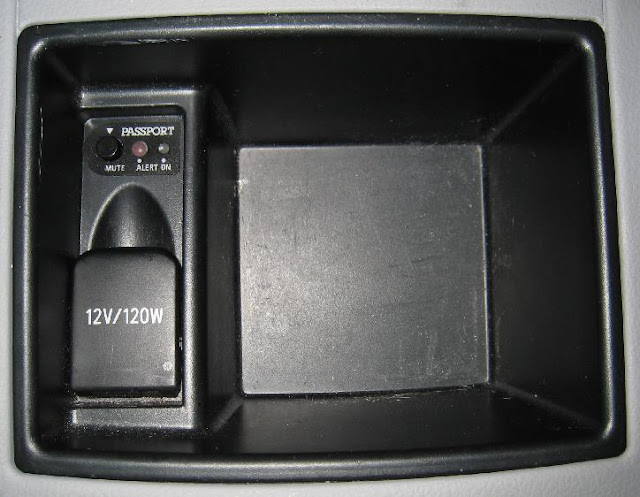
Kia Optima SX Turbo
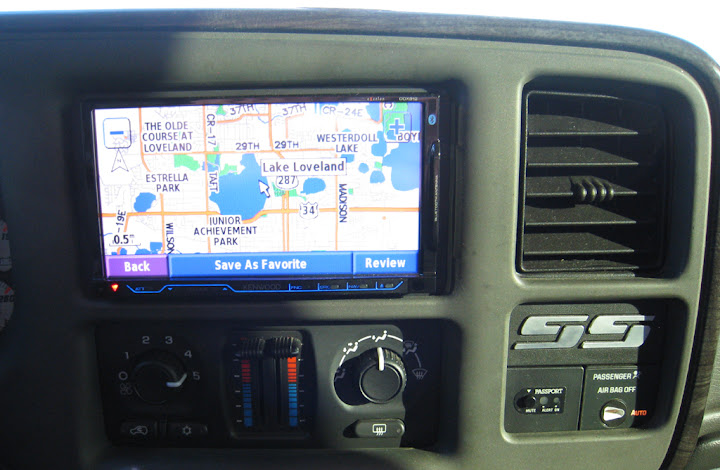
Silverado SS
MKIV Supra

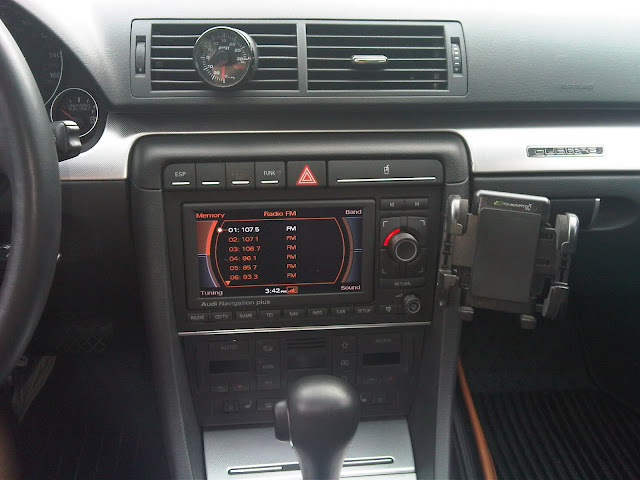
I'll give someone a gold star if they can spot the mute button in my A4:
I made a bracket for my radar detector to mount to the rear view mirror rather than the stupid windshield brackets w/suction cups. This same device can be used for a wide variety of things such as GPS devices or engine monitor readouts. The cost is anywhere from free to $2.50 depending on if you ride bicycles or not. It's a simple seat post reflector with the reflector removed. There are a couple sizes so pick based on the thickness of your mirror stem then use padded tape to make up the difference. Pretty simple actually. Just gives you a base to mount whatever you need to it and angles perfectly towards the driver which could be a negative for a radar detector since you want them straight but so far I haven't noticed a decrease in sensitivity to distance radar sources in several cars for about a year or so now that I've had these in all of them.
It seems to work best if you remove the plastic wire loom keeper that's on the bottom of the stem, right where the
bracket is. I tried going around the entire thing but it ended up being harder than just popping it off and throwing it in the glovebox since this bracket does plenty good holding that wire loom you see in place. When you go to attach one of these you will see what I'm talking about.
Enjoy!
Here's a picture of the bracket from near the driver's view. This was after I did the mirror relocate bracket so it's higher than stock location but gives you an idea. I also bent the bracket slightly so that the radar detector points front to back better (like it would if it were suction cupped to the windshield) rather than being pointed right at the driver for better detection:
Here's a pic of where I mounted the mute button module. Not as masterful as most of my mute button installs but it works.
I usually take the mute button install much more serious but this time around I took the easy way out since it was just a quick & dirty install in the driveway. Here's a couple others I've done:
Toyota Camry Hyrbid
Kia Optima SX Turbo
Silverado SS
MKIV Supra
I'll give someone a gold star if they can spot the mute button in my A4:
Last edited: