Limitless
Member
- Joined
- Feb 23, 2010
- Messages
- 386
- Reaction score
- 12
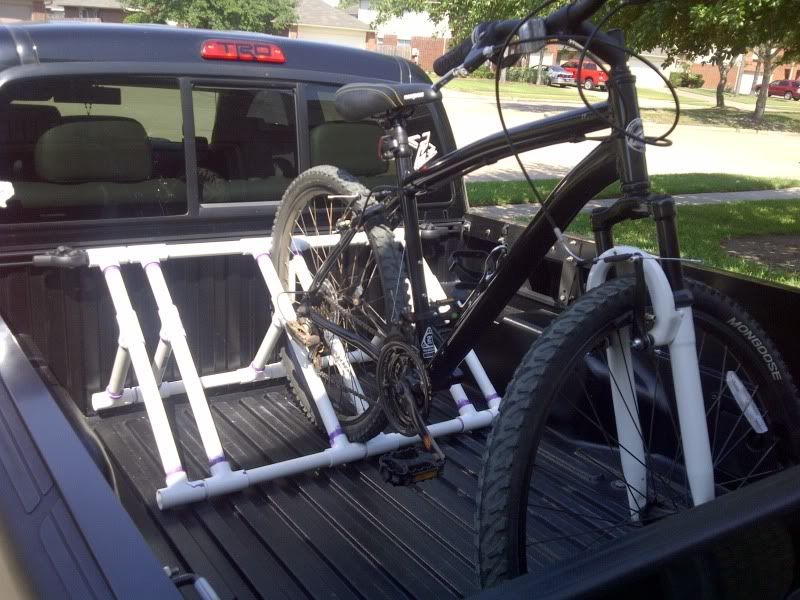
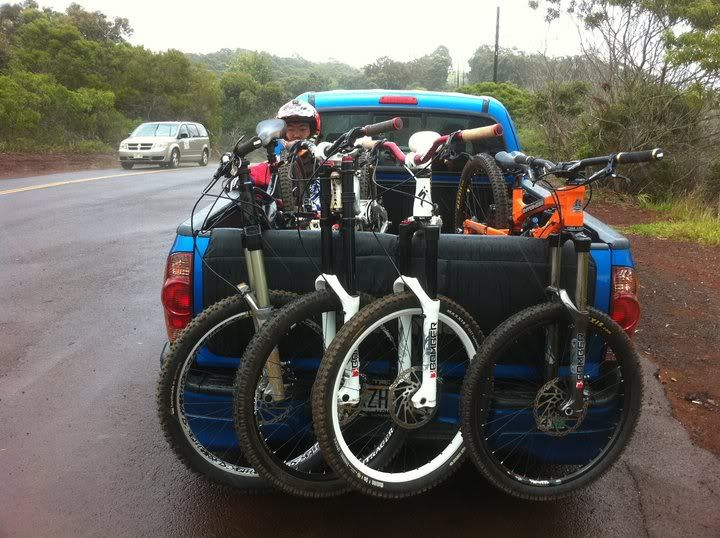
I used 1" PVC to construct the bike rack.
Attached the PDF's of the CAD dimensions. Before glueing anything slide together and test fit to ensure that it fits the truck. Also, two sets of dimensions i circled (3.75 and 7 3/8) should be cut a little long and trimmed as needed if you want a snug fit.
List of materials:
24 - 1" Tees
4 - 1" elbows (for C only)
2 - 1" end caps
3 - 10' sections of 1" PVC
1 - Can PVC Cement
List of 1" pipe Lengths:
9 - 2-1/4" (connect tee's, may need to be bigger depending on bike tire width)
6 - 7" (for B)
6 - 1' 2-3/4" (for B)
6 - 10-1/4" (for B)
6 - 9-3/4" (for in between sections)
4 - 7-3/8" (for C)
2 - 1' 1" (for C)
2 - 3-3/4" (for end caps)
I started by making 6 of the 3-legged sections in pdf1 and pairing them up together with the 2-1/4" peices to make 3 brakets that will essentialy house the tires. For clarity i will call these 3 assemblyies sections B. Assemble this on a level surfact so you can square everything up easier by twisting the assemblie until it seems right.
Next I used to 9-3/4" sections to attach the 3 sections you just made (sections B) together and form the bulk of the finished rack. At this time you should set it on the ground and sqaure it up again to ensure it is level.
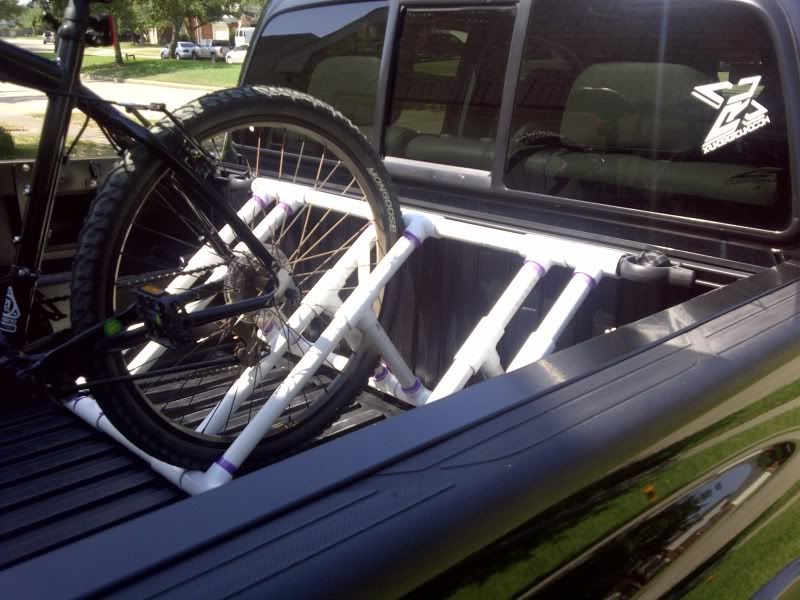
Now use the pdf3 to make two of the section C assemblies that will be used for the sides. Assemble the sides onto the outer section B's making sure you use the correct tees (the ones that will be against the back wall of the truck.
Finish off the assembly by attaching the end caps to the 3-3/4" peices and attaching them to the remaining open tee's.
If anything need to be adjusted take apart and do so now before you glue it together. If everything is in good order you can take it all apart and repeat using hte pvc glue. The glue sets pretty fast so try and work quickly and remember to try and keep the ends on a level surface. Feel free to glu a couple test peices to see what i mean.
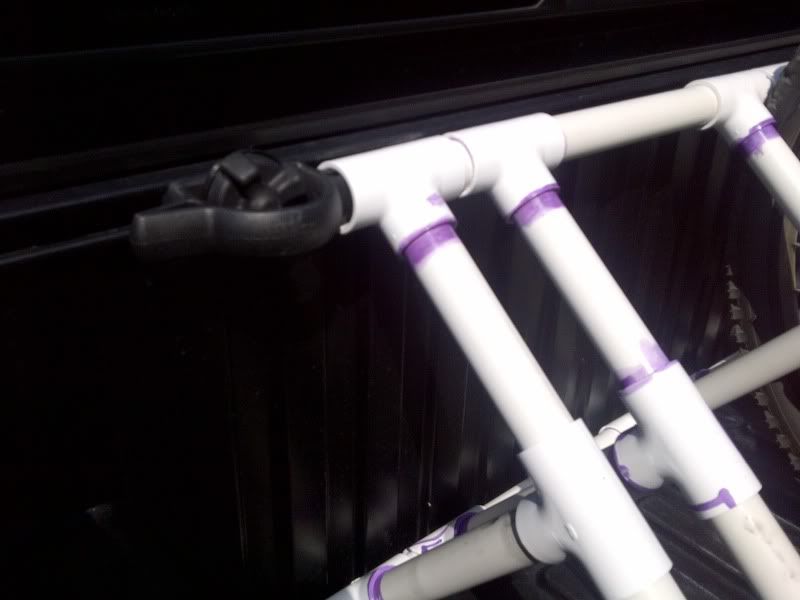
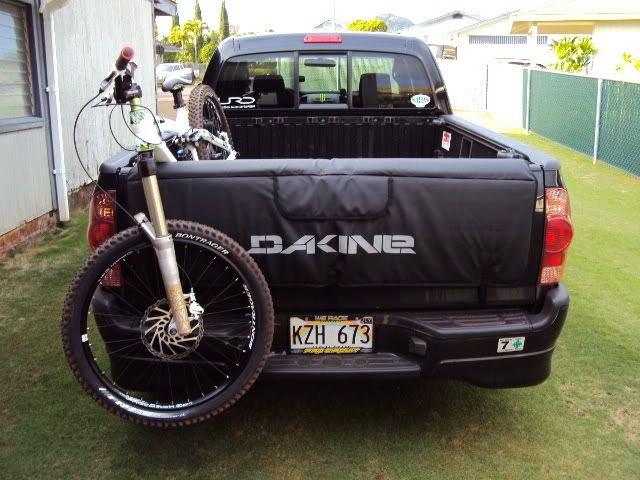
Once complete feel free to paint it whatever color you desire. I scuffed it up with a scotch brite pad and used fusion paint to help adhere to it. Yeah its going to get scratched and beat up but still looks better then plain white IMO.
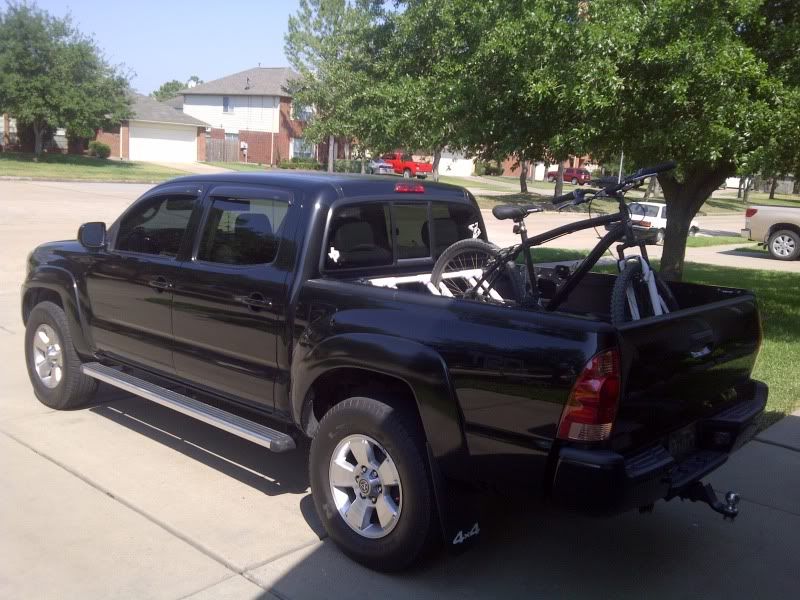
And as a final word of advice I use my Cycle Cinch motorcycle tie down straps to stabalize the bike real quick although any strap will due. the rack has held the bike without straps but was swaying around the turns and wouldnt recomend it.
Attached the PDF's of the CAD dimensions. Before glueing anything slide together and test fit to ensure that it fits the truck. Also, two sets of dimensions i circled (3.75 and 7 3/8) should be cut a little long and trimmed as needed if you want a snug fit.
List of materials:
24 - 1" Tees
4 - 1" elbows (for C only)
2 - 1" end caps
3 - 10' sections of 1" PVC
1 - Can PVC Cement
List of 1" pipe Lengths:
9 - 2-1/4" (connect tee's, may need to be bigger depending on bike tire width)
6 - 7" (for B)
6 - 1' 2-3/4" (for B)
6 - 10-1/4" (for B)
6 - 9-3/4" (for in between sections)
4 - 7-3/8" (for C)
2 - 1' 1" (for C)
2 - 3-3/4" (for end caps)
I started by making 6 of the 3-legged sections in pdf1 and pairing them up together with the 2-1/4" peices to make 3 brakets that will essentialy house the tires. For clarity i will call these 3 assemblyies sections B. Assemble this on a level surfact so you can square everything up easier by twisting the assemblie until it seems right.
Next I used to 9-3/4" sections to attach the 3 sections you just made (sections B) together and form the bulk of the finished rack. At this time you should set it on the ground and sqaure it up again to ensure it is level.
Now use the pdf3 to make two of the section C assemblies that will be used for the sides. Assemble the sides onto the outer section B's making sure you use the correct tees (the ones that will be against the back wall of the truck.
Finish off the assembly by attaching the end caps to the 3-3/4" peices and attaching them to the remaining open tee's.
If anything need to be adjusted take apart and do so now before you glue it together. If everything is in good order you can take it all apart and repeat using hte pvc glue. The glue sets pretty fast so try and work quickly and remember to try and keep the ends on a level surface. Feel free to glu a couple test peices to see what i mean.
Once complete feel free to paint it whatever color you desire. I scuffed it up with a scotch brite pad and used fusion paint to help adhere to it. Yeah its going to get scratched and beat up but still looks better then plain white IMO.
And as a final word of advice I use my Cycle Cinch motorcycle tie down straps to stabalize the bike real quick although any strap will due. the rack has held the bike without straps but was swaying around the turns and wouldnt recomend it.
Attachments

Last edited: