elynor_v
Member
- Joined
- Feb 8, 2010
- Messages
- 398
- Reaction score
- 3
Carbon Fiber Vinyl...So you wanna be a Wrap Star...
I am NOT a pro, just big on DIY.
I wanted to share a few things that I learned along the way regarding CFV and Vinyl Stripes.
Here we go...
CFV
1. If you've guesstimated how much CFV you need for your project, double it when you put your order in. It'll save time when you find out you need more for screw ups, plus you'll find other things to wrap along the way, etc.
2. Prep well. I used a tiny bit of dishwashing soap and water to clean the area, and then some window cleaner, alcohol, and water right before I got to stickin'.
3. A hair dryer or heating gun (I got mine from a craft store) is essential. It makes the vinyl easier to work with and gets you around curves and stuff for a clean look. I used an old PetCo card and chop sticks filed down to help with tight spaces or smooth out air bubbles. I didn't need the funky little squeegee they try to sell you.
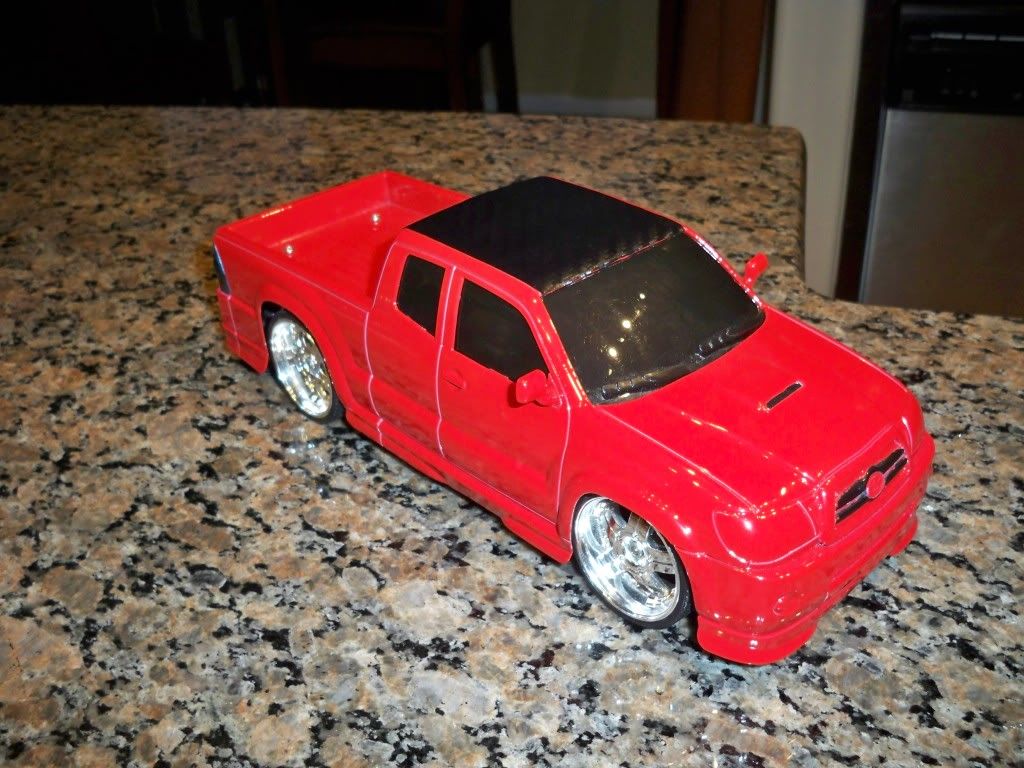
4. CFV is pretty durable, it stretches nicely with heat. There were a couple of spots where I overdid it with the exacto, but heating it up and stretchin35iOGuMg/s512/cfvg it out fixed that.

5. On the flip side, CFV is not tear proof. Practice and patience helped me out, but from my mess-ups, I got templates. Win-win. LOL
6. Lay the vinyl over the area you're working on work from the center out. I found it easier to do the cut outs after I covered whatever it was that I was working on. Sharp blade = cleaner cuts. It was easier for me to cut after I heated the vinyl a little bit.

Racing stripes were way easier to work with. I didn't buy any special prep spray or adhesive. I just used the soap, window cleaner, and water. No special squeegee here, either, just an old window squeegee, painter's tape, measuring tape, and the spray.
1. I layed the stripe where I wanted to put it and marked it with painter's tape and cleaned the area with the soap/window cleaner/water mix, then wiped it down.

2. Sprayed the hood (or wherever) with the soap/window cleaner/water mix again, overspray it - don't be stingy.
3. Start peeling off the adhesive side of you vinyl and spray it as you peel the backing off. Lay it on your hood and line it up with your markers. Moving it around will be easy if the hood and vinyl stay wet, keep that spray bottle handy.
4. If your happy with the placement, spray the whole thing down and start squeegeeing from the top/center outwards. Keep the whole thing wet and use short strokes to work any water or air bubbles out.
5. Let it dry, an hour or two, then start peeling the protective layer of the vinyl off. If the vinyl starts to come up with this layer, spray, squeegee, and wait a little longer before you continue.

**Youtube videos on CFV and racing stripes are abundant. Lots of info out there.
These are the ones that helped me out -
http://youtu.be/Z2mBclTY_Uo
http://youtu.be/cNwZ2VTGNZE
http://youtu.be/cNwZ2VTGNZE
P.S. @STONER-X, I had to keep goin' with the "rap" you started! LOL :rockon:
I am NOT a pro, just big on DIY.
I wanted to share a few things that I learned along the way regarding CFV and Vinyl Stripes.
Here we go...
CFV
1. If you've guesstimated how much CFV you need for your project, double it when you put your order in. It'll save time when you find out you need more for screw ups, plus you'll find other things to wrap along the way, etc.
2. Prep well. I used a tiny bit of dishwashing soap and water to clean the area, and then some window cleaner, alcohol, and water right before I got to stickin'.
3. A hair dryer or heating gun (I got mine from a craft store) is essential. It makes the vinyl easier to work with and gets you around curves and stuff for a clean look. I used an old PetCo card and chop sticks filed down to help with tight spaces or smooth out air bubbles. I didn't need the funky little squeegee they try to sell you.
4. CFV is pretty durable, it stretches nicely with heat. There were a couple of spots where I overdid it with the exacto, but heating it up and stretchin35iOGuMg/s512/cfvg it out fixed that.
5. On the flip side, CFV is not tear proof. Practice and patience helped me out, but from my mess-ups, I got templates. Win-win. LOL
6. Lay the vinyl over the area you're working on work from the center out. I found it easier to do the cut outs after I covered whatever it was that I was working on. Sharp blade = cleaner cuts. It was easier for me to cut after I heated the vinyl a little bit.
Racing stripes were way easier to work with. I didn't buy any special prep spray or adhesive. I just used the soap, window cleaner, and water. No special squeegee here, either, just an old window squeegee, painter's tape, measuring tape, and the spray.
1. I layed the stripe where I wanted to put it and marked it with painter's tape and cleaned the area with the soap/window cleaner/water mix, then wiped it down.
2. Sprayed the hood (or wherever) with the soap/window cleaner/water mix again, overspray it - don't be stingy.
3. Start peeling off the adhesive side of you vinyl and spray it as you peel the backing off. Lay it on your hood and line it up with your markers. Moving it around will be easy if the hood and vinyl stay wet, keep that spray bottle handy.
4. If your happy with the placement, spray the whole thing down and start squeegeeing from the top/center outwards. Keep the whole thing wet and use short strokes to work any water or air bubbles out.
5. Let it dry, an hour or two, then start peeling the protective layer of the vinyl off. If the vinyl starts to come up with this layer, spray, squeegee, and wait a little longer before you continue.
**Youtube videos on CFV and racing stripes are abundant. Lots of info out there.
These are the ones that helped me out -
http://youtu.be/Z2mBclTY_Uo
http://youtu.be/cNwZ2VTGNZE
http://youtu.be/cNwZ2VTGNZE
P.S. @STONER-X, I had to keep goin' with the "rap" you started! LOL :rockon:
Last edited: