Welcome!

By registering with us, you'll be able to discuss, share and private message with other members of our community.

SignUp Now!

Tommys 2006 Speedway Blue

TommyXrunner

Active Member
Joined
May 22, 2012
Messages
1,859
Reaction score
0
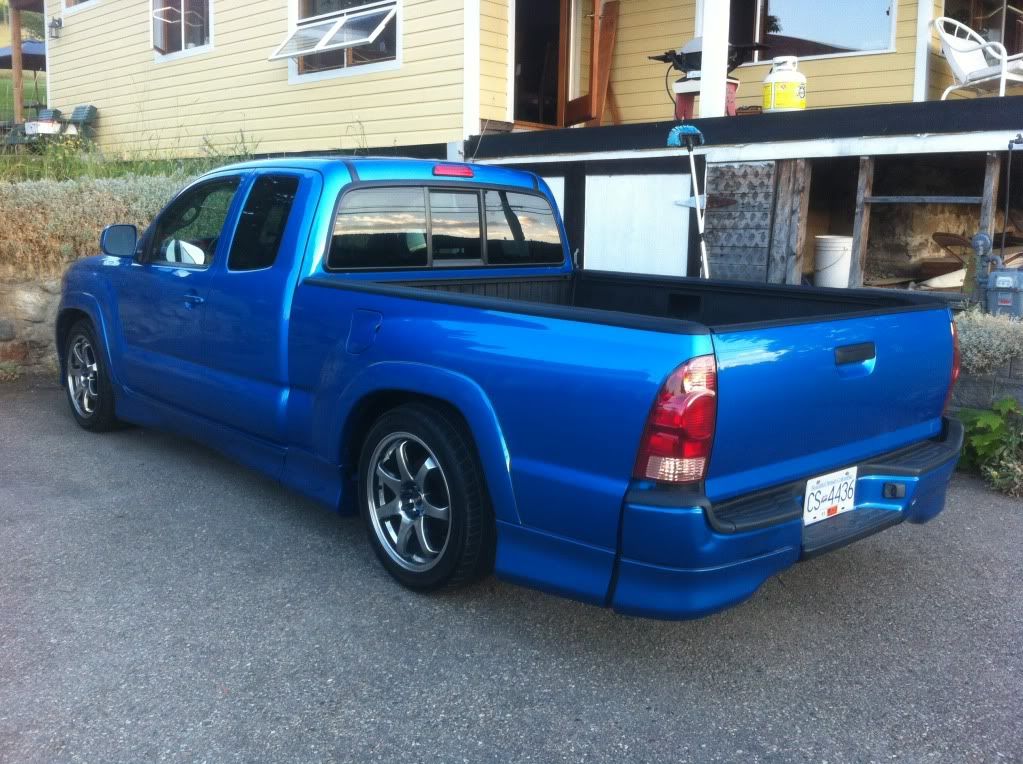
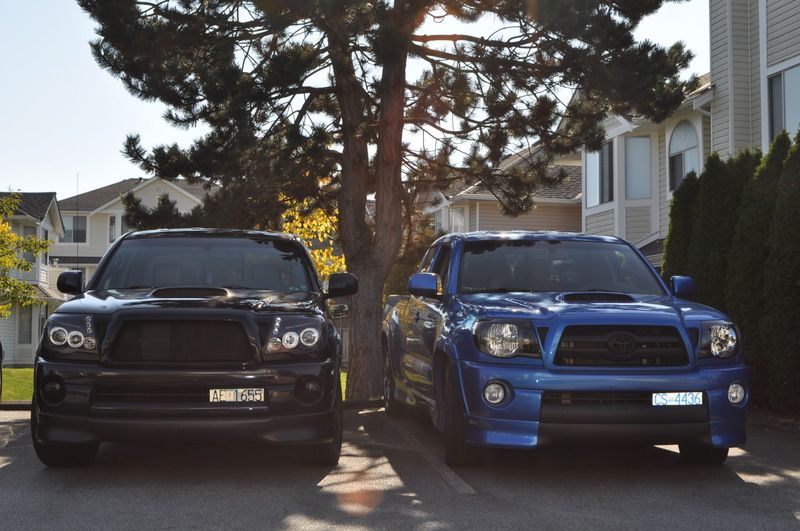
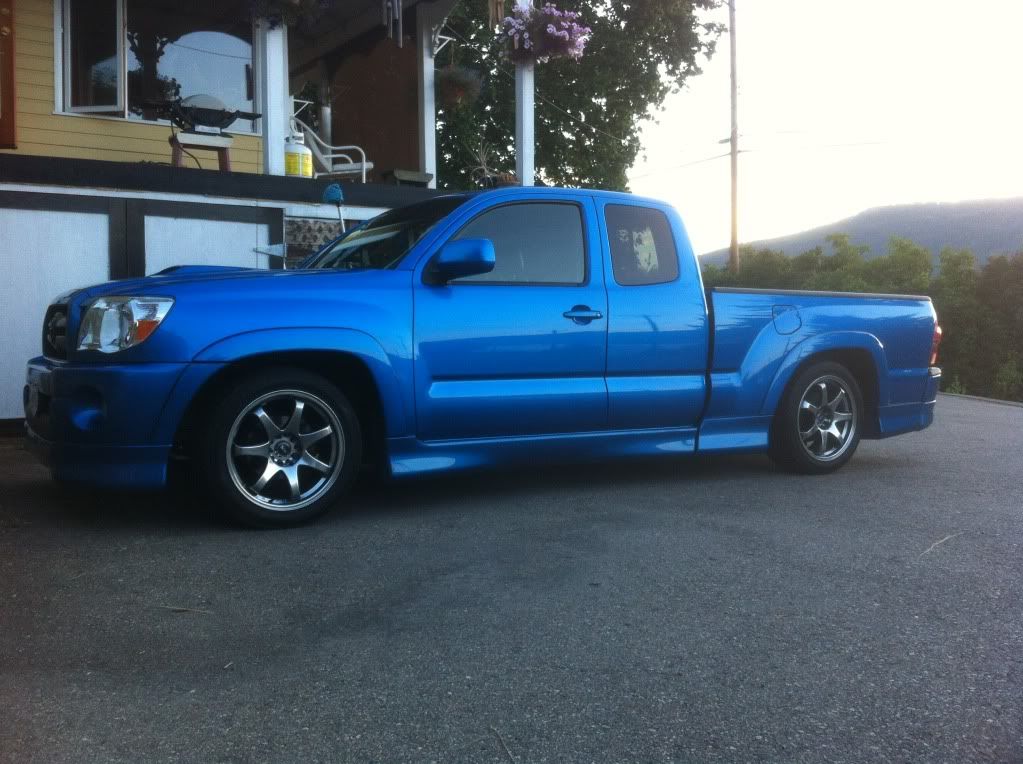
Hey guys and girls. Just wanted to say hi to everyone and show my current build! I purchased my 2006 speedway blue x-runner january 2012. Since than i've slowly started adding 1 piece at a time and have made a lot of changes to the truck.

Interior:

- TRD Short Shifter
- Black/Grey Leather Interior
- Escort Passport X50 Black
- OBX Pedals
- Ultra-Gauge
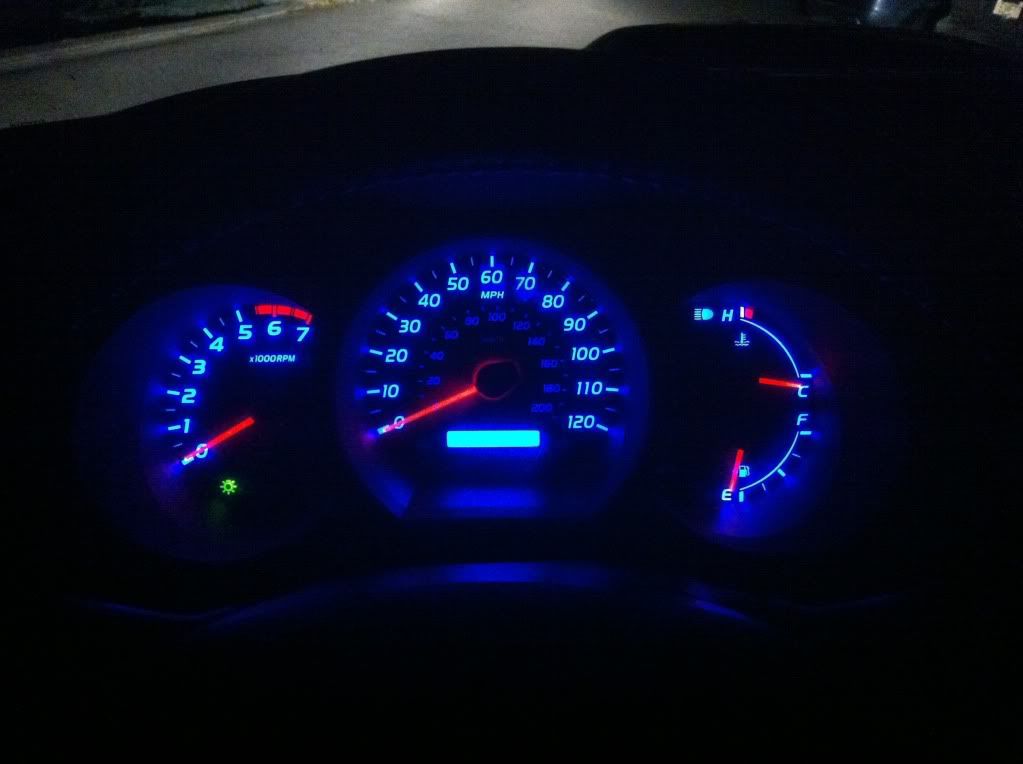
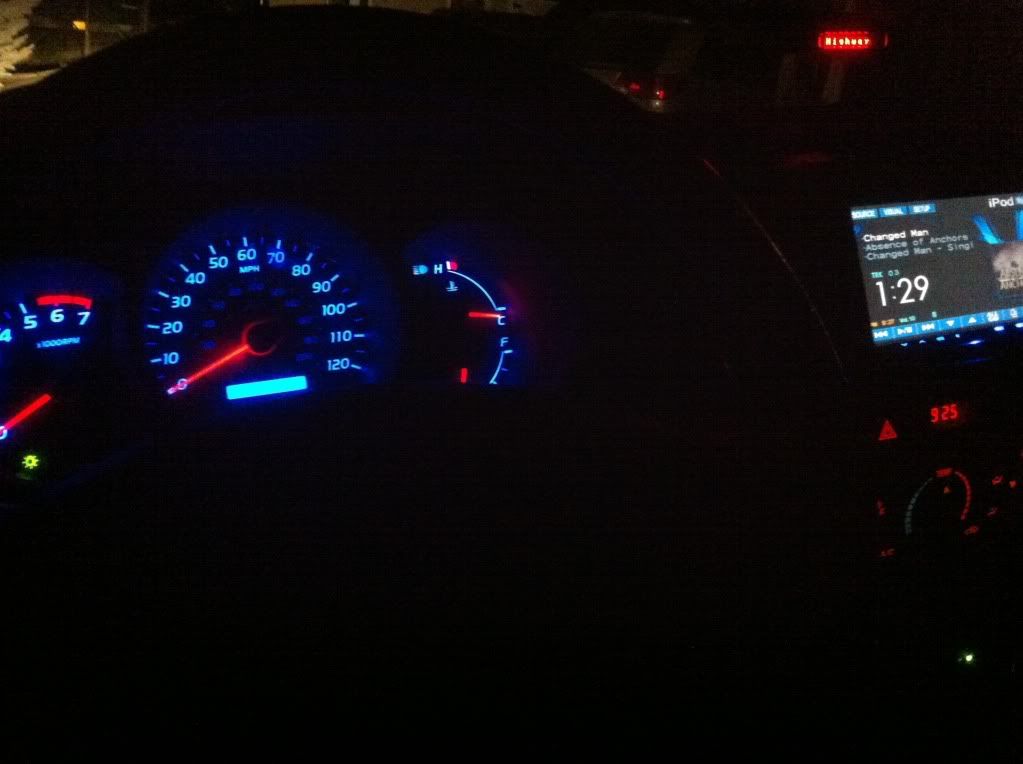
- Blue LED Gauge cluster

Exterior:

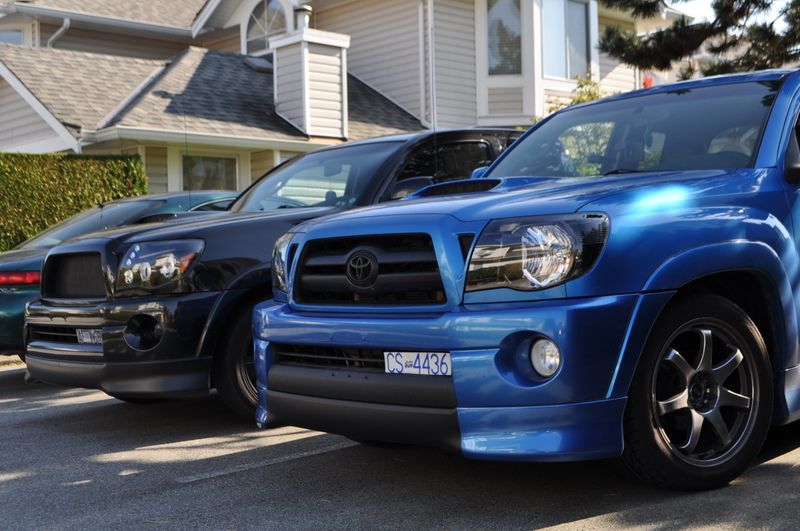
- Painted Grill Emblem Black
- Chromium Black XXR 522 Rims (18 X 8.5 with 30mm offset)
- Blue Muteki SR48 Lug Nuts
- Lower Evo Mod
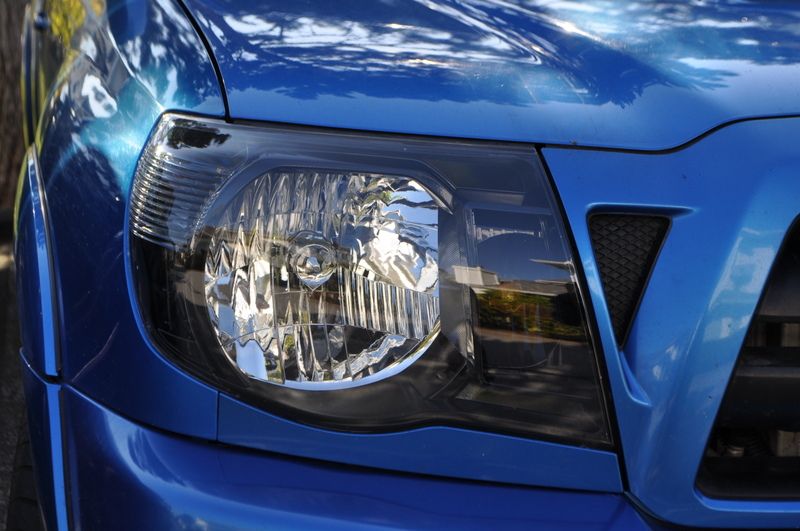
- BHLM with reflectors removed
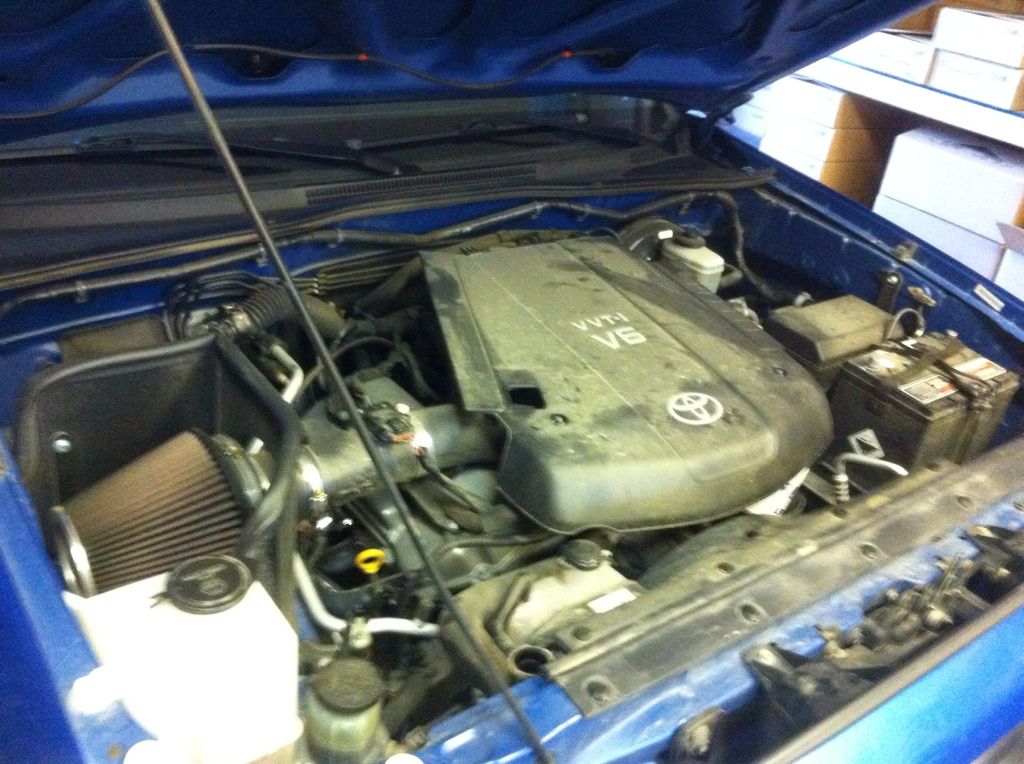
Performance:

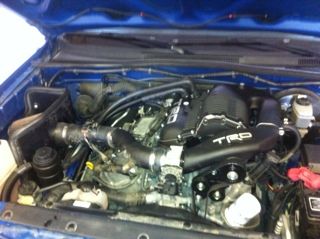
- K&N 63 Series Aircharger
- URD MK2 3" catback
- Gen. 2 Doug Thorley Long Tube Headers
- URD Rear O2 Simulator
- URD MAF Sensor Calibrator (not tuned yet)
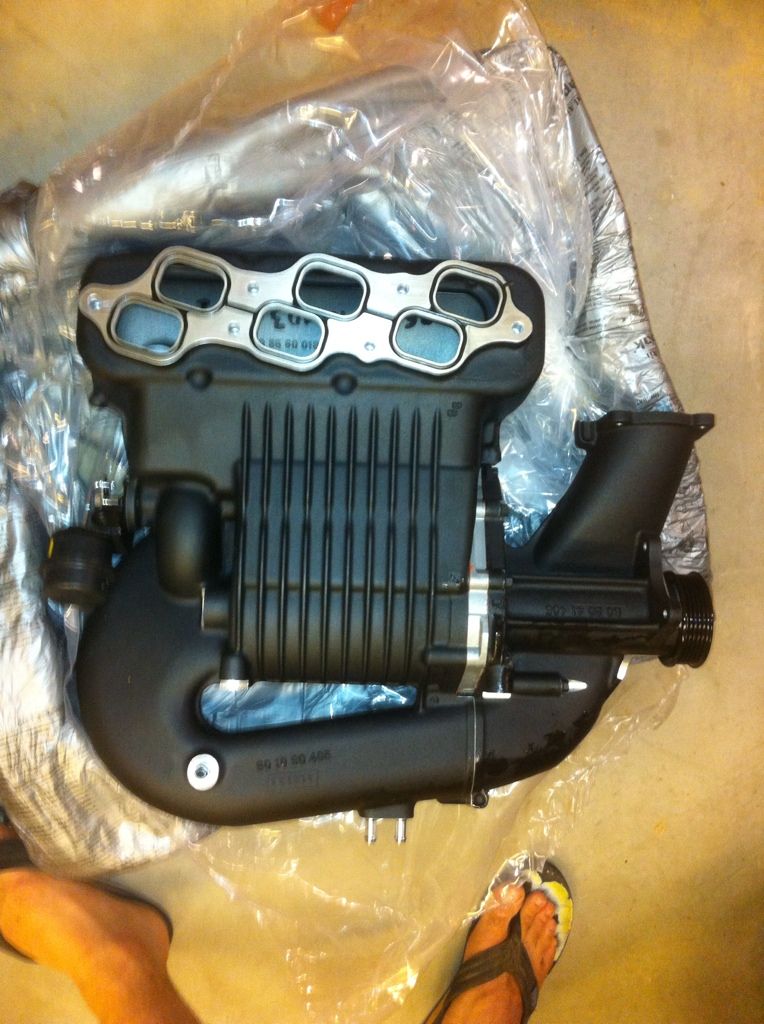
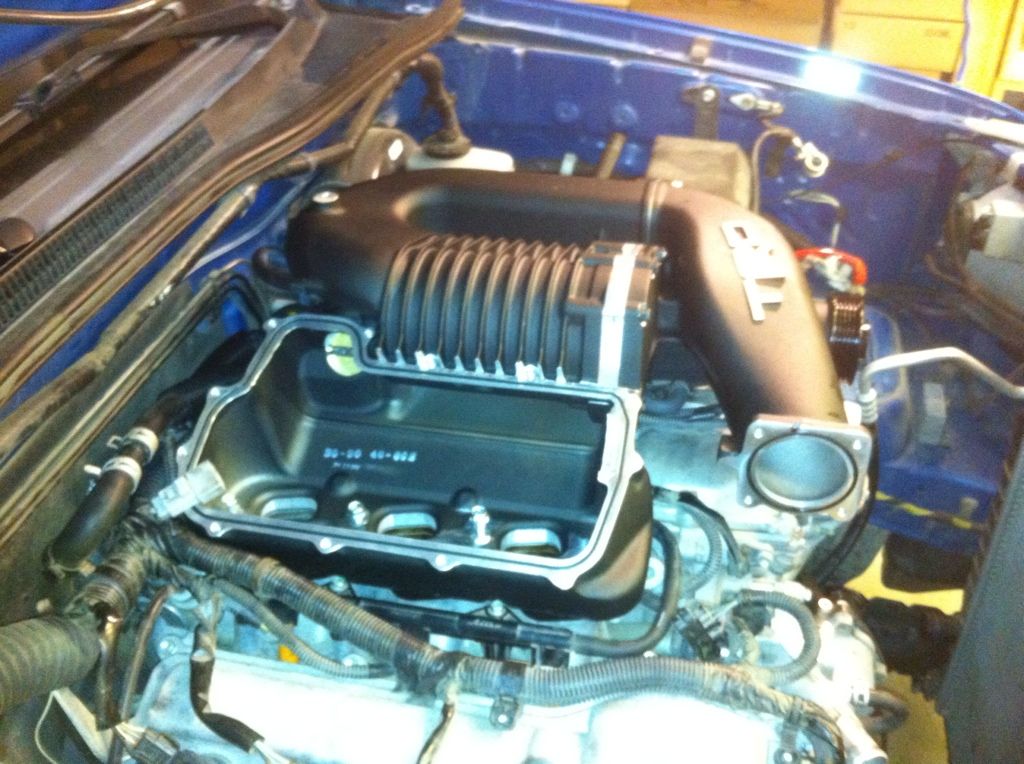
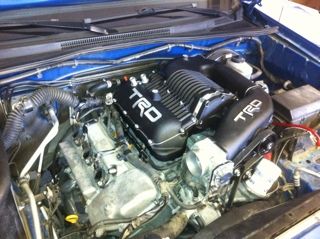
- TRD Supercharger
- URD Competition Y-Pipe
- Vibrant Performance Ultra Quiet Resonator
- URD 2.825" Supercharger Pulley
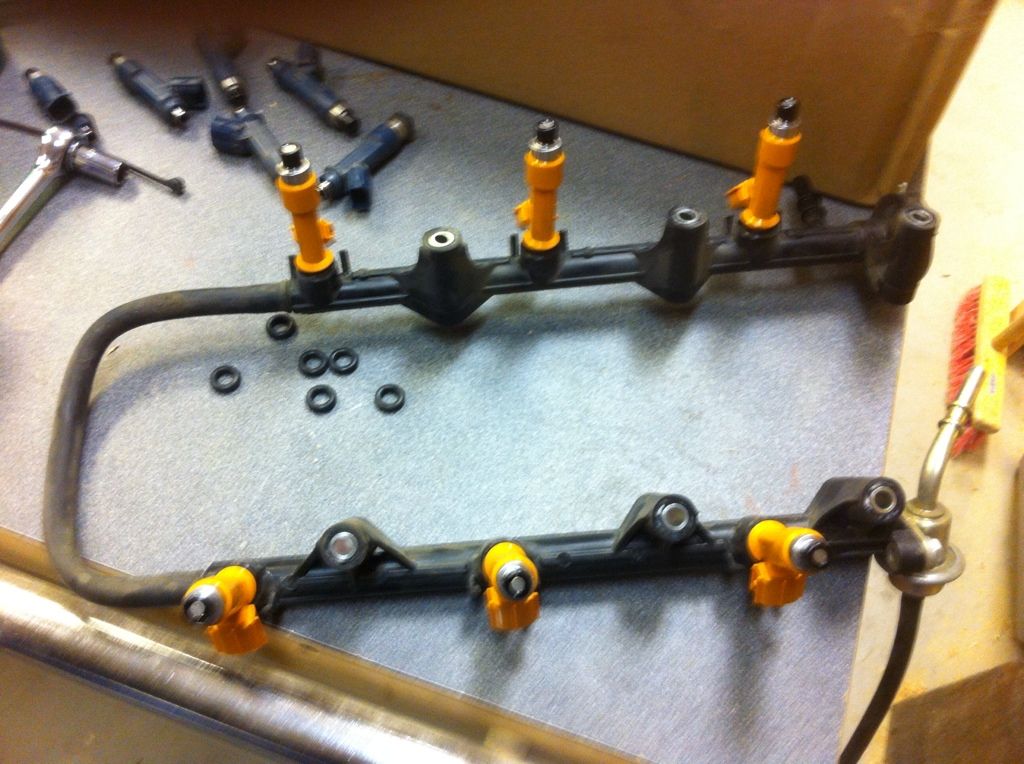
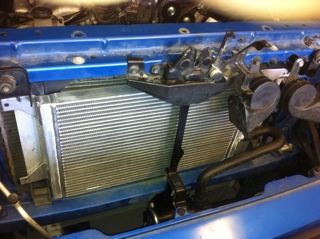
- URD Fuel Pump Upgrade

Sound:

- Alpine IVA W505 Double Din
- Alpine 10" X-Type competition subwoofer (1000 watts RMS)
- 1200 Watt RMS Alpine PDX M12 Amplifier
- Custom Subwoofer Enclosure
- JL Evolution TR Components
- Dynomat on Front Door Panels
- Alpine PXA-H100 Imprint Audio Processor
- Alpine Power Pack Amplifier

Suspension:

- XII Drop Coils
- Belltech 2" Drop Blocks

Future Mods:

- QA1'S
- Power Stop Brake Kit
- Wideband and Boost gauge


Exhaust Clip:


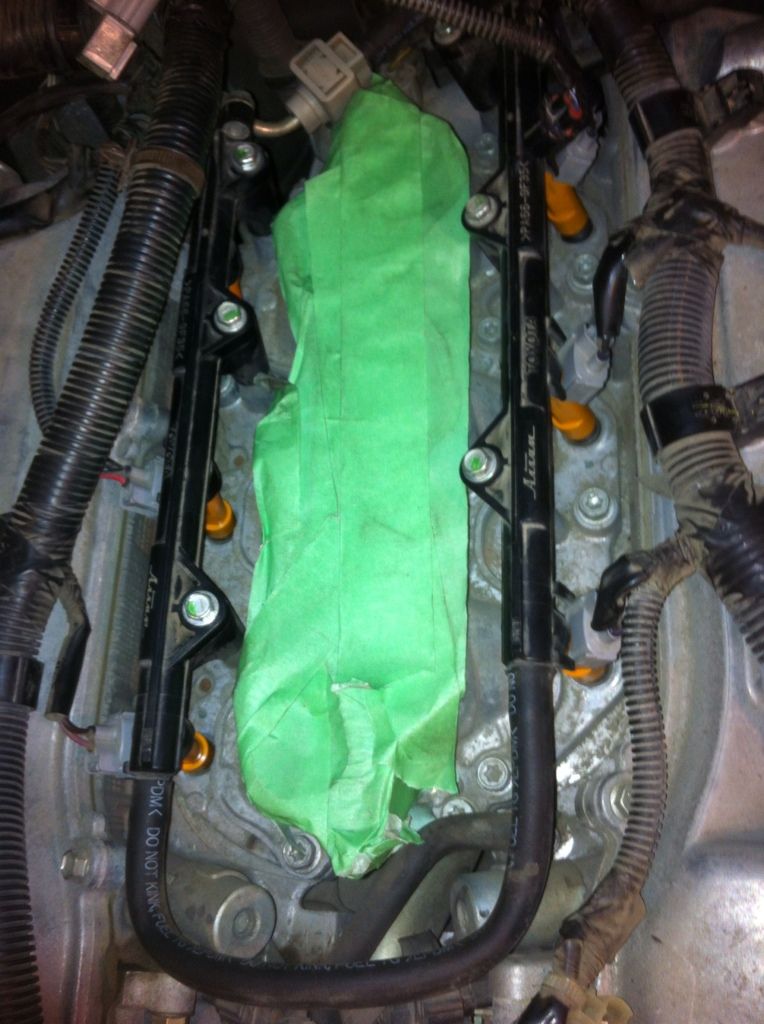
TRD Supercharger Installation:

4855bc31.jpg


6e01e146.jpg


efa4ca72.jpg


d2bef139.jpg


88bb2ae5.jpg


f0a2519b.jpg


3d533f6e.jpg


cc7e1f0b.jpg
 
Last edited:

Torspd

Moderator
Staff member
Joined
May 25, 2008
Messages
14,814
Reaction score
54
Just copy and paste from Photobucket like everyone else said. Piece of cake. :top: Now let's see some pictures!!! :D
 

WallasX

Active Member
Joined
Mar 14, 2008
Messages
1,140
Reaction score
0
if you go back into photobucket and click on each pic that you want to post click the IMG code, copy it, then paste on your post and they will display

click the picture when they are sized at 60%, click the individual pics from your homepage on photobucket. The pics you posted now dont show up on your post and are very small when you click the link.
 
Last edited:

TommyXrunner

Active Member
Joined
May 22, 2012
Messages
1,859
Reaction score
0
if you go back into photobucket and click on each pic that you want to post click the IMG code, copy it, then paste on your post and they will display

click the picture when they are sized at 60%, click the individual pics from your homepage on photobucket. The pics you posted now dont show up on your post and are very small when you click the link.

ahh thanks! i'll try that
 

Tunedx

Active Member
Joined
Dec 23, 2007
Messages
3,084
Reaction score
1
Trd blower looks sexy under that hood. Time to paint those valve covers to match.
 

TommyXrunner

Active Member
Joined
May 22, 2012
Messages
1,859
Reaction score
0
if you go back into photobucket and click on each pic that you want to post click the IMG code, copy it, then paste on your post and they will display

click the picture when they are sized at 60%, click the individual pics from your homepage on photobucket. The pics you posted now dont show up on your post and are very small when you click the link.

wheres the IMG code?
 

Murderface

New Member
Joined
Feb 27, 2008
Messages
11,937
Reaction score
2
After u select the photo u want click the (I) icon on the bottom of the page and then u get this pic below
e46050a5.jpg


Then click the IMG icon
 

Torspd

Moderator
Staff member
Joined
May 25, 2008
Messages
14,814
Reaction score
54
So, we have the pictures up, buuuuut, you haven't said anything about how you like new UCON, and S/C?
 

TommyXrunner

Active Member
Joined
May 22, 2012
Messages
1,859
Reaction score
0
So how did that radiator fit in?

i mounted the radiator with the stock support bracket. cut part of it off to make room and welded the part from the new bracket thats intended to hold the pump onto that bracket. i mounted the coolant reservoir on my cai heat shield and routed the hoses along the left side of the engine bay rather than the right. overall the install went very smooth. took about 12 hrs with a friend. crank pulley came off pretty easy too. used a big air gun that just barely fit in between the pulley and radiator. didn't need a crank pulley holder to remove or install the new pulley. used a rubber clamp to wrap around the pulley to hold from slipping. worked like a charm!

So, we have the pictures up, buuuuut, you haven't said anything about how you like new UCON, and S/C?

the install is complete. truck is getting towed to the dealer today for the reflash. i'll let you know as soon as i get the truck back! and the UCON is on my future mods list. haven't bought it yet
 
Last edited:

Murderface

New Member
Joined
Feb 27, 2008
Messages
11,937
Reaction score
2
Glad u got it all installed! So what's the reason behind installing the coolant reseviour by ur CAI?
 

TommyXrunner

Active Member
Joined
May 22, 2012
Messages
1,859
Reaction score
0
Glad u got it all installed! So what's the reason behind installing the coolant reseviour by ur CAI?

i got the fj fit kit and had some mounting problems. wrong mounting brackets and so on. we eventually decided to re-locate it to cai heat shield because it was very simple. great mounting spot and allowed us to route the 2 hoses under the intake tubing instead of right over top of that sexy blower taking away from its visual appeal :top:

so i towed the truck to the dealer today to get it re-flashed and get this.....they have to get the calibration emailed to them. something to do with canadian dealers not having the files for american vehicles :stupid: so anyways....i gotta wait til tomorrow to drive the truck :thumbdown:
 
Last edited:

Torspd

Moderator
Staff member
Joined
May 25, 2008
Messages
14,814
Reaction score
54
You know what, i just noticed the routing of those hoses. I like it better your way. It clears up the congestion on the driver side, when it is normally installed there. Good adaptation.
 
Top Bottom