Welcome!

By registering with us, you'll be able to discuss, share and private message with other members of our community.

SignUp Now!

BlackCat Reborn !!!

BlackCat

New Member
Joined
Sep 11, 2007
Messages
4,533
Reaction score
0
... well ... sort of ...

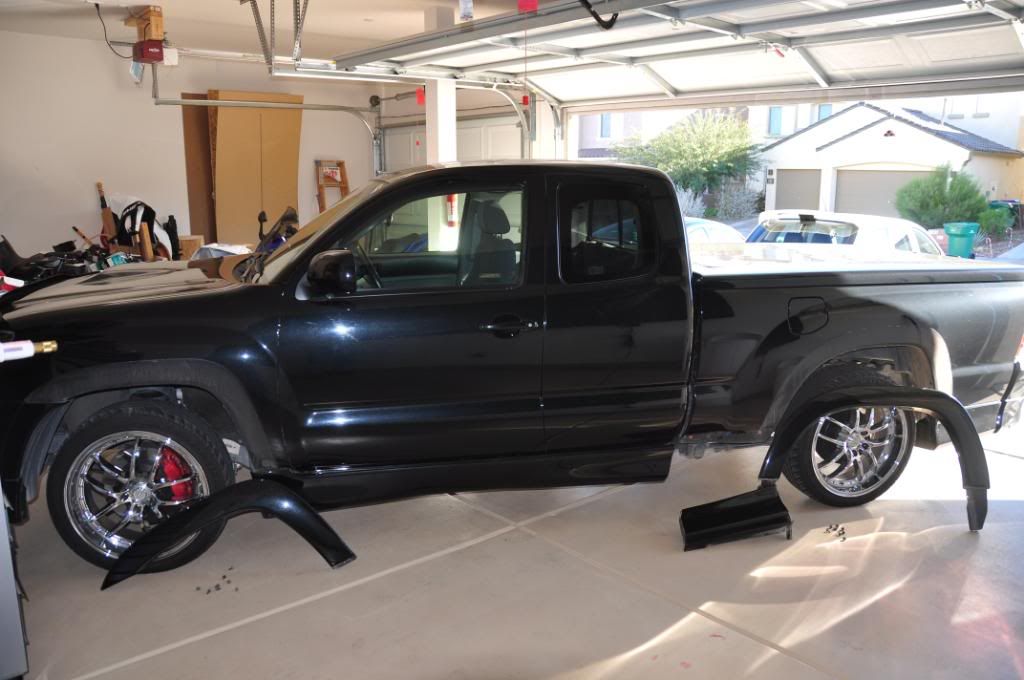
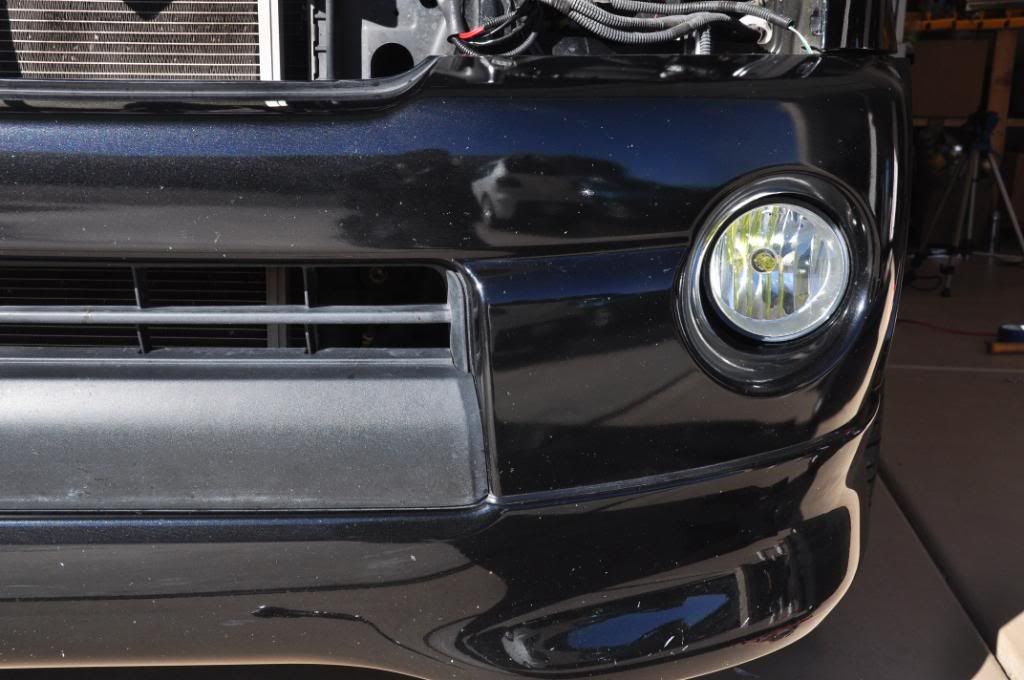
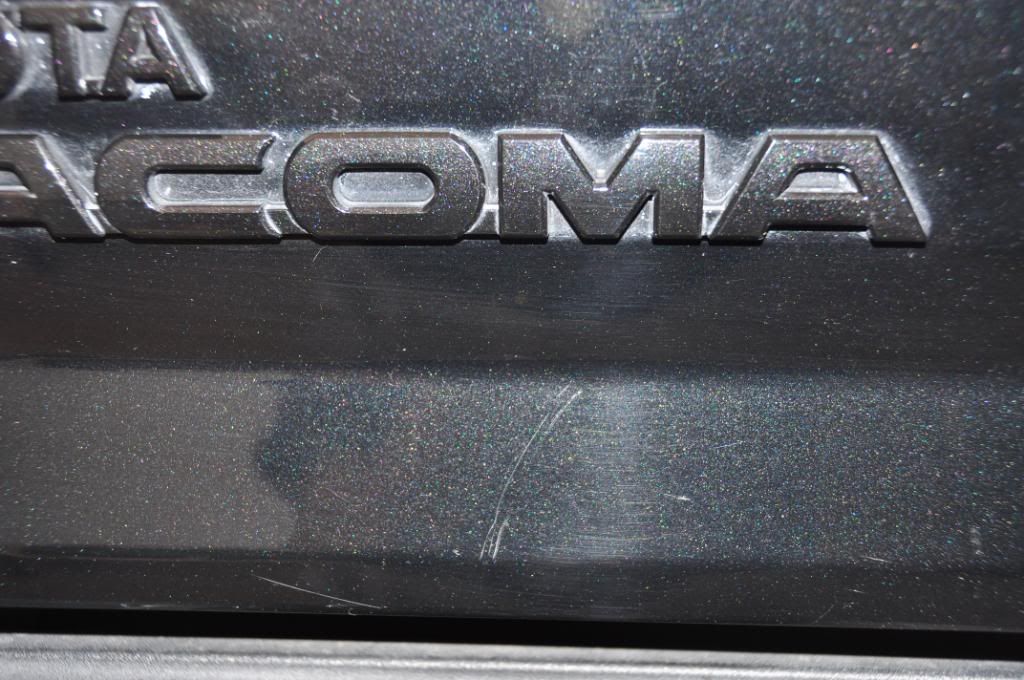
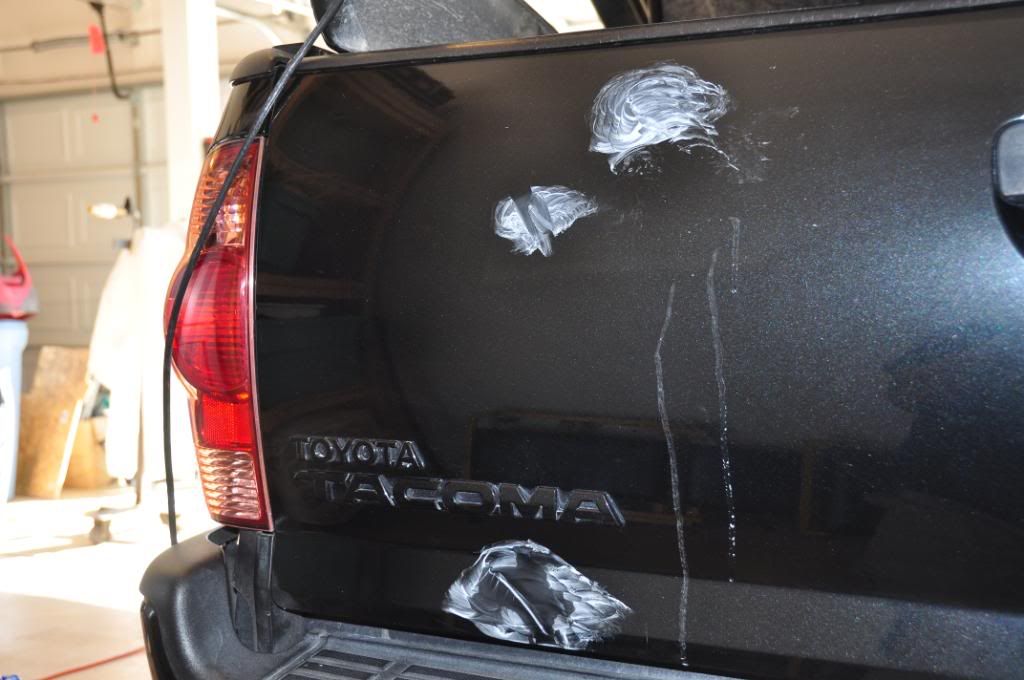
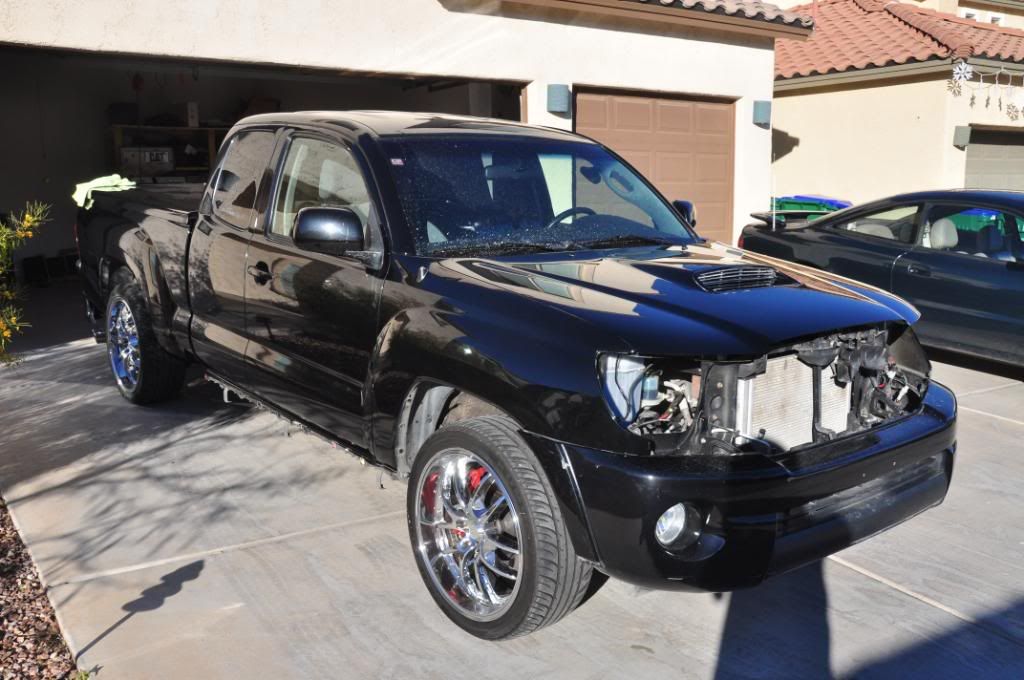
Okay, for some of you folks, you may have heard me talk over the last few months about wanting to do some exterior work to my truck. Namely, fixing paint chips (we have a LOT of loose gravel on the roads around here :thumpdown:), repainting the front bumper and coming up with custom 3M ClearBra templates for the rear flares and body sides among other things. Well, it's now finally coming to life !

Over the next few weeks, I will be tackling a variety of projects to my truck. I will be posting up pics as I go through the various tasks and probably even assembling a write up or two for a few things.

The TO-DO list includes the following

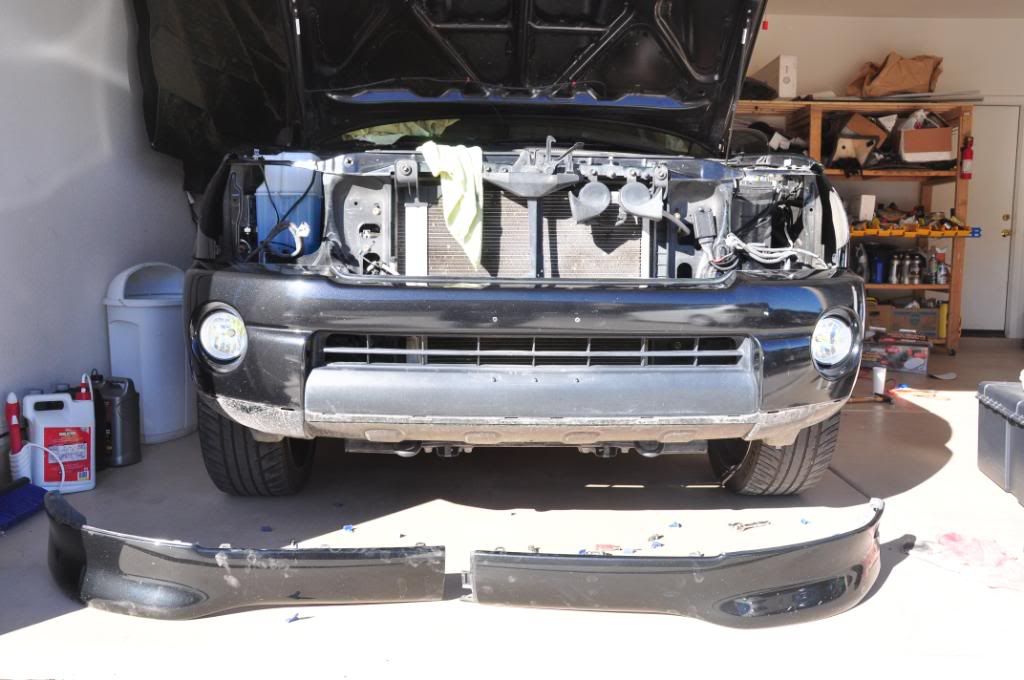
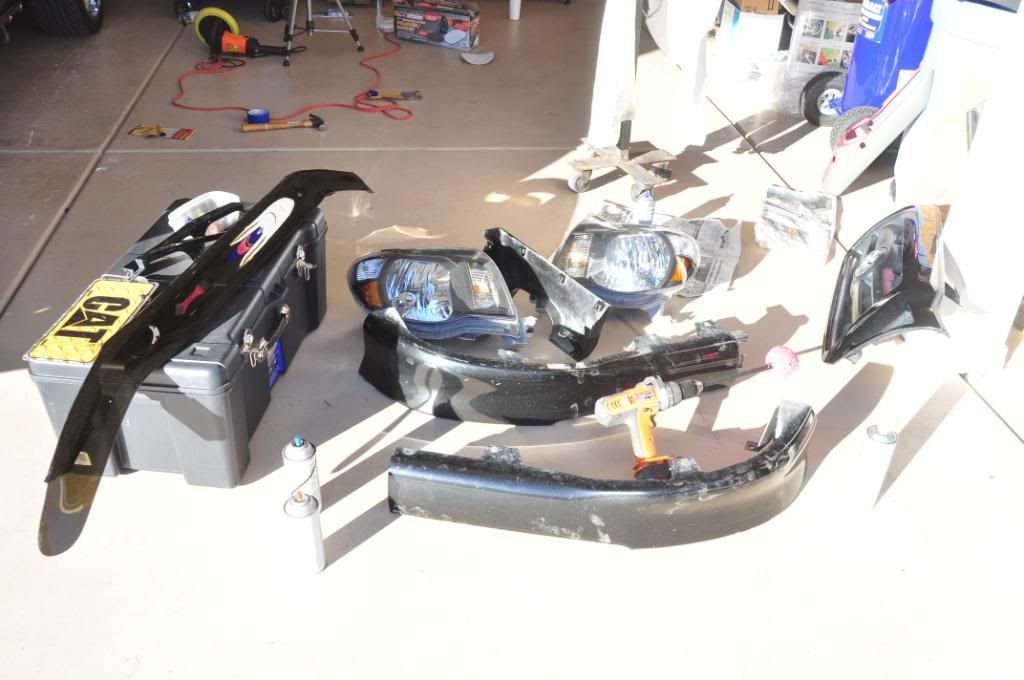
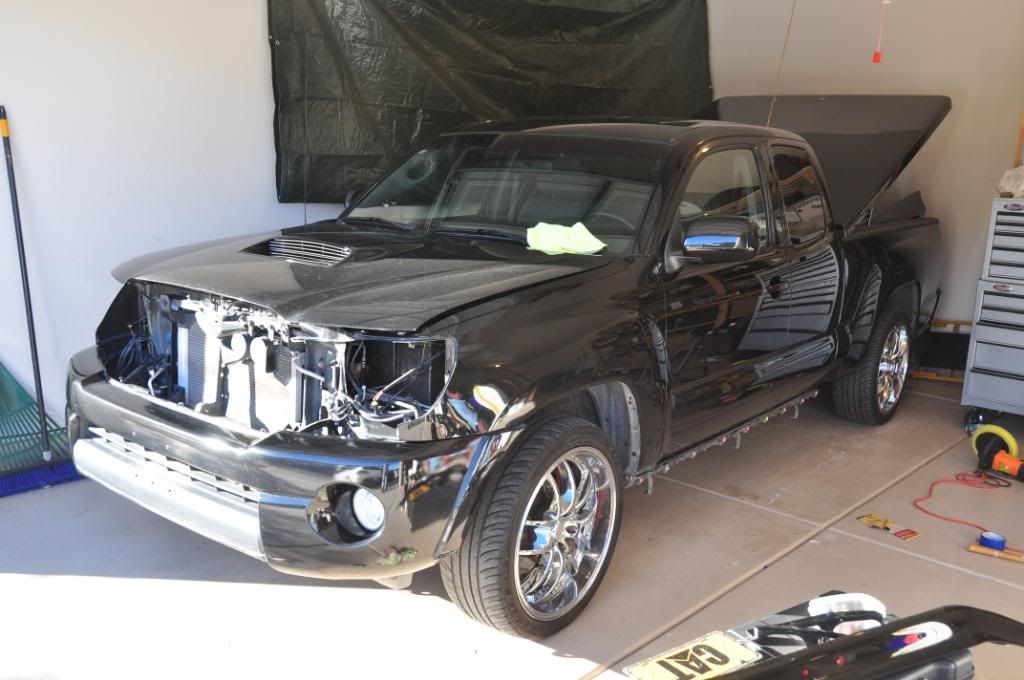
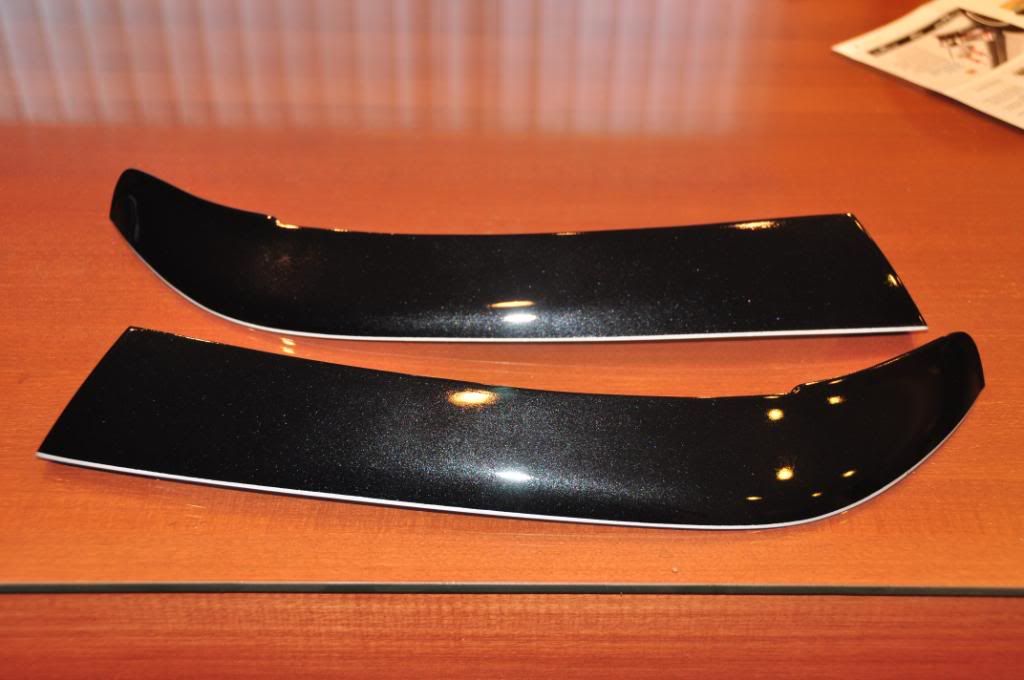
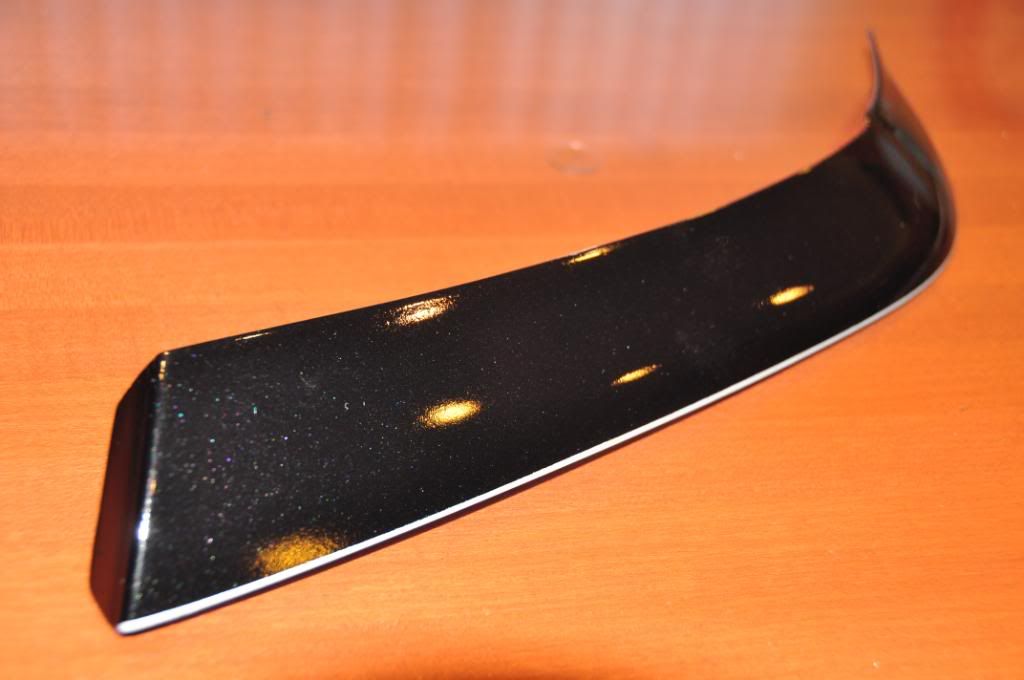
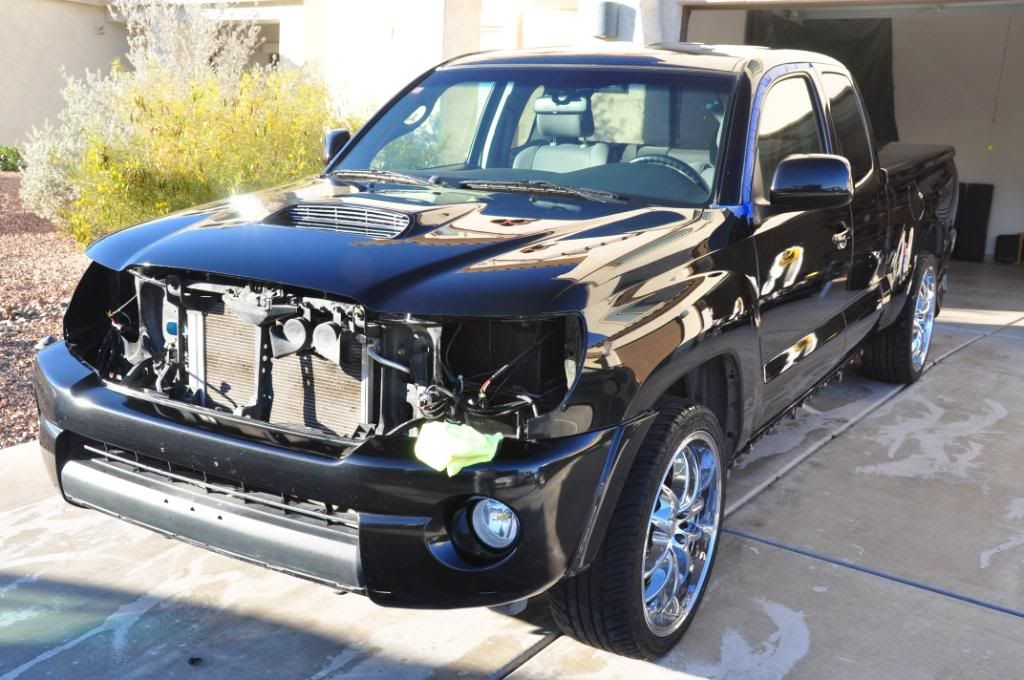
- Dissassemble body kit and front bumper - DONE
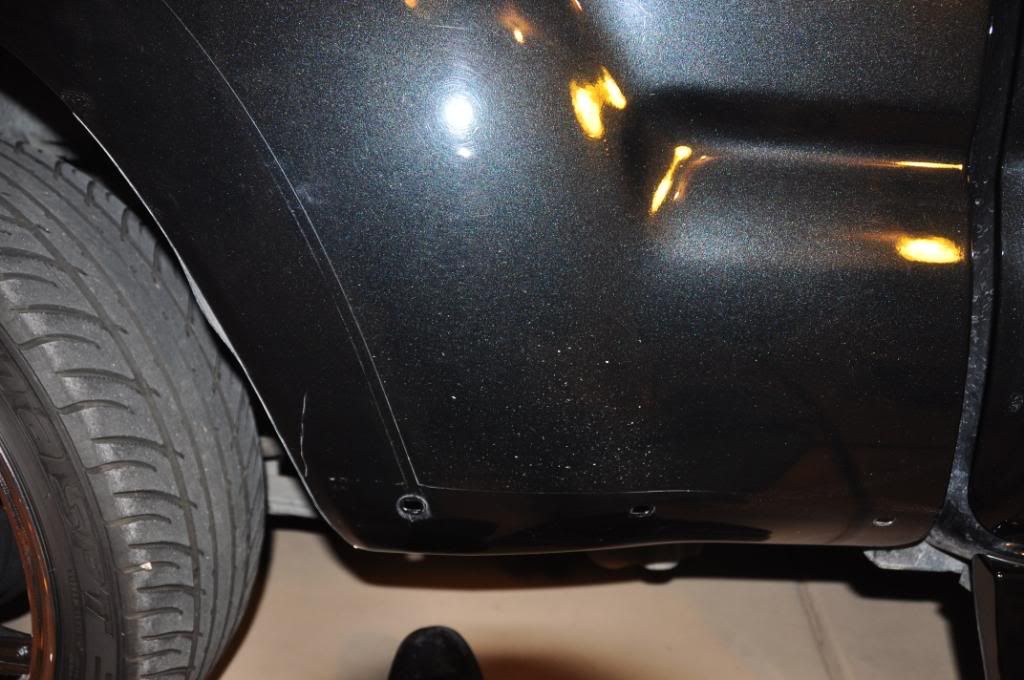
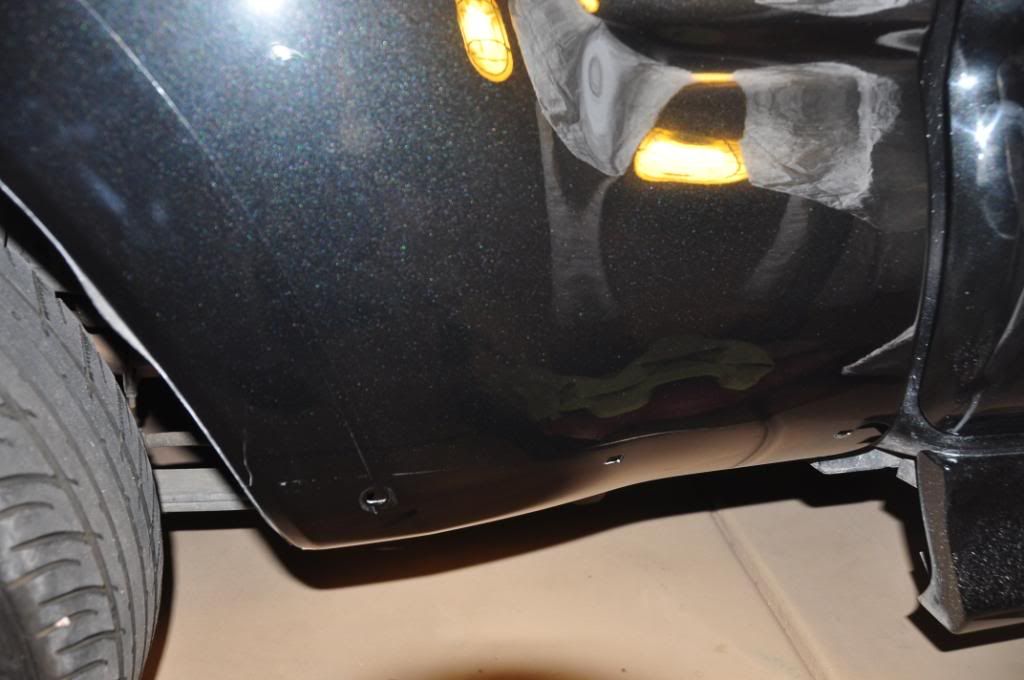
- Bondo / Glaze and repaint rear fender flares DONE
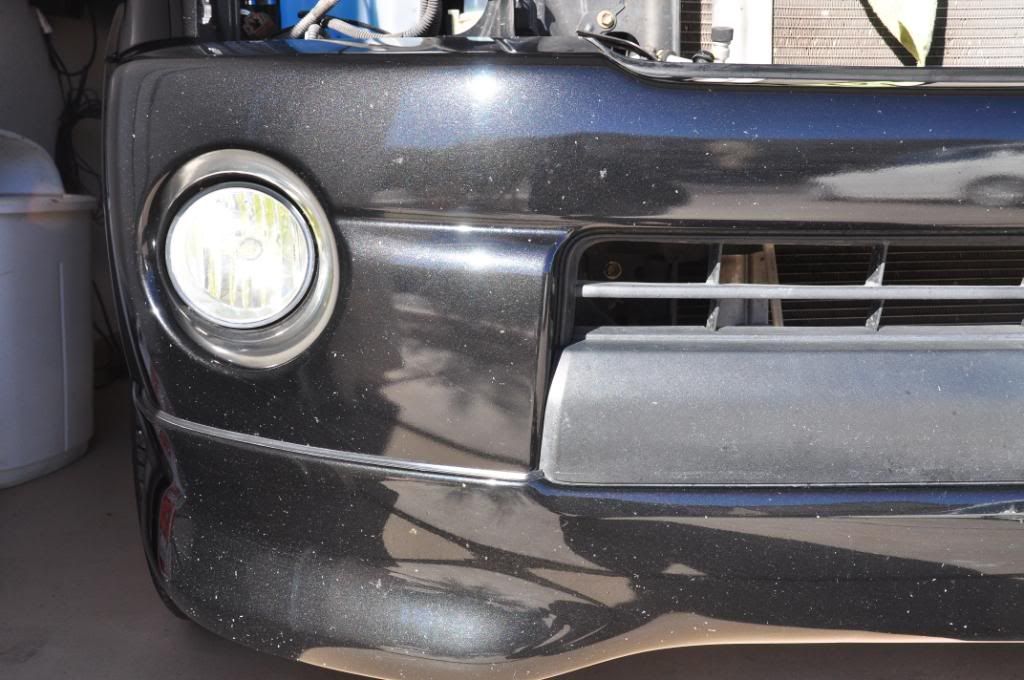
- Bondo / Glaze and repaint front bumper and lower front body kit DONE
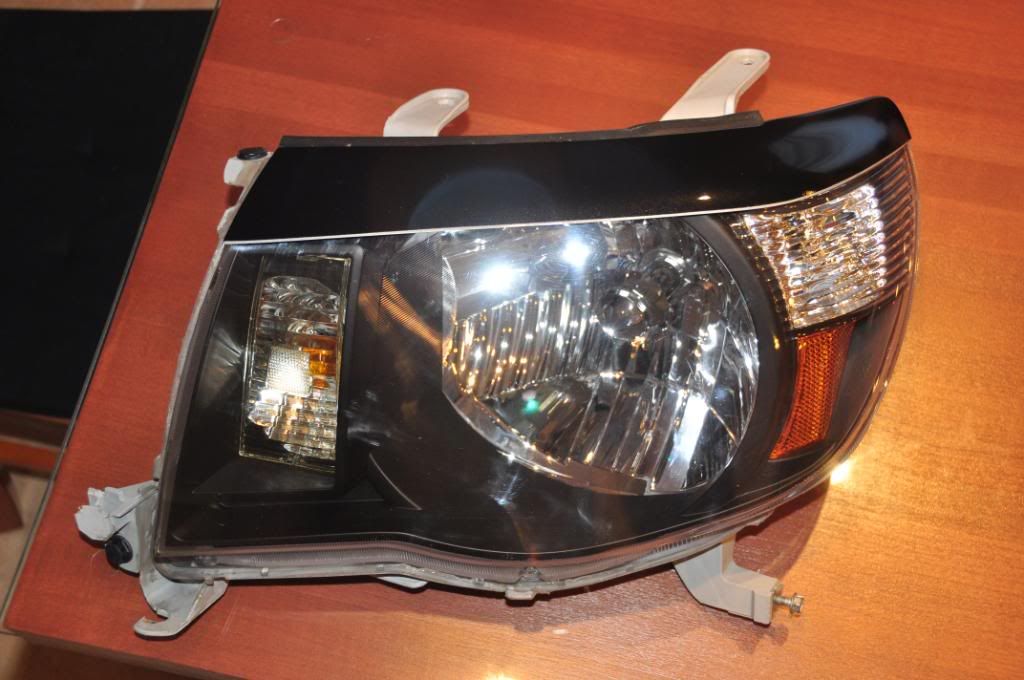
- Sand and repaint lower headlight valence pieces - DONE (no repaint needed)
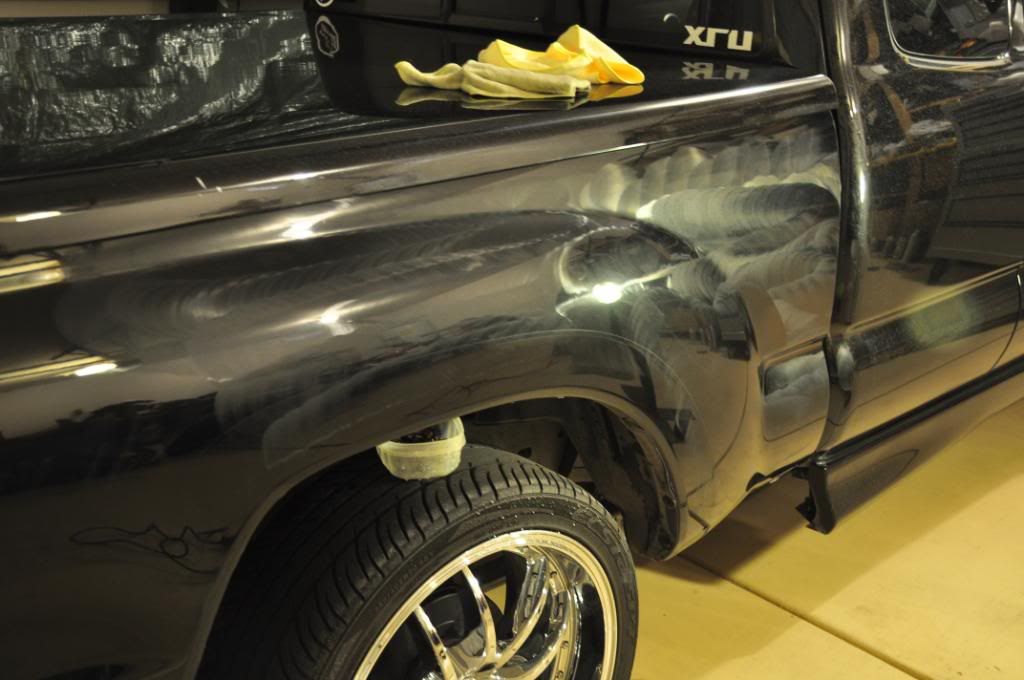
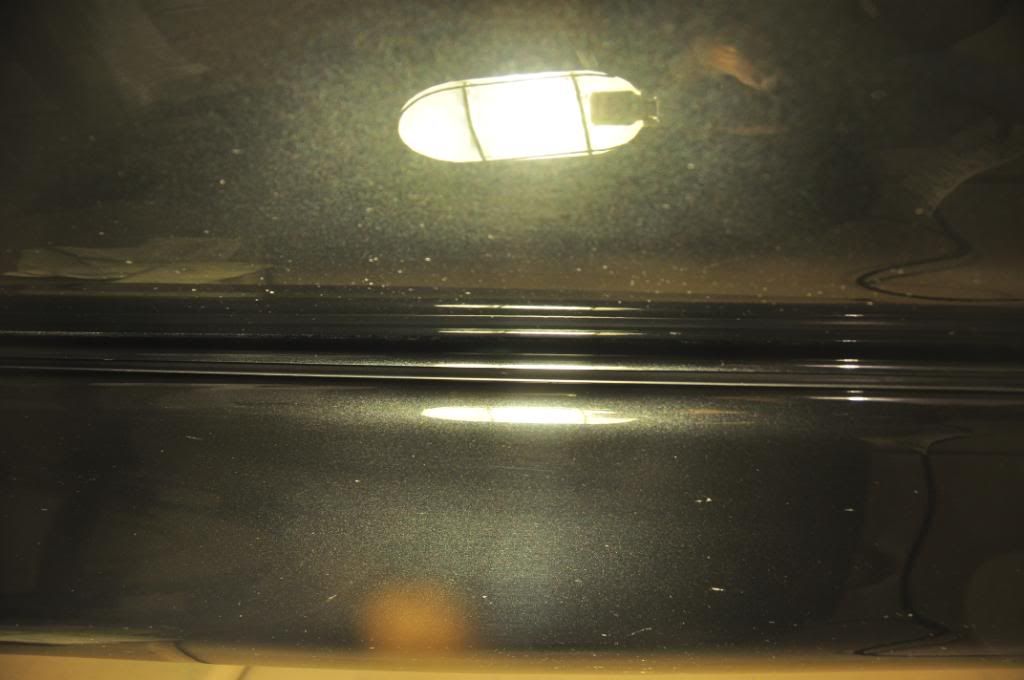
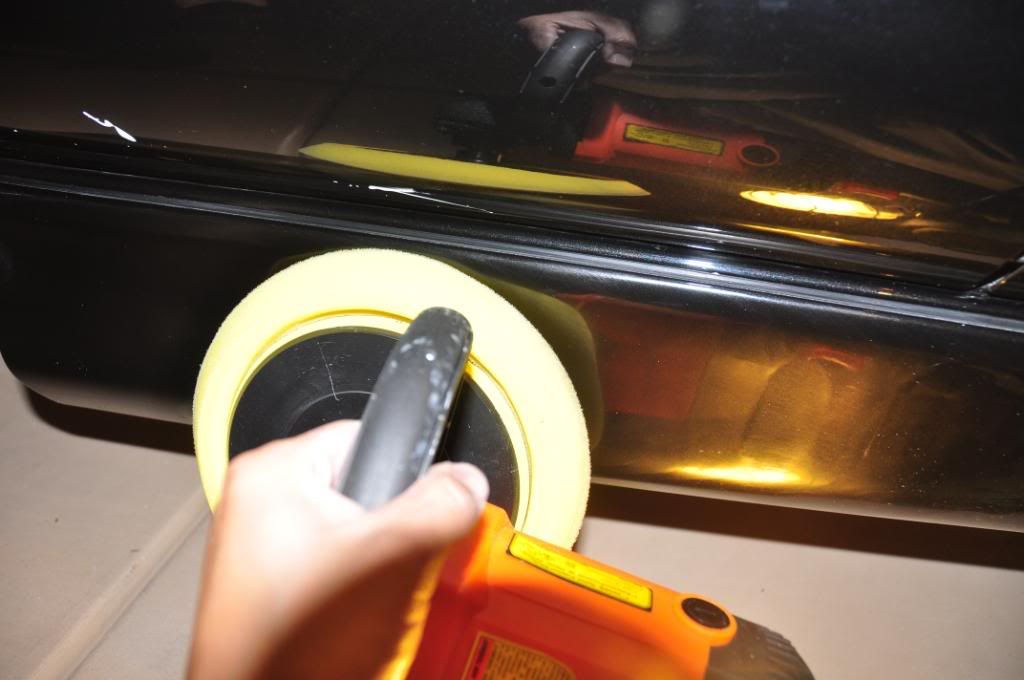
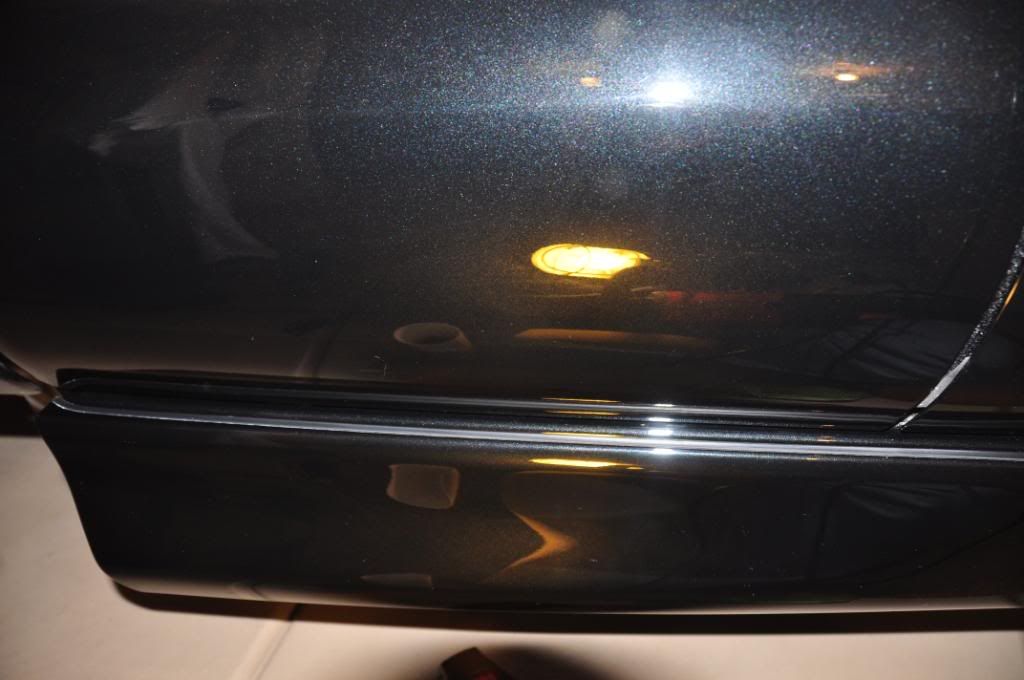
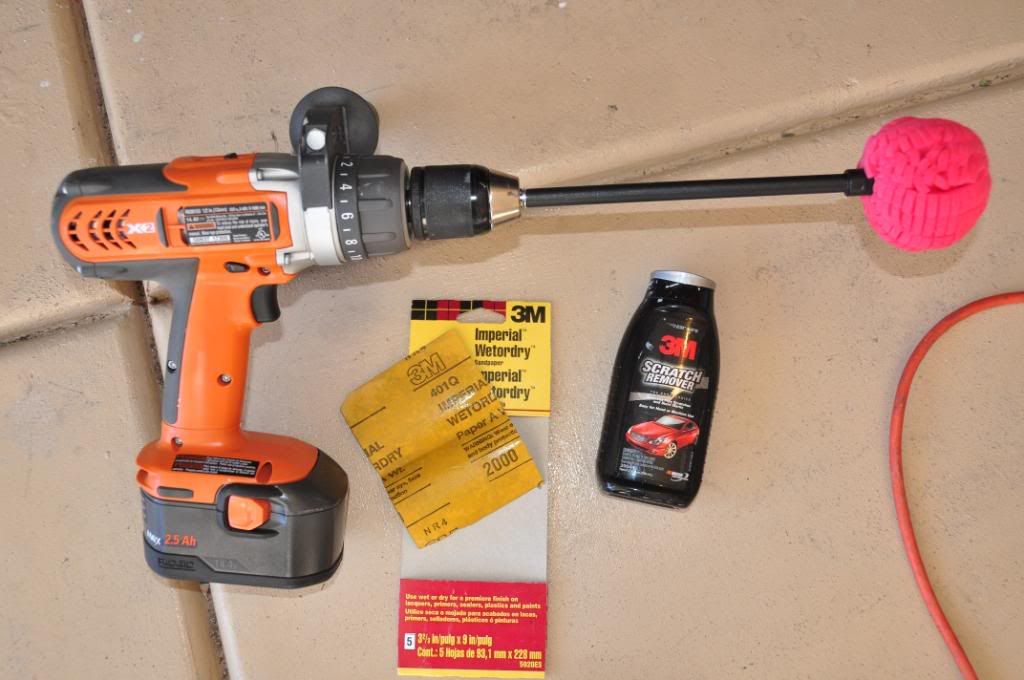
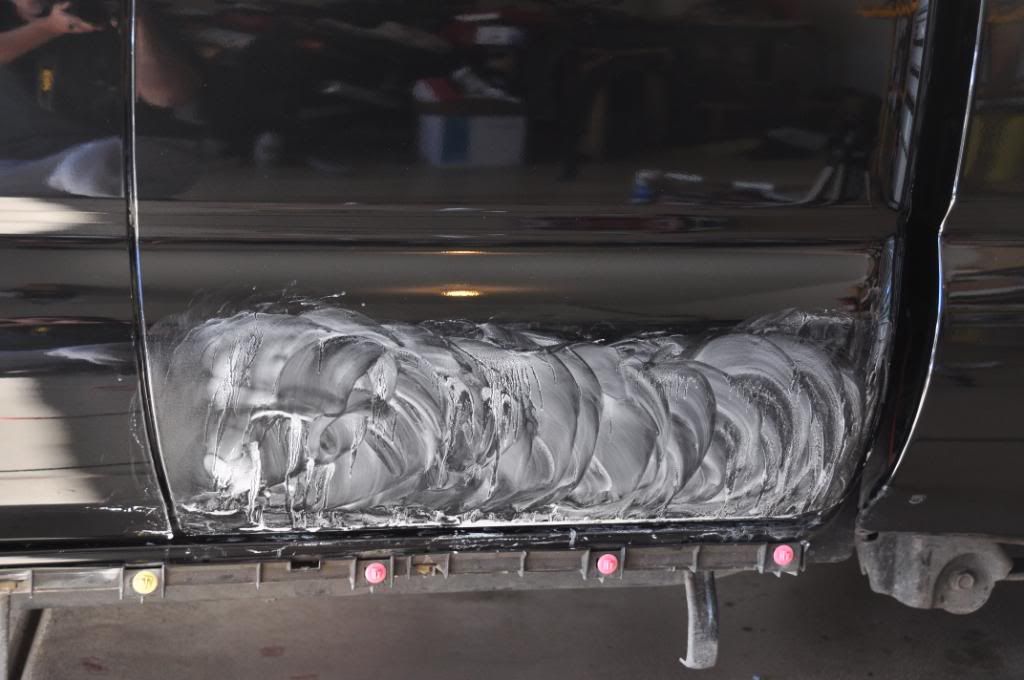
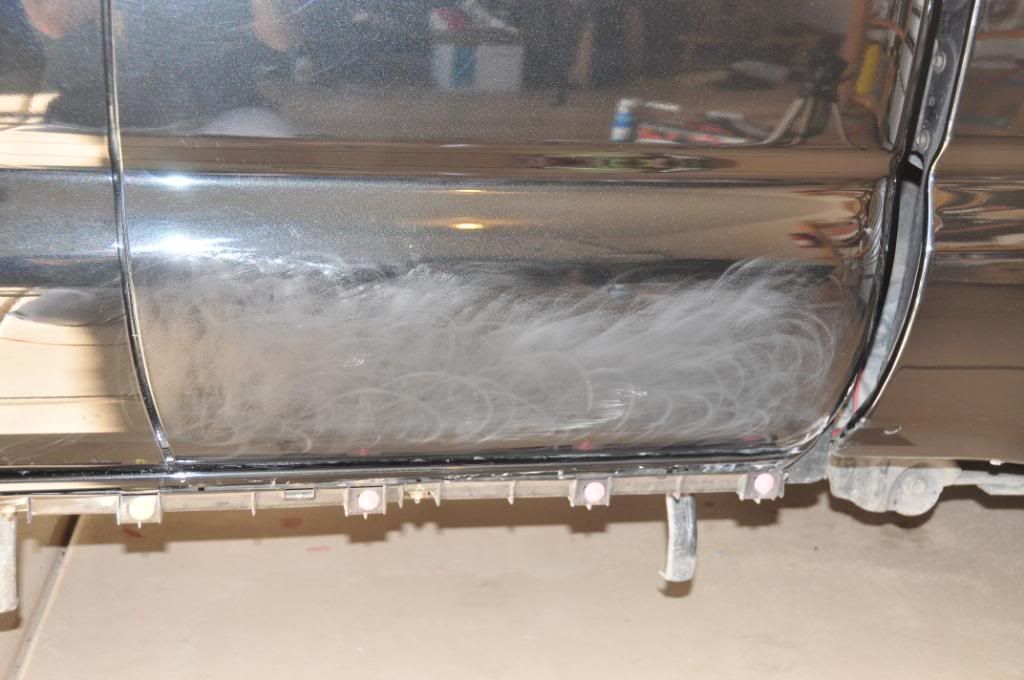
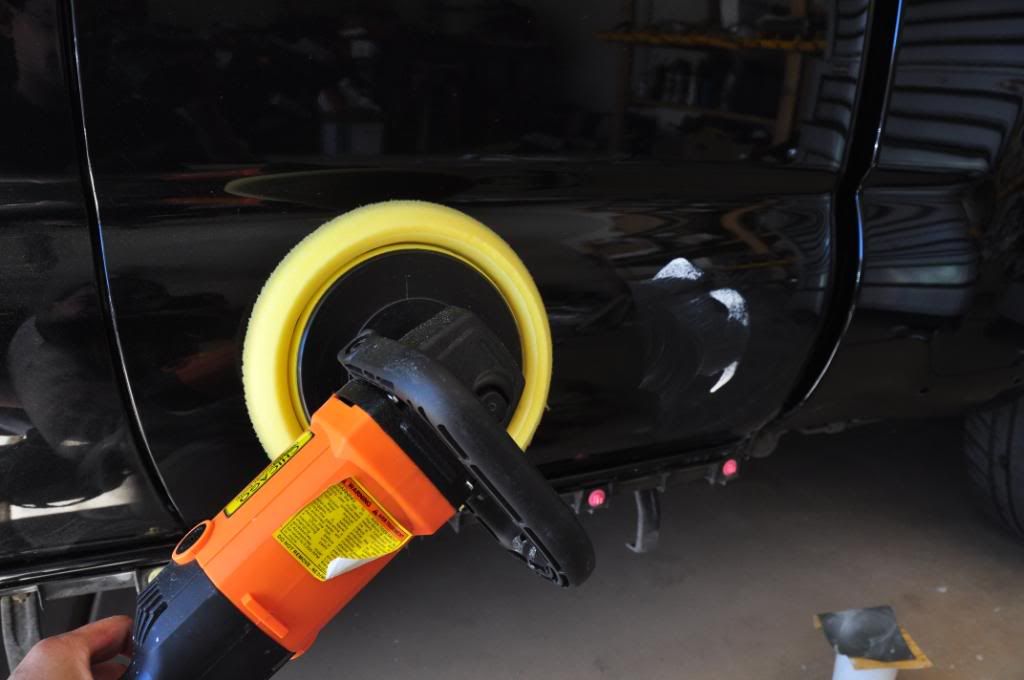
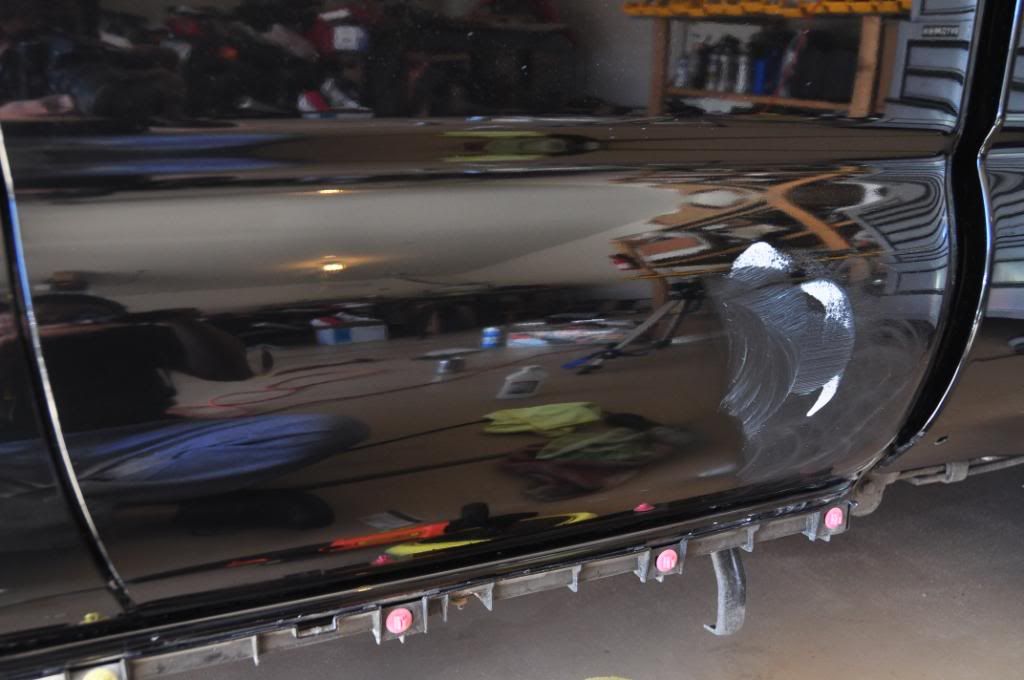
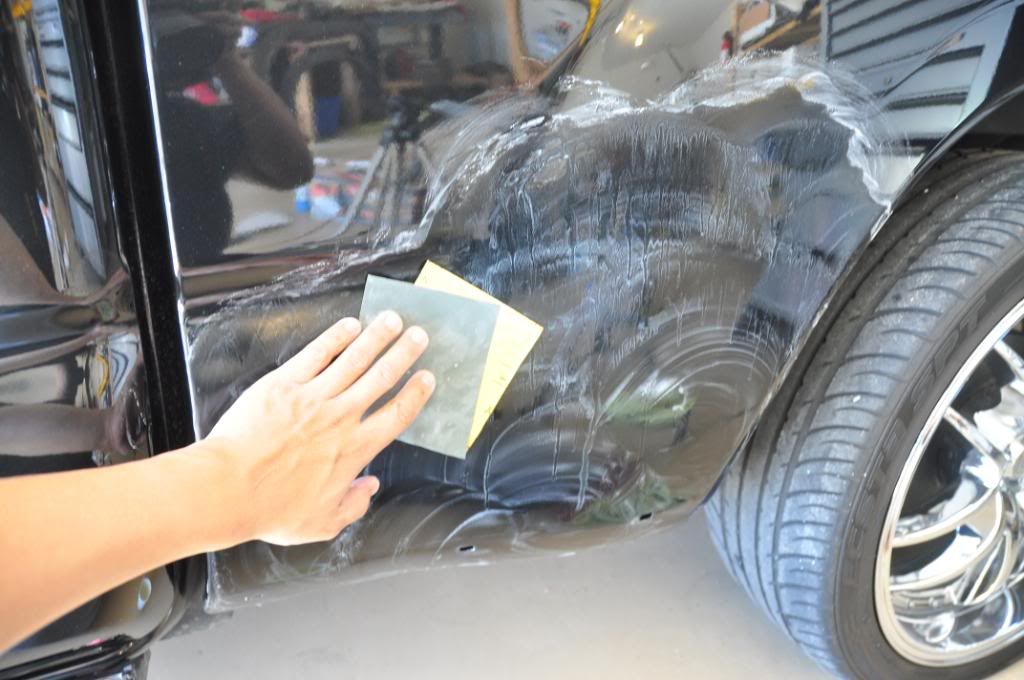
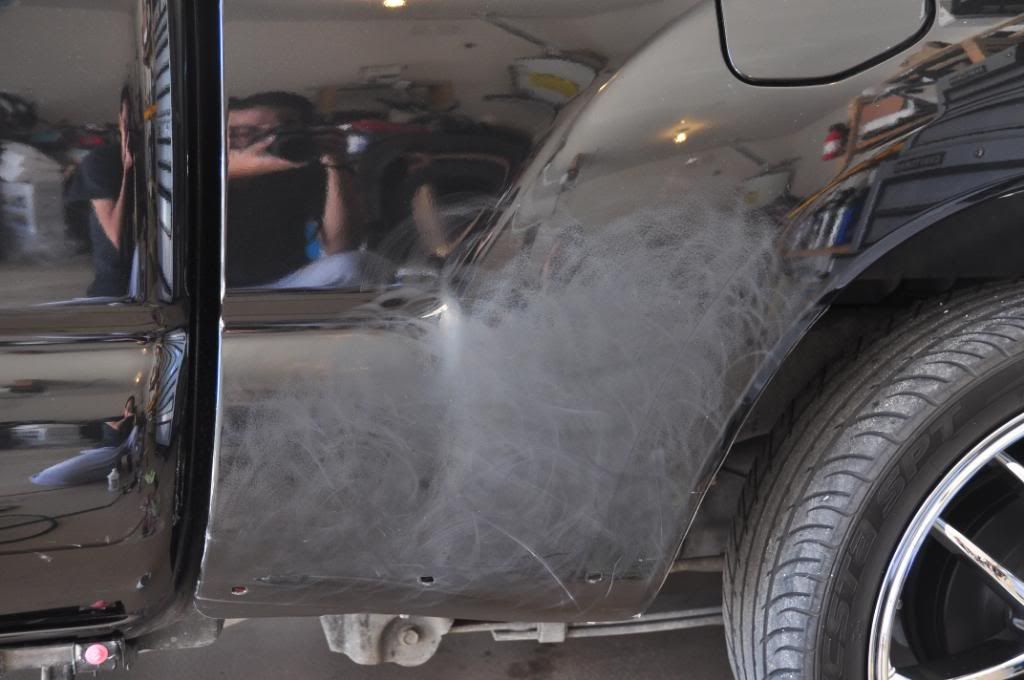
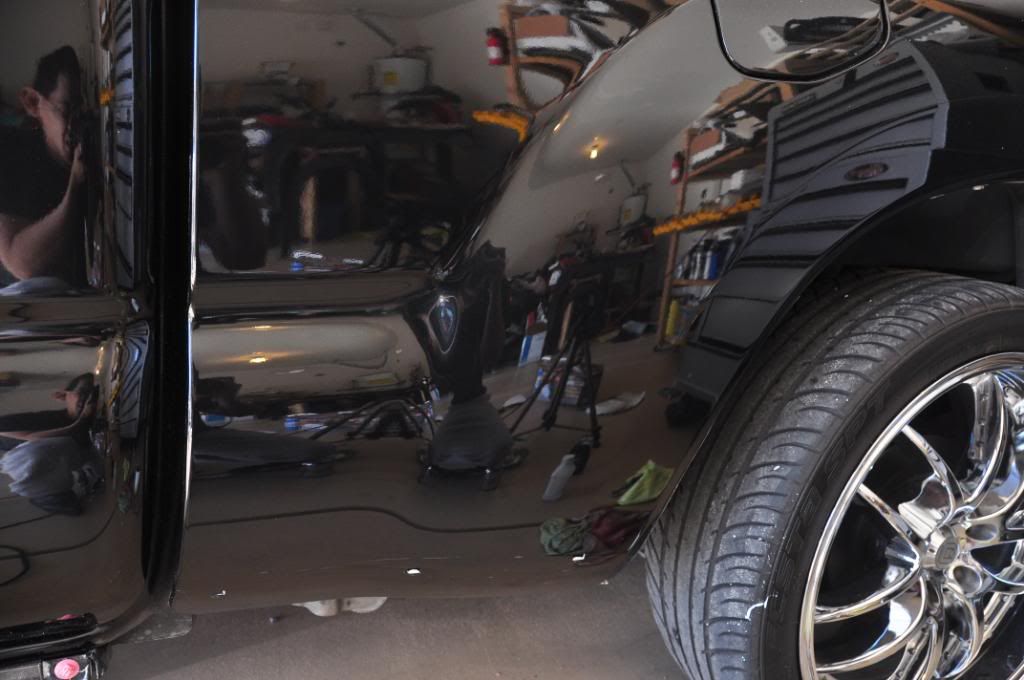
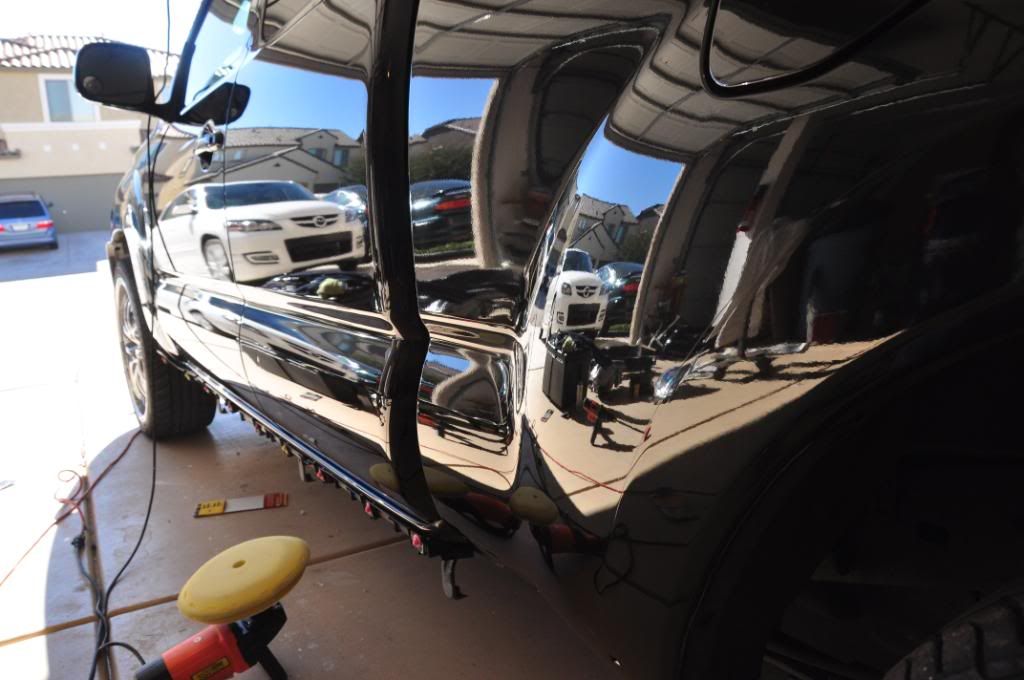
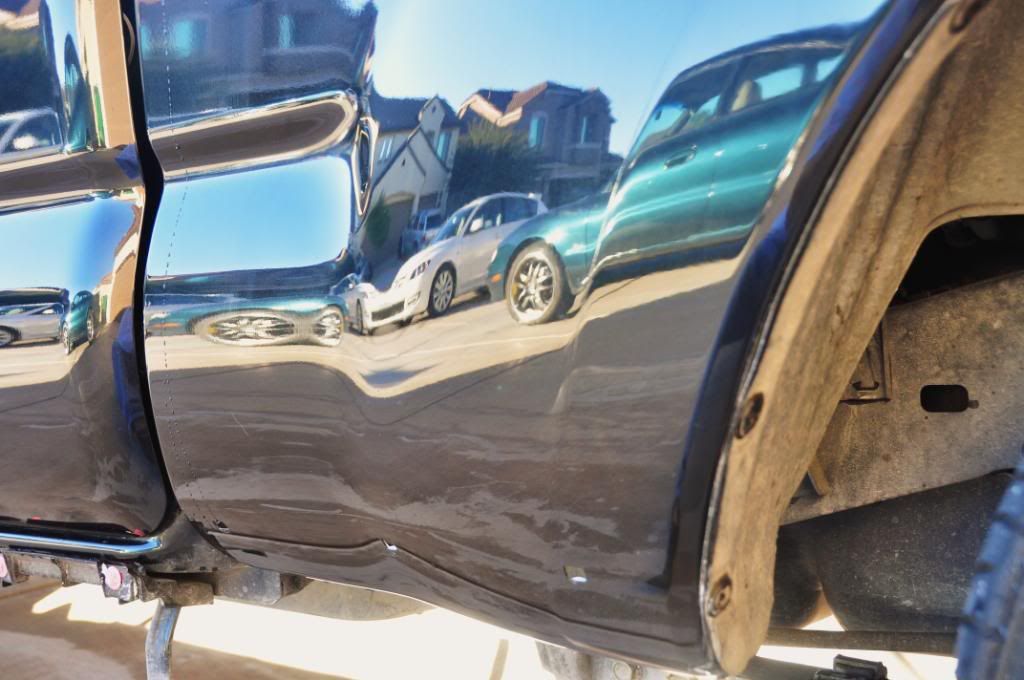
- Wet sand / buff lower bodysides - DONE
- Chip fix / touch-up lower bodysides - DONE
- Wet sand / buff lower rear fenders - DONE
- Chip fix / touch-up rear fenders - DONE
- Chip fix / touch-up or repaint lower body kit DONE
- Wetsand / buff or repaint driver's front fender flare - DONE
- Touch-up or repaint / blend driver's front fender - DONE
- Touch-up passenger front fender - DONE
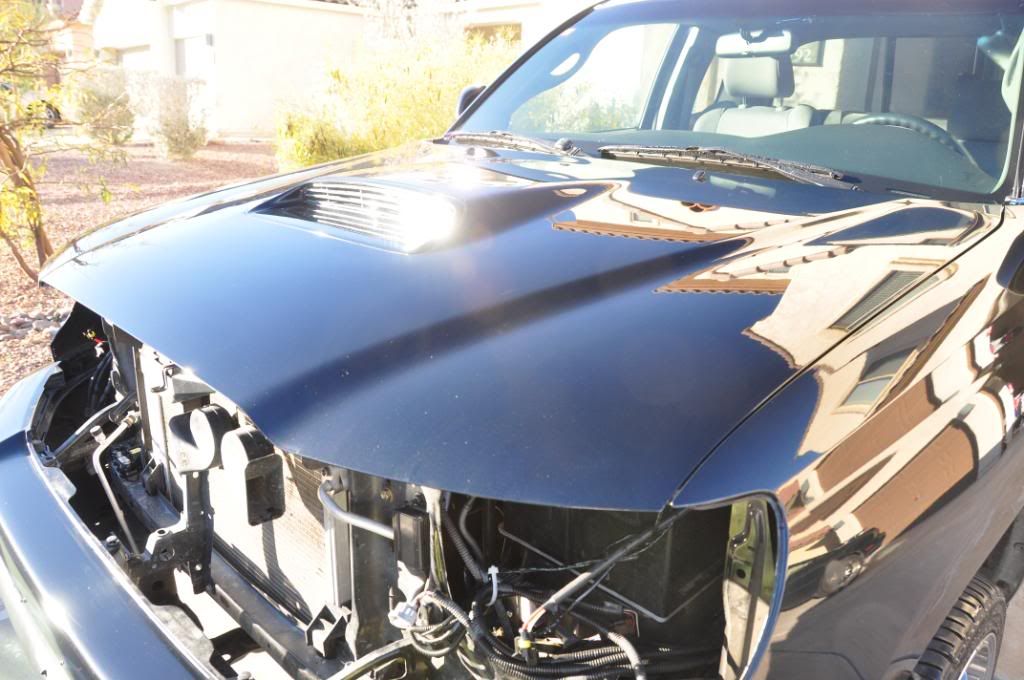
- Wet sand / buff leading edge of hood - DONE
- Chip fix / touch-up hood - DONE
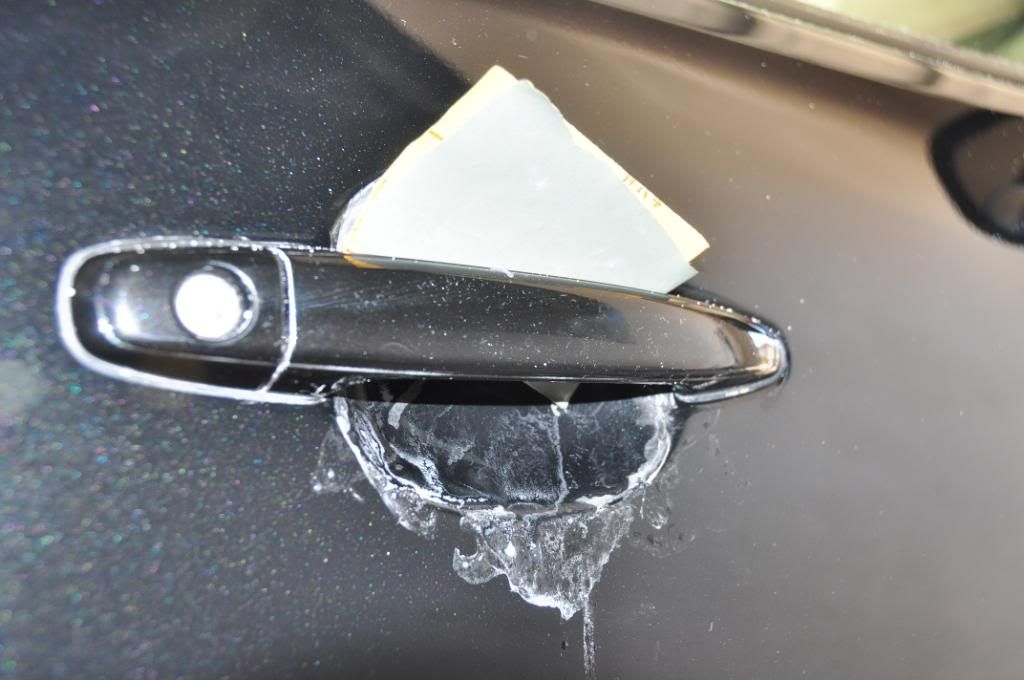
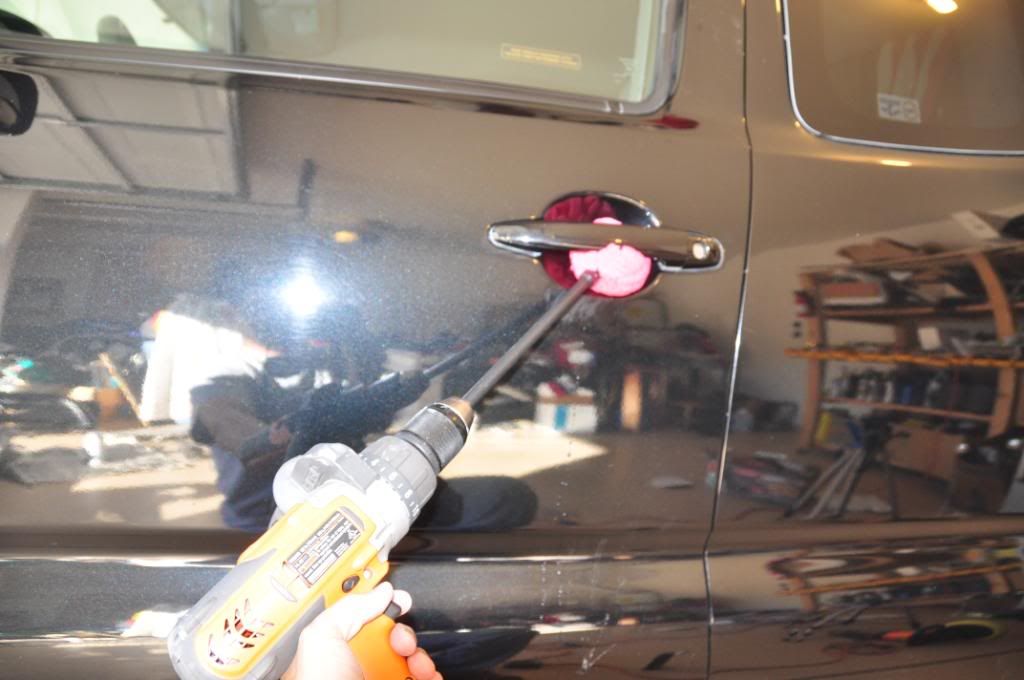
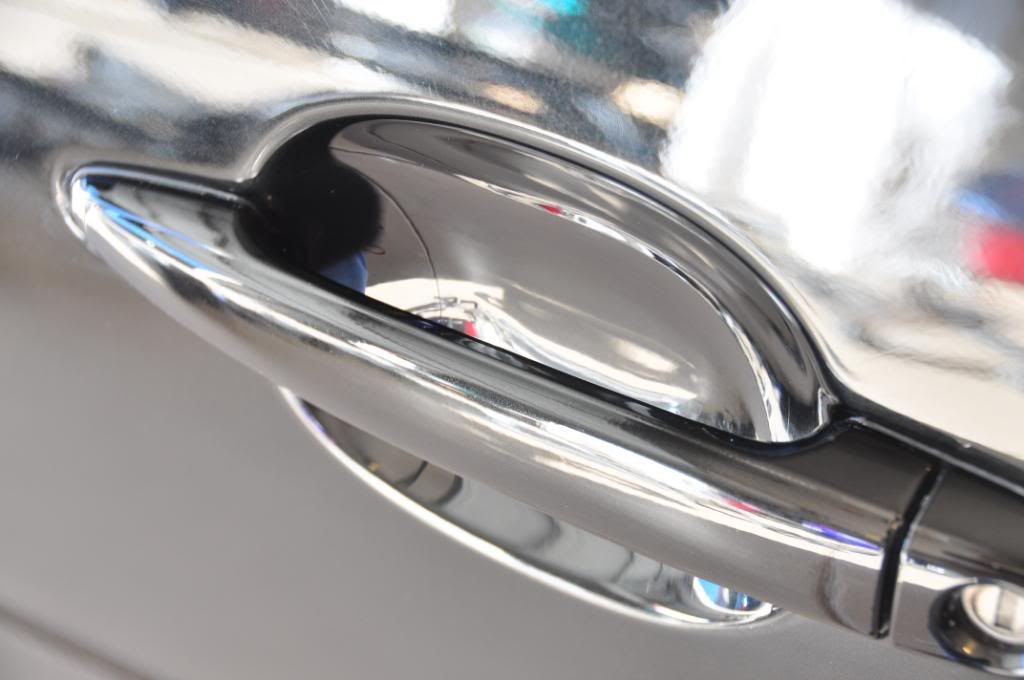
- Wet sand / buff front door handle "cups" - DONE
- Custom 3M ClearBra templates for rear fender flares - DONE
- Custom 3M ClearBra templates for lower bodysides DONE
- Custom 3M ClearBra templates for A-Pillars - DONE
- Custom 3M ClearBra templates for lower body kit - DONE
- 3M ClearBra for front bumper/hood/lower front body kit (Ebay)- DONE
- VentureShield PPF for door handle "cups" - DONE
- Custom paint fibreglass eyelids - DONE
- Custom billet grille - DONE
- Remount "CAT" plate off of front bumper - DONE
- Complete prior work on repairs to tonneau cover - DONE
- Reassemble truck - DONE
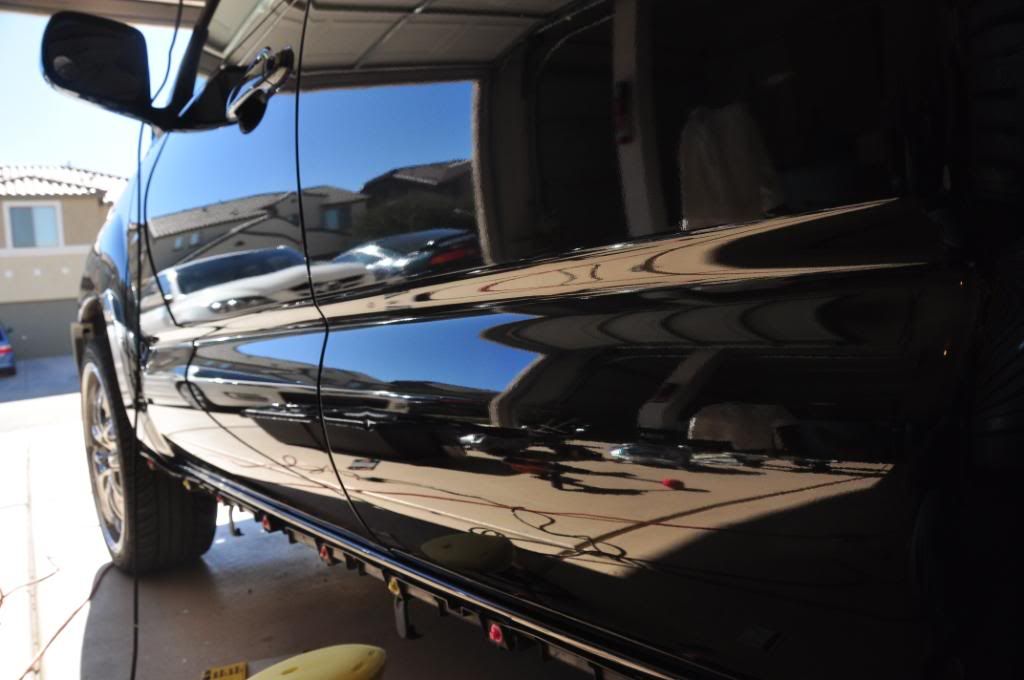
- Detail / Wax - DONE

I expect that this whole adventure will run me about 2-4 weeks - the plus of having multiple vehicles (I can down one for repairs / maintanence and still be amply mobile). I will be doing everything at home. I won't be working on the truck every day, but I will post up pics of my progress as I go through the list above.

I've already gone through Day 1 and got the most of the body kit pieces off, tore down the front bumper, sanded and buffed the body sides and door handle cups. Those pics will be coming shortly :top:
 
Last edited:

the blue taco runner

"Livin It Up"
Joined
May 7, 2008
Messages
1,726
Reaction score
0
id reccomend waiting for 30ish days for the paint to accure on those touch up spots or if you ever want to take off the clear bra it might take those spots with it
 

BlackCat

New Member
Joined
Sep 11, 2007
Messages
4,533
Reaction score
0
Well, started off by pulling body kit pieces off the truck. The rear fender flares are pretty severely pitted and no simple "touch-up" paint job will be enough. Wet sanding isn't an option either since the pits have gone all the way down into the core plastic of the flares. Pulling the body kit off also makes it a ton easier to address paint chips and sand/buff the lower body sides as well as sand/buff or repaint the body kit pieces as well. Yeah, the one downside is I now have to buy a ton of clips... :thumpdown:

DSC_0766.jpg


A pic of one of the rear fender flares... pretty bad, huh ?

DSC_0777.jpg


Paint chips on the rear fenders. There are paint chips all along the lower body sides and lower body kit pieces, but the leading surfaces of the rear fenders got the worst of it.

DSC_0792.jpg


First things first, get the all the necessary tools and supplies together. I have a polishing wheel (Harbor Freight special), a flourescen bulb work light (flourescent bulbs are great for helping to find paint defects, like chips), rubbing alcohol (it's denatured, they all are, but I prefer as pure an alcohol as possible because some compounds used in denaturing are bad for paint), touch-up paint, 3M Scratch Remover Compound (I like this stuff, it has no wax in it so it's actually removing scratches, not just covering them up), an expired credit card (more on that later), and a clean rage (doesn't look like it in the pic). Not pictured, a cup of water and a sheet of 2000grit wet/dry sandpaper.

DSC_0811.jpg


With the body kit gone, I washed the exterior, then buffed it down with the 3M de-scratcher.

DSC_0799.jpg


After buffing and touch-up paint, the fender flares are not just about perfect ! For the touch-up paint process, that's where the expired credit card comes in. I have a video clip of it, but can't get it to download right now, so I'll describe it in words. A writeup may come later.

Basically, take the paint brush from the touch up paint container, dab a "blob" of paint into the paint chip. Then, within 5seconds or so, use the credit card (or any other plastic card with rounded edges, don't use a piece of sheetmetal with square edges, it'll scratch the paint) scrape off the excess of the blob. The excess paint will create a smear trail away from the original paint chip. Use the clean rag (soaked with alcohol) to wipe away the excess, being careful not to hit the original paint chip (now filled with touch up paint). Wait another 10sec or so, then gently wipe over the paint chip. You may have some residue left over, don't worry about it, you can wipe it off later in about 30-60sec. Repeat as needed.


DSC_0805.jpg


I repeated the same process on the center part of the truck (the front and rear passenger side doors). The next three pics are before/during/after pics. Note, the center lower body kit pieces are still on the truck in these pics, I later pulled them off as well.

DSC_0829.jpg

DSC_0831.jpg

DSC_0834.jpg


Next, I went to work on the front bumper. Notice all the chip damage. I pulled the front body kit pieces off.

DSC_0847.jpg

DSC_0848.jpg

DSC_0849.jpg


Next, I went to work on the door handle "cups". Basically, as people grab the door handles to open the doors, they tend to scrape the backside of the door handle "cups" (the indentations in the sheetmetal where the door handles are) with their fingernails. I got qutie a few.

DSC_0855.jpg


The tools for this job are the sandpaper, 3M de-scratcher and a Meguire's "Mini-Power Ball" - available at WallyWorld and most parts stores for ~$20.

DSC_0863.jpg


I wet sanded the backsides of the cups with 2000grit paper.

DSC_0861.jpg


Then I hit the cups with the 3M de-scratcher compound and a Meguir's Mini-PowerBall

DSC_0858.jpg


The end result, pristine door handle cups ! The driver's side still has some residual scratches, but still a dramatic improvement over what was. Eventually, the cups will be layered with a sheet of paint protector film to protect from future scratching.

DSC_0852.jpg


At the end of the day, I had a non-operational truck with clean door handles and parts all over the garage floor... way to go, BlackCat :laugh:

DSC_0864.jpg

DSC_0865.jpg


id reccomend waiting for 30ish days for the paint to accure on those touch up spots or if you ever want to take off the clear bra it might take those spots with it

Yep, with the colder ambients out this time of year, the actual recommendation is 45-60 days :top:
 
Last edited:

XRunnerDevil07

The black rocket scientist mac guy
Joined
Jan 29, 2008
Messages
568
Reaction score
0
looks sweet! let me know if you want any help! always willing to learn new stuff or help out in some way. :top:
 

BlackCat

New Member
Joined
Sep 11, 2007
Messages
4,533
Reaction score
0
looks sweet! let me know if you want any help! always willing to learn new stuff or help out in some way. :top:

So what exactly do you want to learn ? ... in all reality, I've done most of what I plan on doing to my X before to other vehicles... but I'm still a learner myself :biggrin:

This project will be ongoing for a few weeks, so let me know what you want to learn and we'll see what we can work on !
 

preXrunner

Active Member
Joined
Mar 16, 2008
Messages
1,808
Reaction score
0
wow... looks like you got your work cut out for you.. lol
3M Clear bra is definitely the way to go!
31891900004_large.jpg
 

Venomous_X

Active Member
Joined
May 11, 2008
Messages
13,694
Reaction score
2
very good looking work so far BC.....Your braver than I......Keep it up, I will be watching this thread vigorously over the course of your project :top:
 

BlackCat

New Member
Joined
Sep 11, 2007
Messages
4,533
Reaction score
0
DAY 2

Didn't do too much today, got a New Year's Party to get ready for.

But, I buffed both front fenders and the hood and did some minor chip fixing on the passenger side fender and hood.

The driver's side fender has some serious pock marks in it so it's gonna need more serious TLC (paint and blend). I'll cover that separately in another post. The driver's side A-pillar is also seriously pock-marked. It too will get some paint work. Look for updates on that later in the week. :top:

Also, did some "mascara work" to my fiberglass eyelids. I picked up a set of "sleepy" eyelids off of Ebay. I then painted them BSP to match the truck. Then I got to thinking... BSP eyelids on a BSP truck with BHLM's... who's even gonna notice that I even have eyelids on the truck ? ... everything's black ! So, off I went to the parts store and picked up some silver spray paint. Came back home, and with a roll of painter's tape, got to painting "eyeshadow" on the eyelids... :biggrin:

DSC_0866.jpg

DSC_0868.jpg

DSC_0869.jpg


Well, gotta start cleaning the house for the party...

HAPPY NEW YEAR'S !! :biggrin:

very good looking work so far BC.....Your braver than I......Keep it up, I will be watching this thread vigorously over the course of your project :top:

Thank you ! I hope that this thread will provide valuable information (well, at least entertainment value for everything that I botch if nothing else) for the XRU community ! :biggrin:
 
Last edited:

yayxrunner707

Active Member
Joined
Jan 29, 2007
Messages
1,362
Reaction score
2
those eyelids look baddass blackcat. great job on them and everything youve done to the truck.
 

TitanRattler813

Well-Known Member
Joined
Feb 28, 2007
Messages
7,656
Reaction score
33
Also, did some "mascara work" to my fiberglass eyelids. I picked up a set of "sleepy" eyelids off of Ebay. I then painted them BSP to match the truck. Then I got to thinking... BSP eyelids on a BSP truck with BHLM's... who's even gonna notice that I even have eyelids on the truck ? ... everything's black ! So, off I went to the parts store and picked up some silver spray paint. Came back home, and with a roll of painter's tape, got to painting "eyeshadow" on the eyelids... :biggrin:

:hahaha: That's funny. That was definitely a good idea :top:-
 

XRunnerDevil07

The black rocket scientist mac guy
Joined
Jan 29, 2008
Messages
568
Reaction score
0
well i wanted to learn more about whatever i can. i'm a very quick learner and want to learn more about my truck by helping you with your project. i will be back in Tucson after the 6th as i'm attending the Fiesta Bowl Block Party and the Fiesta Bowl game on the 5th. But I'd really like to learn more about the chipping on our vehicles and what can be done to prevent seeing less of it if anything can be done.

So what exactly do you want to learn ? ... in all reality, I've done most of what I plan on doing to my X before to other vehicles... but I'm still a learner myself :biggrin:

This project will be ongoing for a few weeks, so let me know what you want to learn and we'll see what we can work on !
 

BlackCat

New Member
Joined
Sep 11, 2007
Messages
4,533
Reaction score
0
well i wanted to learn more about whatever i can. i'm a very quick learner and want to learn more about my truck by helping you with your project. i will be back in Tucson after the 6th as i'm attending the Fiesta Bowl Block Party and the Fiesta Bowl game on the 5th. But I'd really like to learn more about the chipping on our vehicles and what can be done to prevent seeing less of it if anything can be done.

Well, sounds doable... I have a wedding on the 10th I have to go to, but what about the 11th ? I can show you what I've done to that point in time. I can also show you what my plans are for the 3M ClearBra templates, that will be my defense against future chipping :top:
 

blackx07

Active Member
Joined
Nov 24, 2007
Messages
1,752
Reaction score
0
thats comin out pretty good so far. i needa do that bad haha
i got so many scratches
 

DanNolan

New Member
Joined
Nov 10, 2008
Messages
753
Reaction score
0
and that huge ass rusty dent/scratch on the drivers side suicide door ;)
 

holddeez08RR

New Member
Joined
Oct 4, 2008
Messages
990
Reaction score
0
Good start of a write up bro, I will be visiting this thread often. Thanks for the little tips/tricks as they should help with the chips i've been working on
 

KETCHUP

Active Member
Joined
Nov 1, 2007
Messages
11,665
Reaction score
3
wow BC! That BSP is looking a lot better! Good work. Keep us posted.
 

XRunnerDevil07

The black rocket scientist mac guy
Joined
Jan 29, 2008
Messages
568
Reaction score
0
Well, sounds doable... I have a wedding on the 10th I have to go to, but what about the 11th ? I can show you what I've done to that point in time. I can also show you what my plans are for the 3M ClearBra templates, that will be my defense against future chipping :top:

Sounds good to me! :top: I was thinking about getting one of those 3M Things...but was always puzzled about it.
 

BlackCat

New Member
Joined
Sep 11, 2007
Messages
4,533
Reaction score
0
Day 3

Went back to work on the truck some more.

I've already touched-up / wet-sanded and cleaned up the passenger side so now moving to the driver's side.

I touch-up painted the driver's side a few weeks back, so there wasn't as much to do today. I wet-sanded the lower body sides (as I had done on the passenger side). I basically hit the lower 4-6 inches of the doors and rear fender to clean off small imperfections and to clean up around the wet-sanding I did previously.

The driver's door was done, but I missed taking pictures, so here's wet-sanding the driver's side Access door.

DSC_0896.jpg


And after the debris was cleaned off ...

DSC_0897.jpg


Then I hit it with the rotary polisher with the 3M de-scratcher compound

DSC_0899.jpg


After all was said and done, the driver's Access door...

DSC_0902.jpg

DSC_0906.jpg


Did the same sequence of steps to the rear fender.

DSC_0909.jpg

DSC_0913.jpg

DSC_0915.jpg

DSC_0916.jpg


Then buffed the entire driver's side of the truck to catch anything I missed in the dressing up of the lower body-sides and rear fender.

After that, then hit the tail-gate. I've got these two scratches back there that have been driving me completely nuts. Both are minor, but both are quite visible. So, now that I'm armed with the tools and techniques, went in for the kill...

Scratch #1

DSC_0921.jpg


Scratch #2 - underneath the "M" of TACOMA

DSC_0923.jpg


Wet sanded both scratches and a third one between them

DSC_0926.jpg


After buffing with de-scratcher

DSC_0927.jpg


Scratch #1 ... almost completely gone (can't see it in the pic, but it's just barely still there)

DSC_0930.jpg


Scratch #2 ... scratch ? what scratch ?

DSC_0928.jpg


Given how I had taken care of the scratches in the passenger door handle cups, I remembered about a few scratches in the cup for the tailgate handle

DSC_0937.jpg


Except these scratches were much lighter. The tailgate doesn't get opened as much as the driver's door. So these could be taken care of without any wet-sanding. I just simply hit the tailgate handle cup with the mini-PowerBall and de-scratcher.

DSC_0943.jpg


End results...

DSC_0944.jpg

DSC_0933.jpg


With all that done, I pulled the truck out of the garage and onto the driveway. I wanted to see it shine in the sunlight. The sun would also highlight any defects I missed as well as show me what I screwed up. Overall, things looked nice. A little bit of hazing from all of the buffing with the de-scratching compound, but nothing a good polish job won't fix. Also found a handful of paint chips I missed earlier. I marked those off with blue painter's tape.

DSC_0946.jpg


I then washed the truck, cleaning off all the splatter from the buffing work...

DSC_0950.jpg

DSC_0952.jpg

DSC_0954.jpg


With the sun setting, I pulled it back into the garage and called it a day :top:

Tommorrow, I'll wrap up the principal body work and move onto the peripheral components (body kit , bumper, etc). I hope to be done with the peripherals by the end of next week. Then onto 3M ClearBra templates and the billet grille :biggrin:
 
Last edited:

KETCHUP

Active Member
Joined
Nov 1, 2007
Messages
11,665
Reaction score
3
that looks much better. :top: now get that naked BSP dressed!:hahaha:
 
Top Bottom