Welcome!

By registering with us, you'll be able to discuss, share and private message with other members of our community.

SignUp Now!

Write-Up: Black Headlight Mod

5H4D0WD347H

New Member
Joined
Apr 24, 2007
Messages
10,450
Reaction score
0
Ah I removed a great deal of the factory silicone - there was WAY WAY to much of it... It got everywhere when I pulled the light apart; nightmare to clean up... Goo-Gone is the sh!t for getting that crap off the clear covers. I am gonna re-silicone the factory grooves, put it in the oven, and run silicone again around the outside. F00k it.
 

5H4D0WD347H

New Member
Joined
Apr 24, 2007
Messages
10,450
Reaction score
0
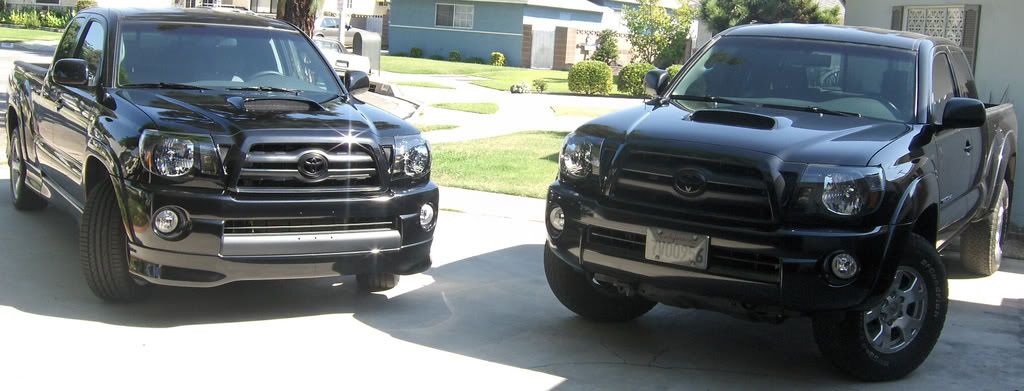
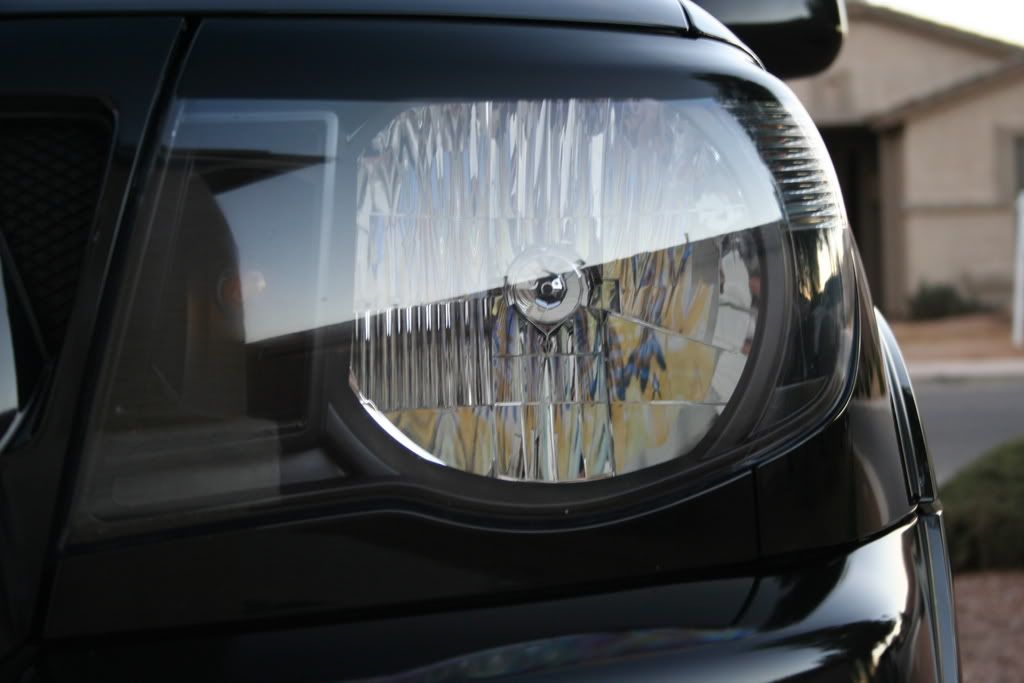
Ok well my BHL mod is completed - FINALLY!


Some tips & suggestions for those who are attempting this project:


1. GooGone - THIS SH!T IS AWESOME; this stuff will take dried silicone, caulk, or just about anything off the headlight lens or clear cover if you happen to get anything on it. You pretty much need no effort with this - apply to area wipe a little bit with a cloth and its clean. I have cleaned some retarded sticky hardened crap with this stuff - it amazes me every time.

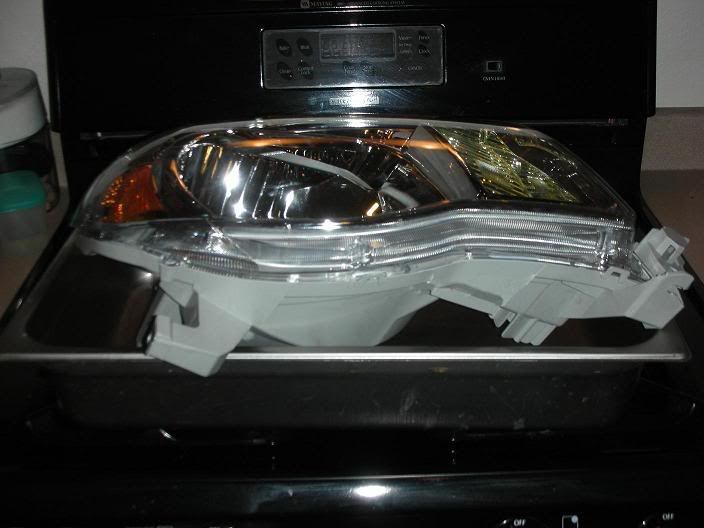
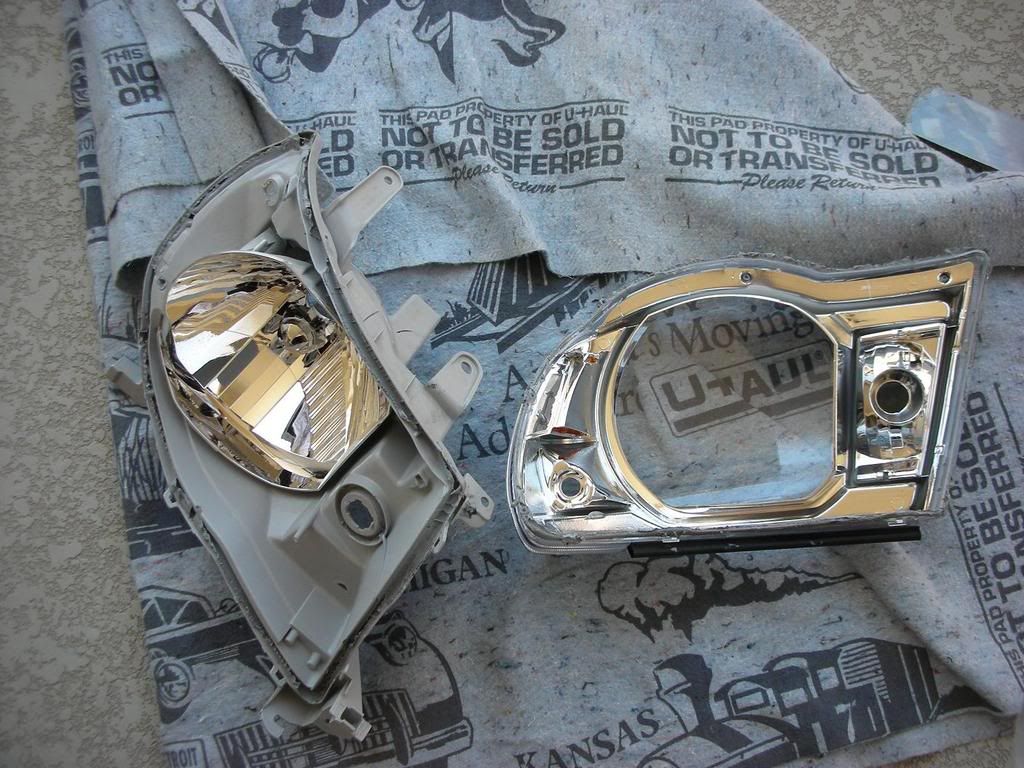
2. I left my second light in the oven for about 11 minutes at 305 - it came apart MUCH more easy at this amount of time vs. the 9 minutes. I used a stopwatch.

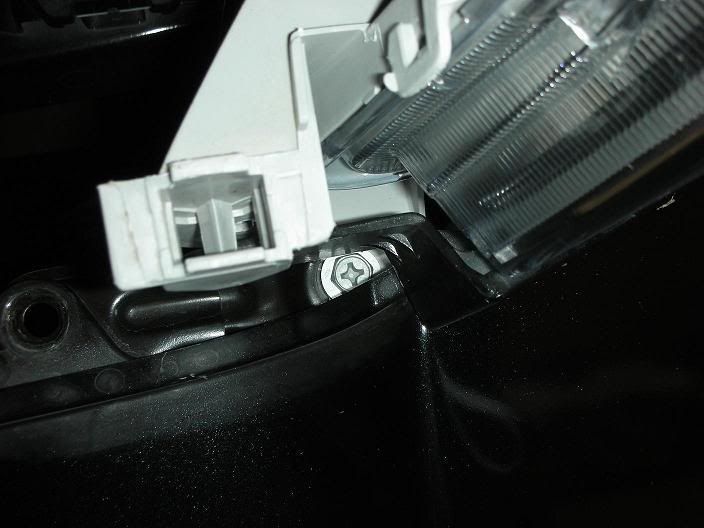
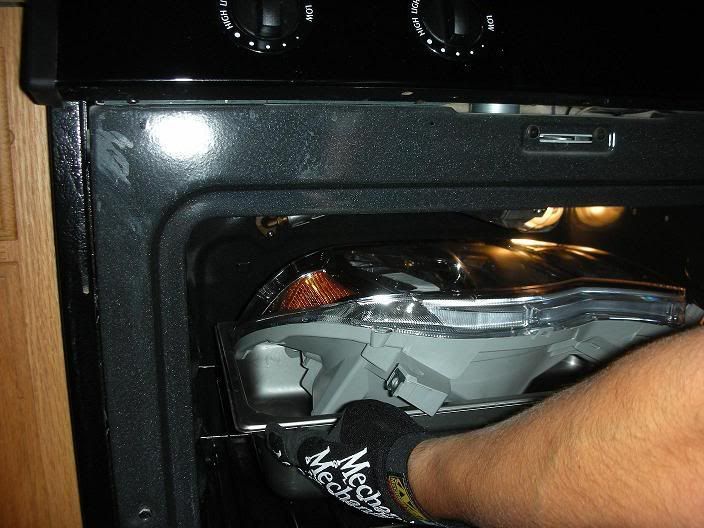
3. When prying apart the headlight it helps to wear some gloves (don't scratch anything with them) so you can grip the harsh corners easily. It also helps you hold onto the light that just came out of the 305 degree oven longer.

4. I put tinfoil down over the grate in the oven and then put a strip of cardboard on top of the tinfoil. MAKE SURE YOU PEAL ALL SHIPPING LABELS, TAPE, OR ANY OTHER FOREIGN STICK ON NON-CARDBOARD ITEMS OFF THE CARDBOARD BEFORE YOU USE IT. DO NOT LEAVE THE CARDBOARD IN THE OVEN DURING PREHEAT.

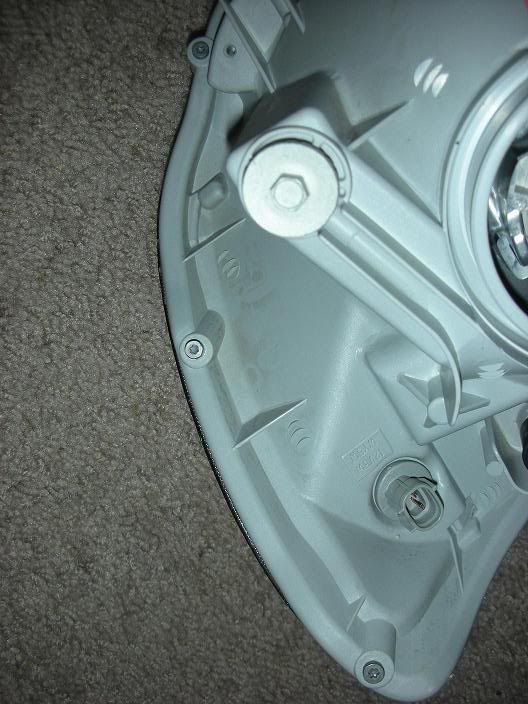
5. When you are wrestling with the headlight on the floor its a good idea to put down some kind of fabric to work on in order to protect against scratches.

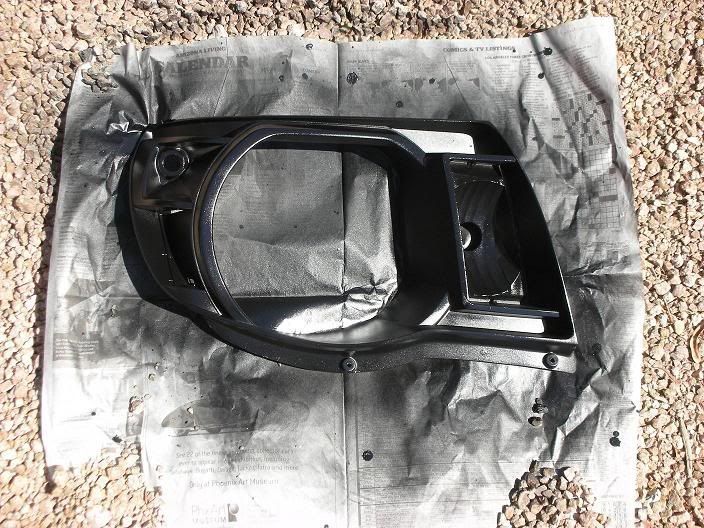
6. I sanded the SH!T out of my lenses with Scotchbrite (got all the shiny paint off) and applied VERY light coats of Krylon - probably about 7-8 layers. I let the lenses dry for about 8 hours; came out great!!!! On the back of the Krylon can there is a lot of helpful painting tips/techniques as well for the beginner. One can of Krylon paint was enough to do both lights and have just enough left over for touch ups.

7. During re-assembly or handling if you chip your paint don't worry. Take a Q-Tip and soak one end of the swab in Krylon paint; use this to "touch up" the chipped spot. If it's to wet use the other non-painted dry side to dab some of it off. I got a small chip while putting the lens back in and used this trick - cant even tell there was a chip there.

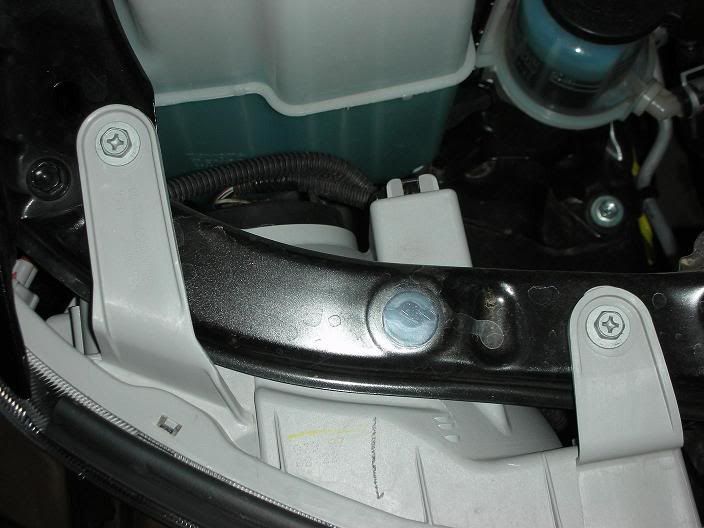
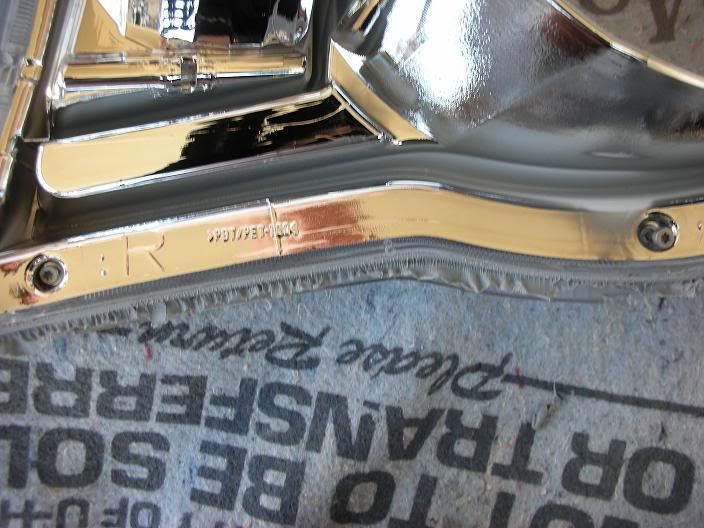
8. TAKE YOUR TIME! When re-assembling everything and painting just take your time. I got zero runs in the paint and only one small chip (that I touched up using method #7) working slowly.

9. Clean the corners free of excess factory silicone/caulk - this will help you put the lens back into the clear cover with low risk of chipping/scratching. I used a heat gun and a gasket scraper to remove a lot of it. I used window high-temp silicone to re-seal it on the inside. I then went around the seams on all the outer edges with it when the light was closed up.

10. MAKE SURE YOU USE A GOOD QUALITY STREAK-FREE GLASS CLEANER AND CLEAN YOUR LENSES AND INSIDE AREA OF THE COVER BEFORE YOU SEAL THE LIGHT UP!!!! The last thing you want to do is put it all back together and see a fingerprint on the inside or some other foreign material. I CLEANED EVERYTHING! Even if it looked clean, I cleaned it again...

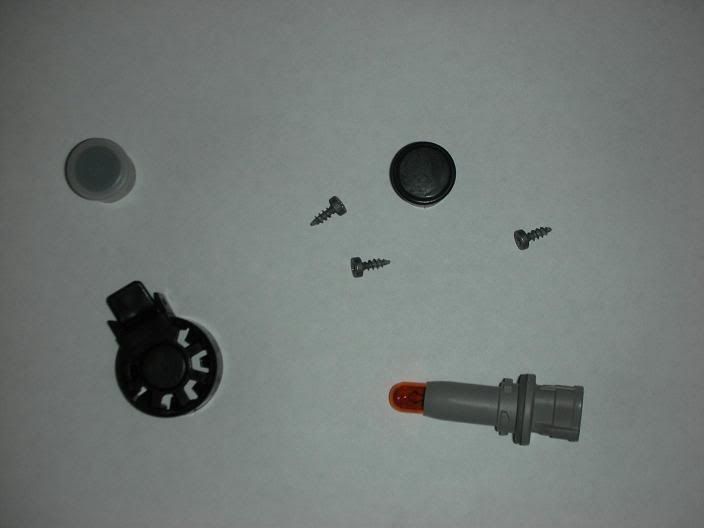
11. DO NOT touch the painted surface (even if its dry); dont touch it! Hold the light from behind.

12. Put all your screws, clips, plastic caps, misc items in a zip lock bag. Wrap up your bulbs in tissues or something similar - DON'T TOUCH THE GLASS ON THE BULB!

Thats about all the tips I can think of for now - great project!
 
Last edited:

8ate8

Member
Joined
Jan 15, 2007
Messages
228
Reaction score
0
I'm using Rustoleum Hammered. It has a slight texture to it. I'll post pics when I'm done today :)

Oh, and 310 degrees for 10 minutes works a little better. The 305 for 9 mins, I had to put back in the oven to heat up the silicone a bit more.
 

ateam20x

New Member
Joined
May 12, 2007
Messages
38
Reaction score
0
My buddy and I did ours at his house, two sets done in 6 hrs....not bad, came out great... '07 xr, and '05 trd offroad...

HPIM1231.jpg

HPIM1224.jpg


HPIM1223crop.jpg
 

dermaestro

Member
Joined
Jan 13, 2007
Messages
471
Reaction score
0
Any tips on getting the housing out of the plastic? Mine are stuck in there like a mother! There's silicone everywhere on these things, so much so it's oozed out and dried, making it harder for me to get these out.

I can't get the things to budge from the plastic housing at all.
 

DGXR

Member
Joined
Aug 3, 2007
Messages
687
Reaction score
0
i just did mine last sunday. like the write up says, preheat oven around 310, stick light in with cardboard on bottom and turn it off. time it for 10 - 11 minutes, take it out, make sure all tabs are pushed back and start prying it apart as soon as you can from the corner. if you dont do it soon enough, the silicone hardens and you have to repeat the process.
 

XrunnIT

Active Member
Joined
Jul 29, 2007
Messages
8,044
Reaction score
1
***READ ME - MORE TIPS HERE***

I pre-heated the oven to 315, and put them in for 11 minutes. Using a flat-head screw driver in the corner (its the corner that looks like it would be the easiest - when you look at it there is one corner that 'could be easier' then the other ones, that IS IT) I pried it open just enough to get my fingers in and pull it apart (I was wearing a thin pair of snow gloves to avoid burning my hands and the screw driver bent the plastic a little bit. You won't see it in the final product but it does tear the plastic a little bit).

The total mod took me about 4 hours including paint drying time (1.5 hours was spent trying to get the bottom screw from the headlights out).

***READ ME - MORE TIPS HERE***
 

quickshift93

New Member
Joined
Oct 10, 2007
Messages
195
Reaction score
1
has anyone tried color mactching there x? like the blue or red? jw. pm me plz...if you got pix would be great
 

Spyder327

New Member
Joined
Jan 14, 2007
Messages
7,098
Reaction score
1
has anyone tried color mactching there x? like the blue or red? jw. pm me plz...if you got pix would be great

Here's a pic of "DOGO X" truck with the housing red:

DSCF0369.jpg


and "Lenie03" truck with blue housings:

headlight2.jpg
 

Hitman

Active Member
Joined
Jan 18, 2007
Messages
2,765
Reaction score
0
After al long awaited delay Im finally posting pics for those who need a step by step with Pics in order to do the BHLM: (this week I will post Pics on what Im Missing)

So here they are :top::

1. Use your 10mm socket to unscrew the first bolts:
BHLM-1.jpg


2. Remove your Grill


3. Remove that Bottom Piece just below the Headlight


4. Remove the third Bolt

BHLM-2.jpg


5. Now this is the Most time consuming Removing the fourth Bolt when your under the Truck with your hand you will feel two bolts YOU WILL REMOVE THE TOP ONE. This should make it easier two turns and then you can remove it with your hand


6. Remove these pieces from the headlight. Oh and your lights of course

BHLM-3.jpg
 

Hitman

Active Member
Joined
Jan 18, 2007
Messages
2,765
Reaction score
0
7. I heard stories of ovens catching on fire because of people placing Newspaper or Card board boxes or aluminum fol etc. inside their Ovens I didn't want to do that to my oven so this works better if you have this at home use it

BHLM-4.jpg


8. Preheat your Oven at 350 degrees

9. Turn your Oven off

10. Place your Turkey(Headlight) in the oven

BHLM-5.jpg


11. Wait 9 1/2 to 11 minutes ( Its easier to take it apart) take a break Drink watch the game or something

BHLM-6.jpg


12 Remove your turkey With GLOVES unless your dumb and want to burn your fingers
 
Last edited:

Hitman

Active Member
Joined
Jan 18, 2007
Messages
2,765
Reaction score
0
13. Use your Torx screw (T-15) to remove these three

BHLM-7.jpg


14. Now begins the Fun Part Ripping it apart I found that grabing the corner where the Blinker is located is the eaisiest also to make things more convinent bent the clips that are around the headlight

BHLM-8.jpg
 
Last edited:

Hitman

Active Member
Joined
Jan 18, 2007
Messages
2,765
Reaction score
0
15. Now remove the remaing two Torx screws that are inside the headlight which are these

BHLM-9.jpg


16. Now start Painting that Silver bright thing

BHLM-10.jpg
 
Last edited:

TitanRattler813

Well-Known Member
Joined
Feb 28, 2007
Messages
7,656
Reaction score
33
Nice write-up... I believe on steps 13 and 15, those are called Torx screws

No prep with the Krylon Fusion? I saw you used Satin Black ( figured that was worth mentioning, lol)
 

Hitman

Active Member
Joined
Jan 18, 2007
Messages
2,765
Reaction score
0
17. I found that One Can of Krylon Fusion will do the Job (4 coats) but I bought two just to be on the safe side besides I had other project to do.

18. Once dried Place it back the way you took it apart CAREFULLY you dont want to see marks once you place that thing back together

19. Just put everything back the way it ways and your done thats all to it you just need 4-6 hours of your day to complete this :top:

IMG_1154.jpg
 
Last edited:

Hitman

Active Member
Joined
Jan 18, 2007
Messages
2,765
Reaction score
0
Nice write-up... I believe on steps 13 and 15, those are called Torx screws

No prep with the Krylon Fusion? I saw you used Satin Black ( figured that was worth mentioning, lol)

LOL ok Sean if you want to get technical :laugh: I'll edit it

you can use what ever paint Satin, Flat, I used Flat I think cuz everyone was out of it that day :argh:
 

TitanRattler813

Well-Known Member
Joined
Feb 28, 2007
Messages
7,656
Reaction score
33
LOL ok Sean if you want to get technical :laugh: I'll edit it

you can use what ever paint Satin, Flat, I used Flat I think cuz everyone was out of it that day :argh:

Sorry, I didn't know you weren't done with the write-up yet, lol. The can that Jaime (Tweakbz) had looked like Satin if that's where these pics came from.

EDIT: Okay, ignore that statement cuz I'm retarded. That's obviously a black truck in the pictures. I was judging before by the oven, haha.

I wasn't being critical, just can't have ppl buying the wrong tools, cuz I've tried to stick a hex key in a torx screw before not knowing there was a difference, lol... obviously didn't work too well :rolleyez:
 
Top Bottom