Jay Swift
"The Philippine Bean"
- Joined
- Sep 30, 2007
- Messages
- 1,965
- Reaction score
- 0
So I went ahead and gave these a shot: http://cgi.ebay.com/ebaymotors/toyo...ptZMotorsQ5fCarQ5fTruckQ5fPartsQ5fAccessories
Review:
Pros: At $65 with free shipping, they are cheaper than the Redline brand ($69.95 plus shipping). They use factory bolt locations that require no rivoting making it easily reversible. The guy who sells them used his own X to test fit and make them which is good because we know we're not dealing with just any guy selling generic struts. He also provides great customer service over the phone if needed. I found out this as I was concerned when the dampers first did not compress by hand but he walked me through it. They are injected with nitrogen gas and have to be "broken in" initially. He recommended the same method he used which was putting them under his office chair then lowered his weight on the chair to get them to compress. Once that issue was addressed, the overall install took about 20 mins.
Of course I asked him about XRU and whether he knew about it. He said he joined a long time ago but was never much active. Hopefully this gets hims more active :laugh:
Cons: None really so far, I will update this post if I run into any. He did advise me, with these being heavy duty dampers, to guide the hood open as it raises itself. And although it works great, the top bolt should have been black like the rest of the parts instead of gold, but that's just my OCD kicking in :rolleyez::laugh:
Install:
Step 1: Locate upper and lower factory bolt locations to be removed and replaced:
Upper: (1st bolt out of the 2 that attach hood to the truck) 12mm
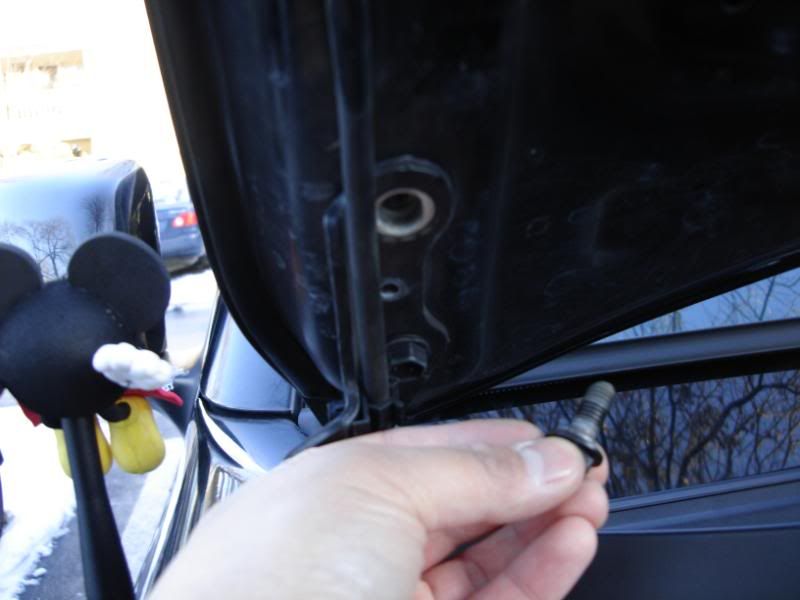
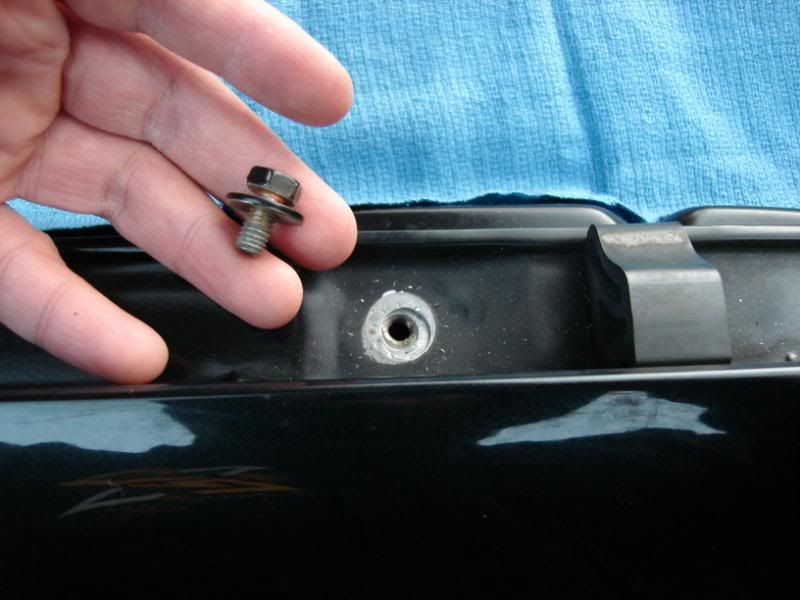
Lower: (bolt near rubber piece) 10mm
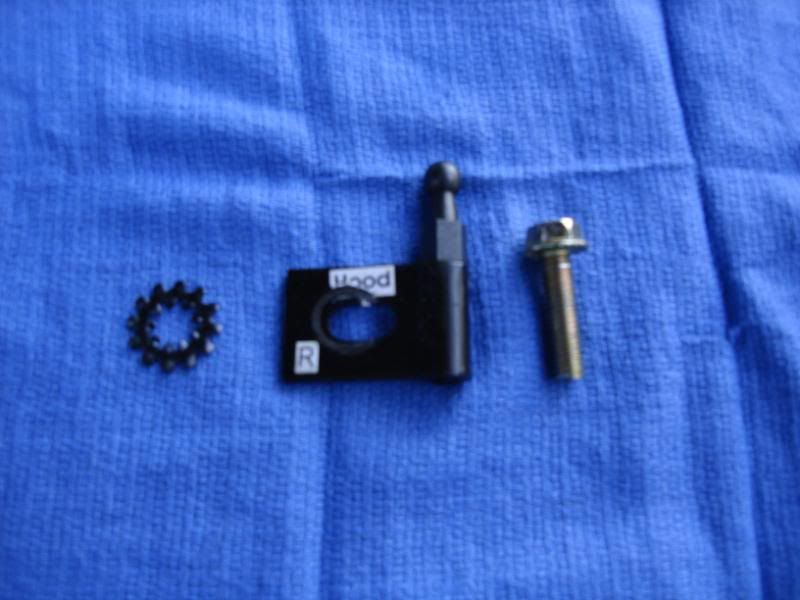
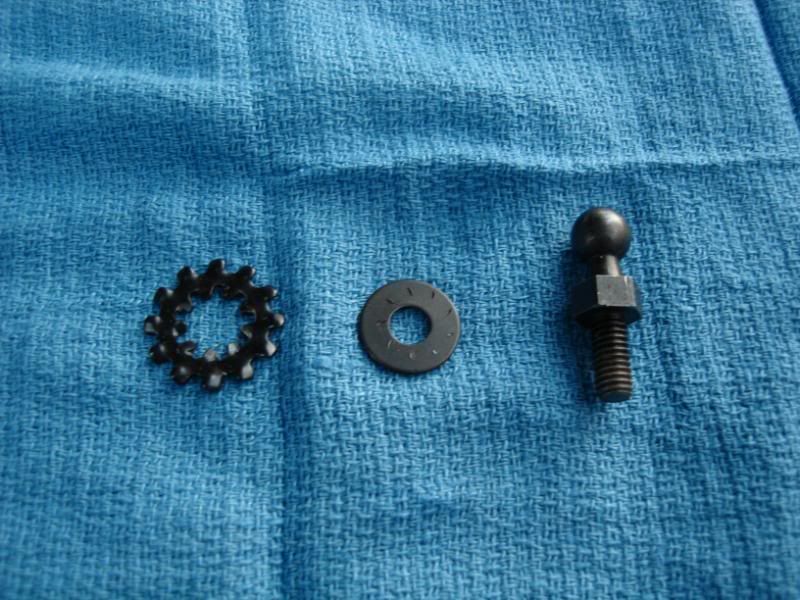
Step 2: Verify and attach parts (12mm socket) to upper bolt location
Step 3: Verify and attach parts (10mm long socket) to lower bolt location
Step 3: Attach dampers. Quick tips: be sure to remove safety clips and re-attach after dampers have been placed on. At first, the dampers are too long to be simply attached to both top and bottom locations. I attached the upper mount first, then raised the hood slightly by hand and attached the lower mount.
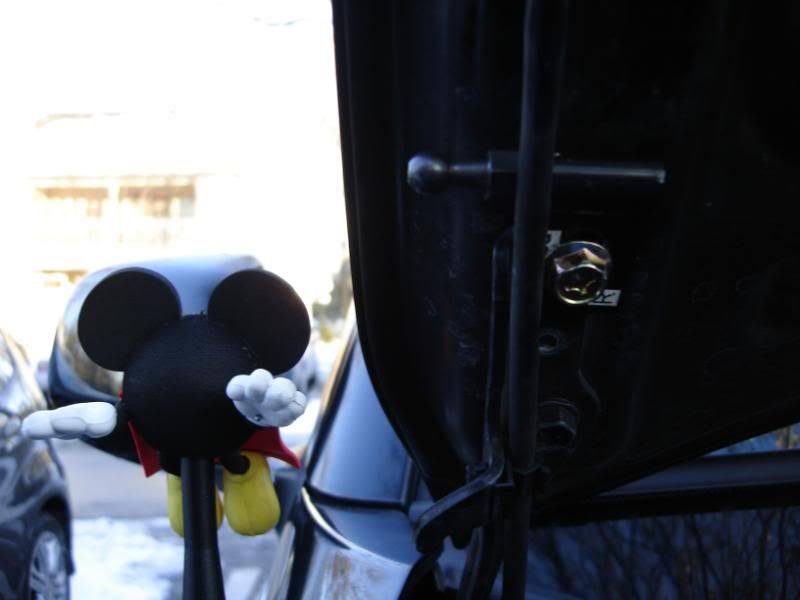
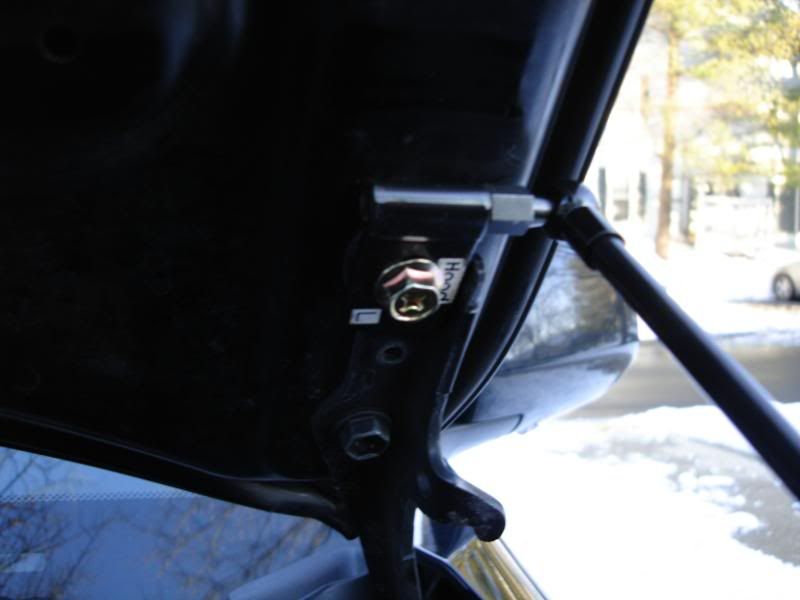
Upper Mount:
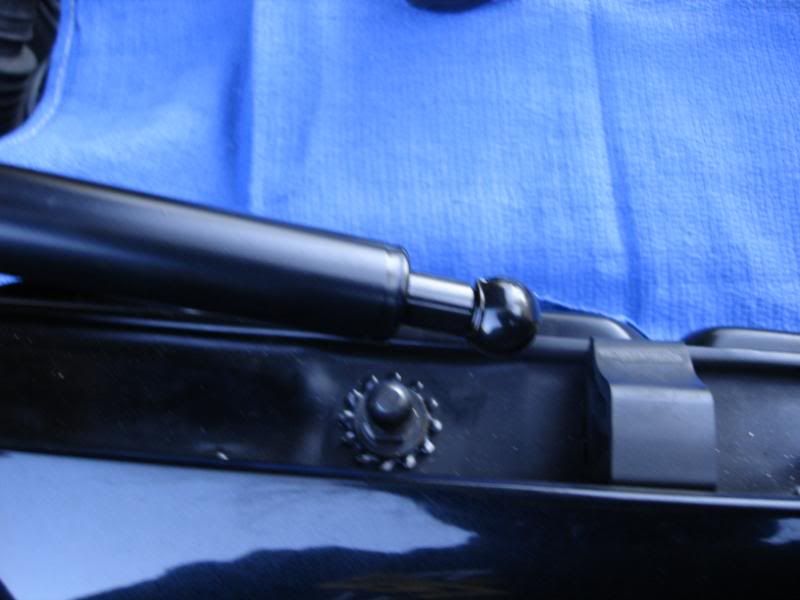
Lower mount:
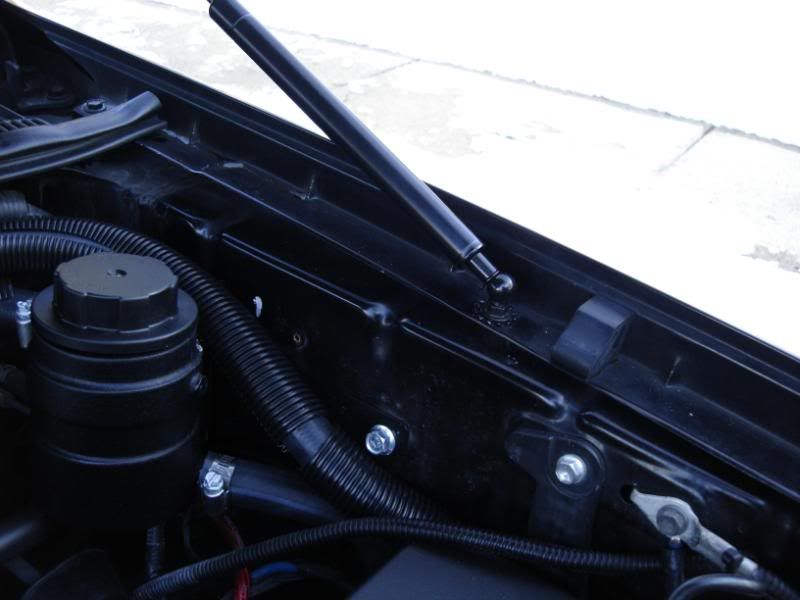
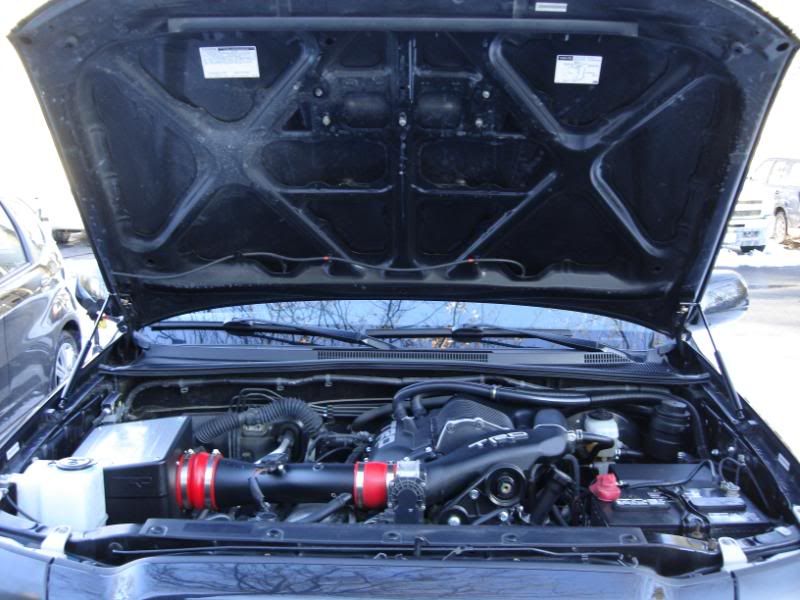
Completed Install: :top:
Review:
Pros: At $65 with free shipping, they are cheaper than the Redline brand ($69.95 plus shipping). They use factory bolt locations that require no rivoting making it easily reversible. The guy who sells them used his own X to test fit and make them which is good because we know we're not dealing with just any guy selling generic struts. He also provides great customer service over the phone if needed. I found out this as I was concerned when the dampers first did not compress by hand but he walked me through it. They are injected with nitrogen gas and have to be "broken in" initially. He recommended the same method he used which was putting them under his office chair then lowered his weight on the chair to get them to compress. Once that issue was addressed, the overall install took about 20 mins.
Of course I asked him about XRU and whether he knew about it. He said he joined a long time ago but was never much active. Hopefully this gets hims more active :laugh:
Cons: None really so far, I will update this post if I run into any. He did advise me, with these being heavy duty dampers, to guide the hood open as it raises itself. And although it works great, the top bolt should have been black like the rest of the parts instead of gold, but that's just my OCD kicking in :rolleyez::laugh:
Install:
Step 1: Locate upper and lower factory bolt locations to be removed and replaced:
Upper: (1st bolt out of the 2 that attach hood to the truck) 12mm
Lower: (bolt near rubber piece) 10mm
Step 2: Verify and attach parts (12mm socket) to upper bolt location
Step 3: Verify and attach parts (10mm long socket) to lower bolt location
Step 3: Attach dampers. Quick tips: be sure to remove safety clips and re-attach after dampers have been placed on. At first, the dampers are too long to be simply attached to both top and bottom locations. I attached the upper mount first, then raised the hood slightly by hand and attached the lower mount.
Upper Mount:
Lower mount:
Completed Install: :top: