Coupe
Active Member
- Joined
- Dec 31, 2007
- Messages
- 6,871
- Reaction score
- 15
Kit comes with:
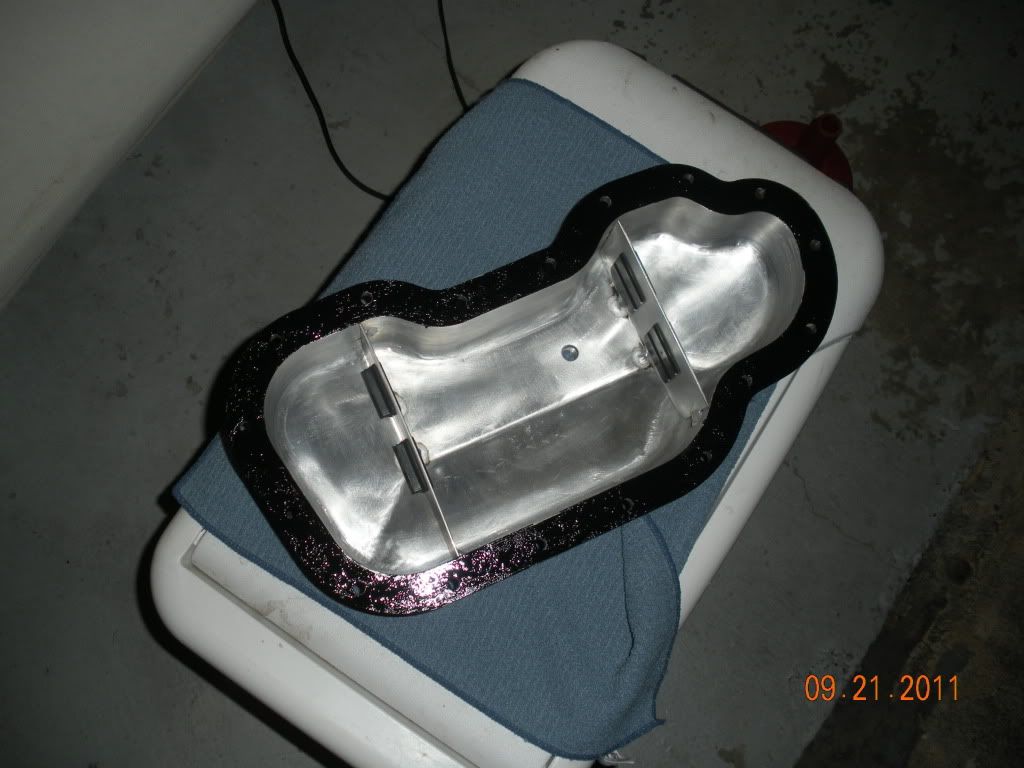
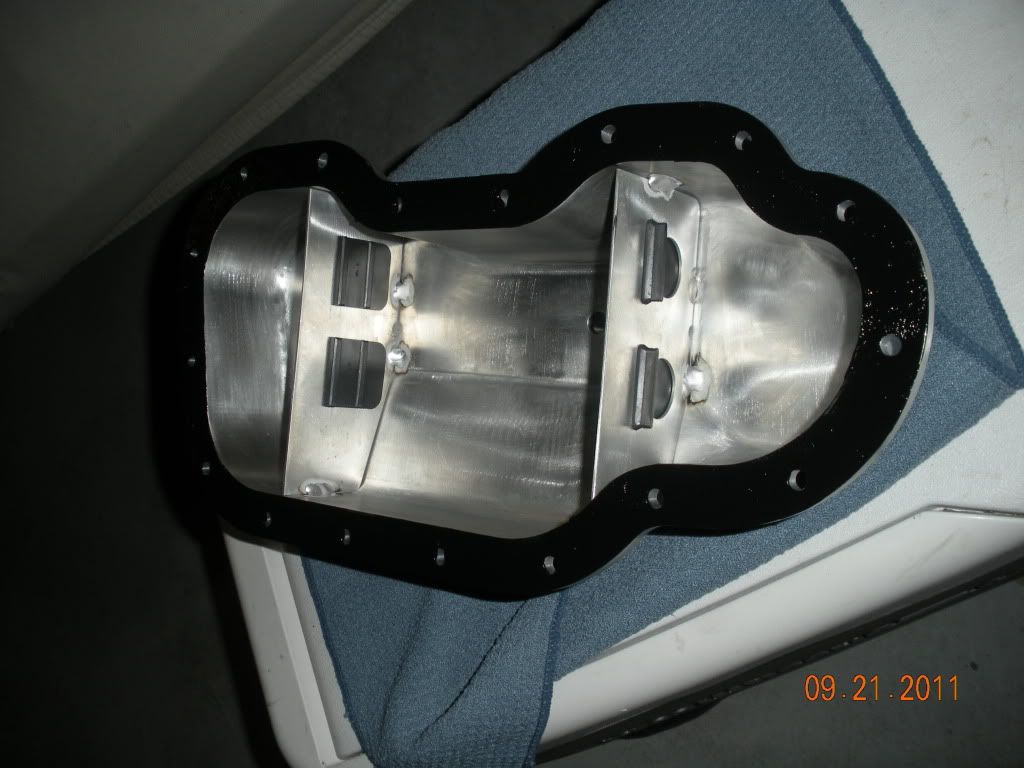
1. Oil Pan with baffles & installed BMW trap doors.
2. Tear drop oil pick up tube spacer.
3. Stainless bolts, washers & lock washers for the tear drop spacer (long bolts)
4. Two (2) Toyota gaskets for the oil pick up spacer.
5. Stainless bolts, washers & lock washers for the oil pan. (short bolts)
6. One tube of Toyota FIPG.
7. Magnetic oil pan plug w/gasket.
Drain engine oil.
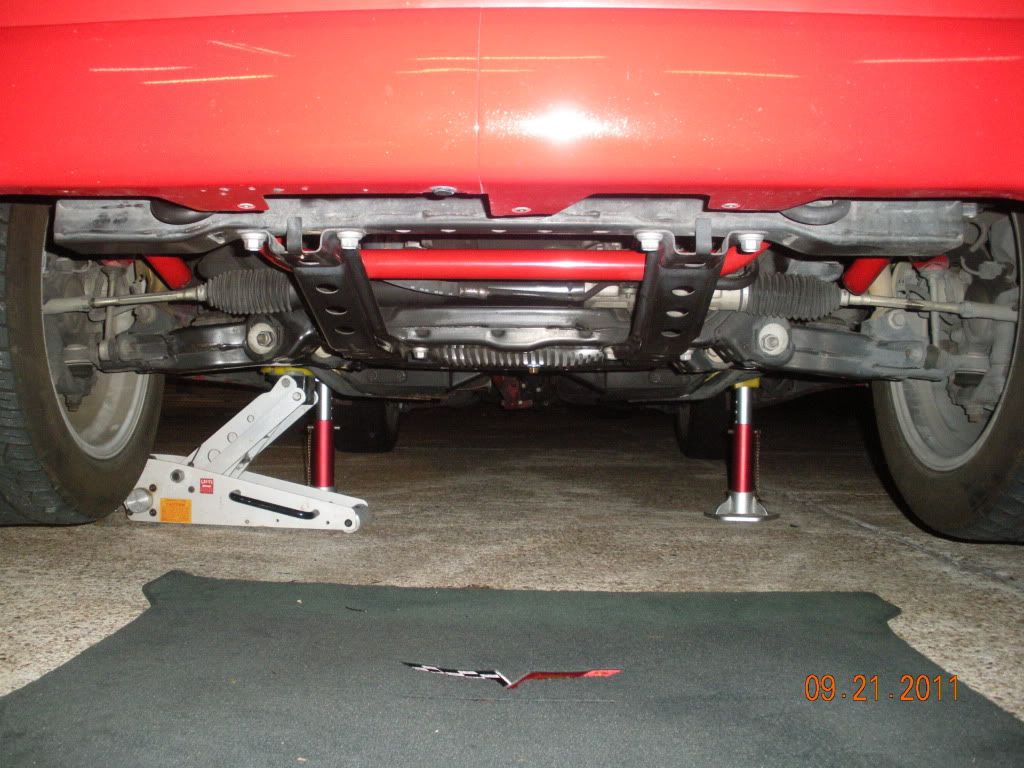
Jack up front of truck and install jack stands. Chock rear wheels.
Take all of the bolts out of the stock oil pan.
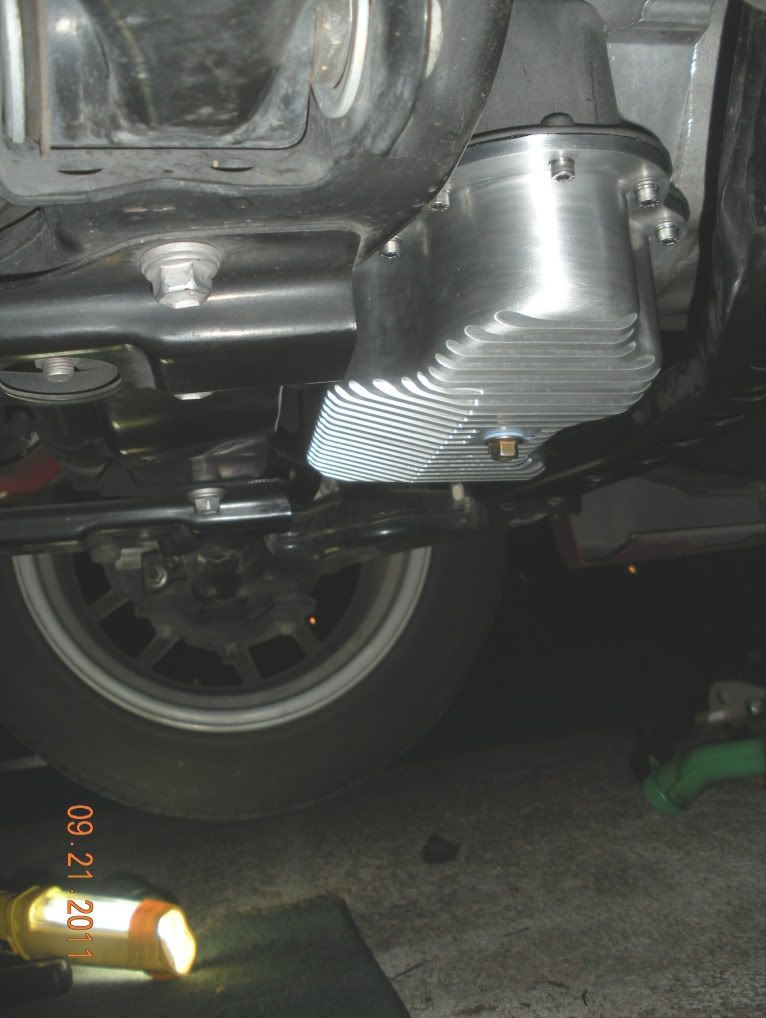
This is a pic of the stock oil pan, on the truck.

I have a valve where the drain plug is. I do not recommend this. After closer examination, it will not allow the pan to drain fully. With all of the bolts out, gently pry off oil pan. Sometimes is you take a soft faced hammer and whack it, it will pop off.
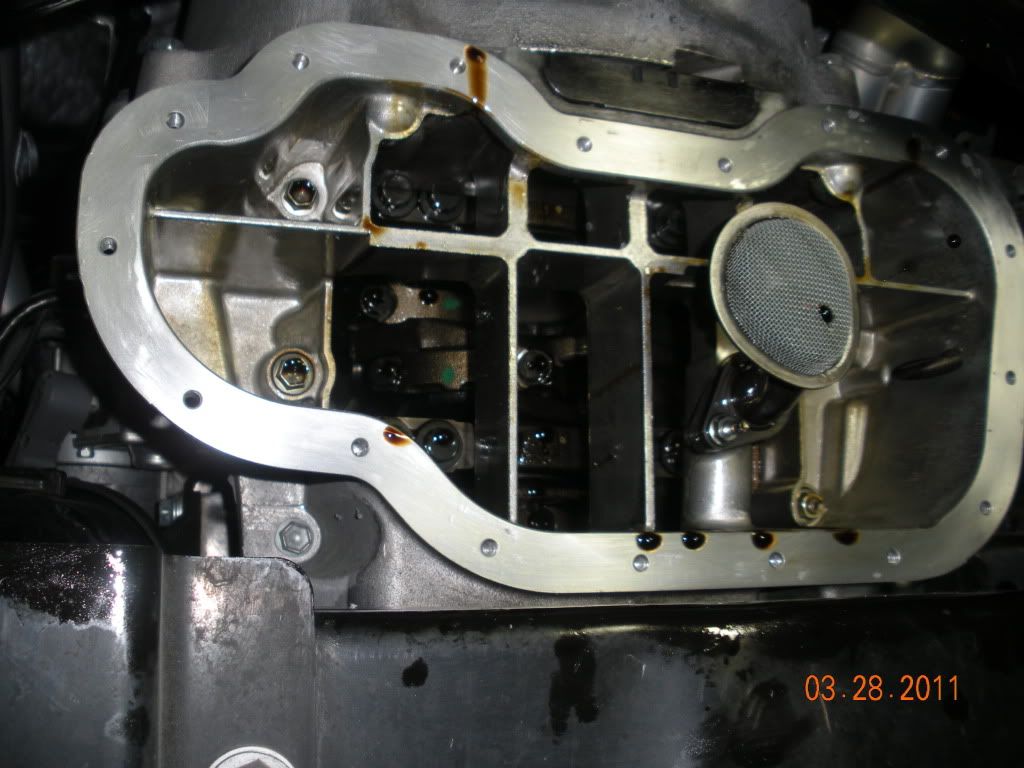
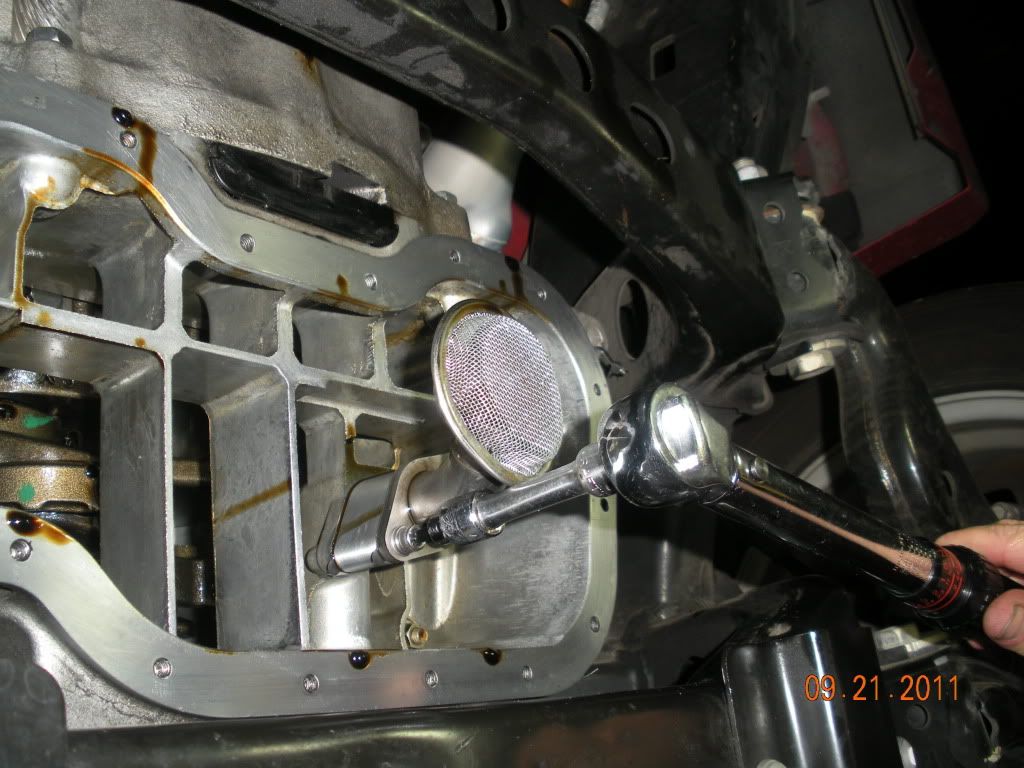
This is a pic with the stock oil pan removed. You can see the oil pick-up tube.
Clean off oil gasket material off of engine block. Steel wool does a good job of this.
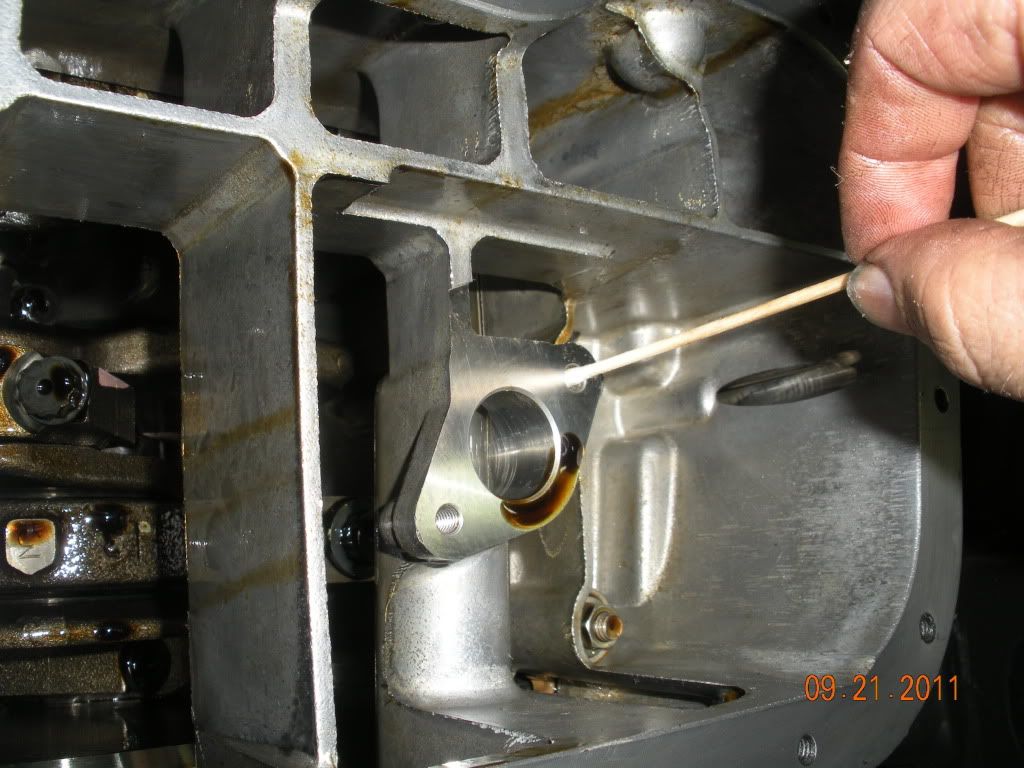
There are two bolts that hold the oil pick up tube to the engine block. Remove these.
I use a Q-tip and clean the oil out of the bolt holes. I am going to use loc-tite on these screws and I want it to get a good grip.
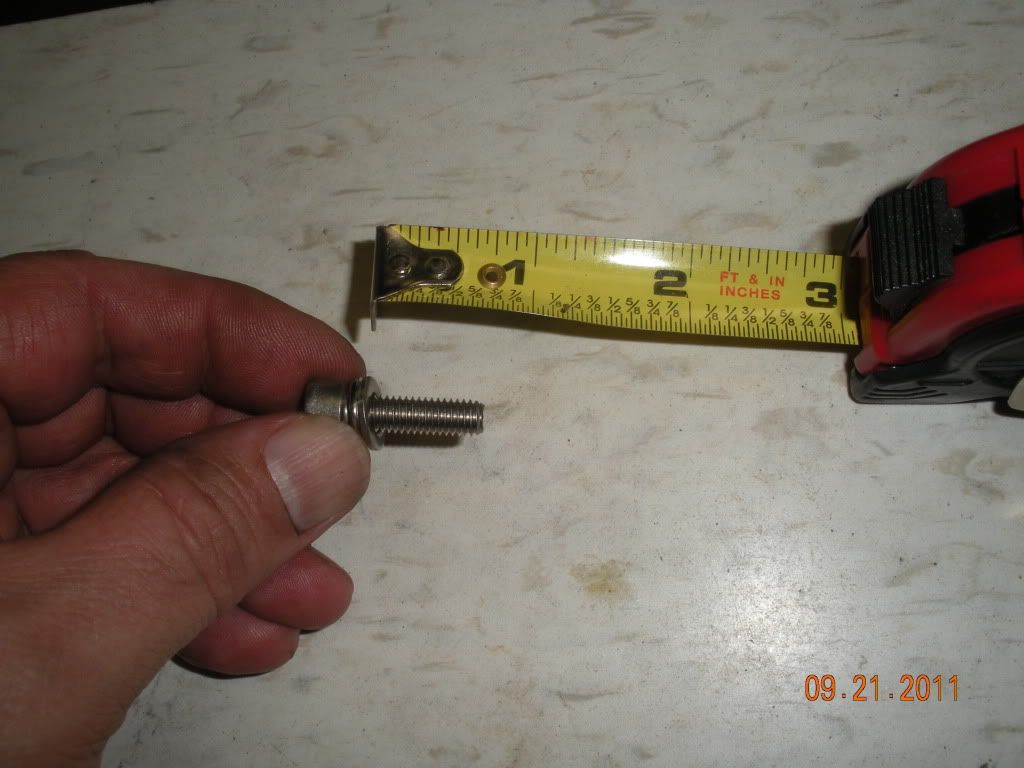
The kit comes with a tear drop spacer. Place one gasket on each side of this spacer.
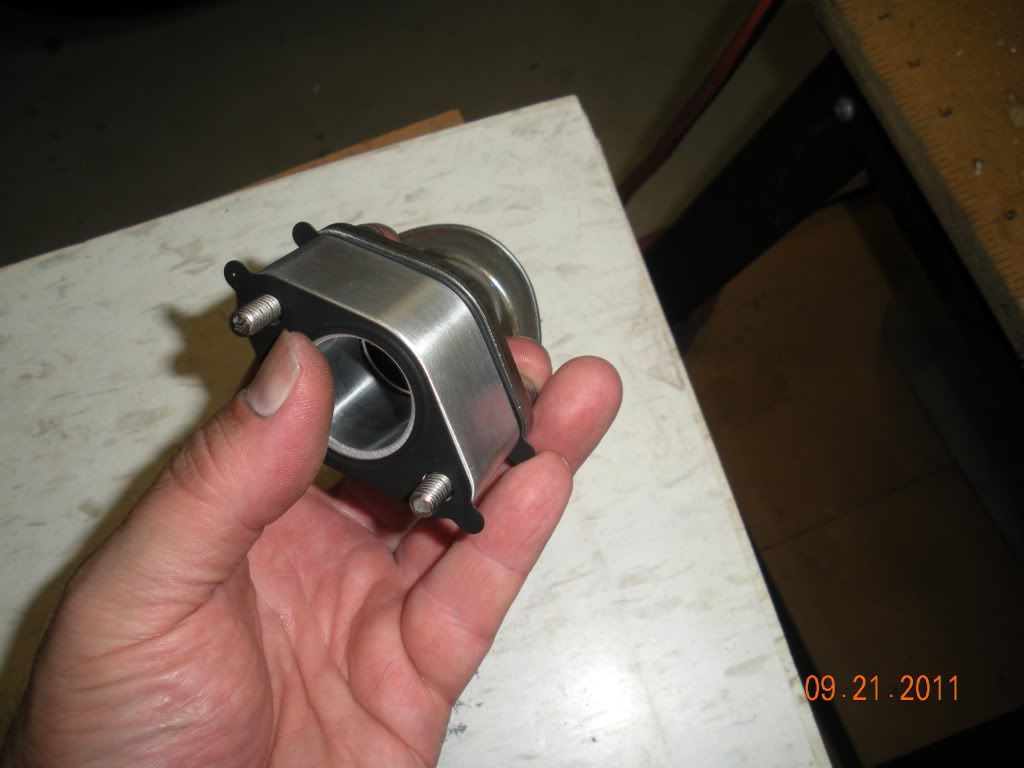
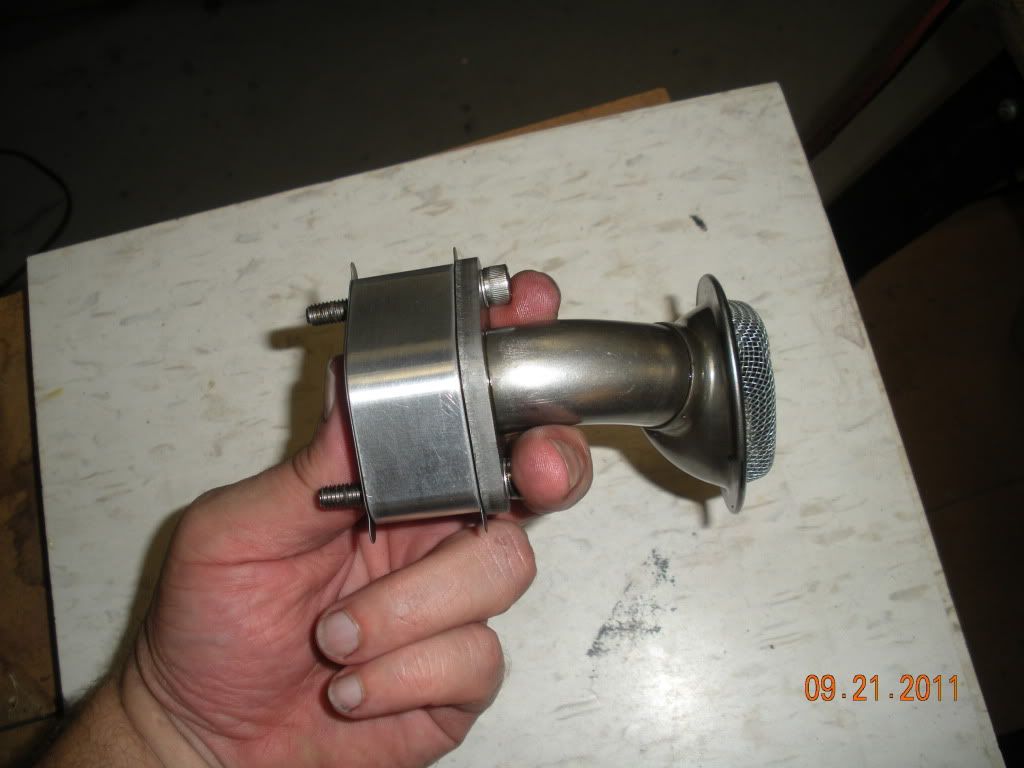
The oil pick up tube goes on one side, the engine block on the other side. The kit comes with longer stainless bolts, washers & lock washers. I use a blue loctite (242) on the threads. Toyota says to torque the bolts to 80 in/lbs. I went a little higher to 100 in/lbs.
Go put your oil pan bolts, washers & lock washers together and place conveniently to yourself under the truck.
This is an important step. The Toyota FIPG is time sensitive. You need to install the pan in 15 minutes after coating the flange on the oil pan.
Paint the flange of the oil pan with the Toyota FIPG. You just need a thin coat. DO NOT GOOP IT UP.
I just used my finger to spread a thin coat over the flange.
Wipe the engine block flange once more time, before installing pan. You will find that the oil constantly drips from the engine, during this install.
Place the pan on the engine and put a few bolts in the pan and hand tighten. Put the rest of the bolts in the oil pan and hand tighten.
I set my torque wrench at 50 in/lbs. Torque from the inside and work your way outward. See diagram. Follow 1, 2, 3, etc.
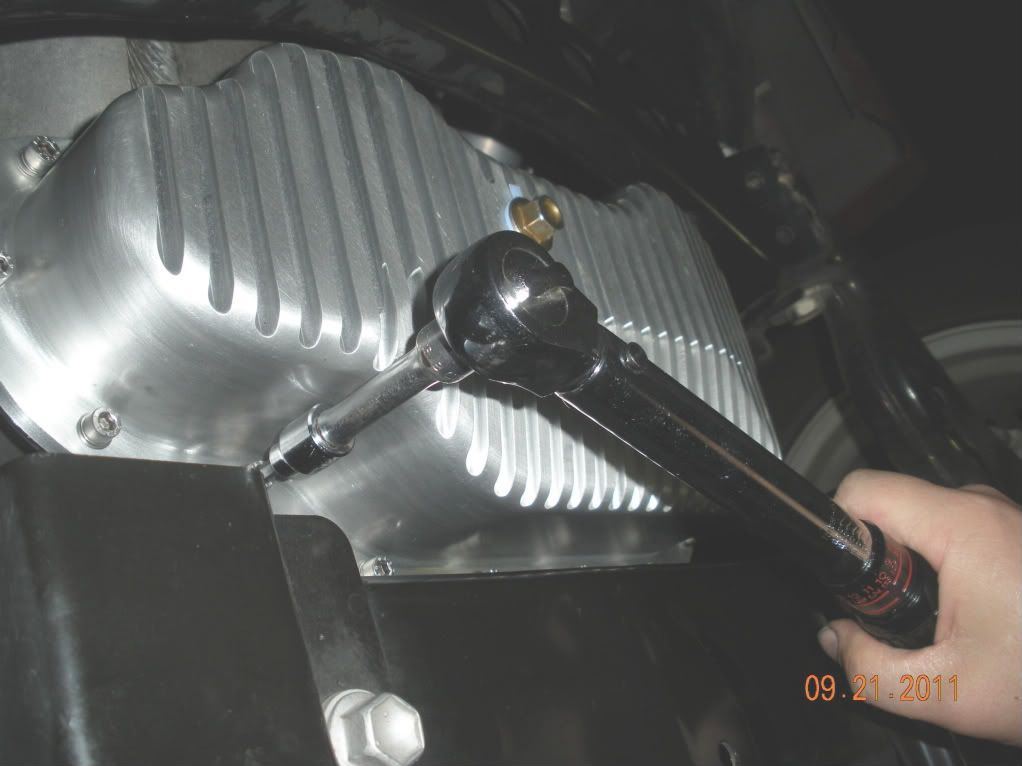
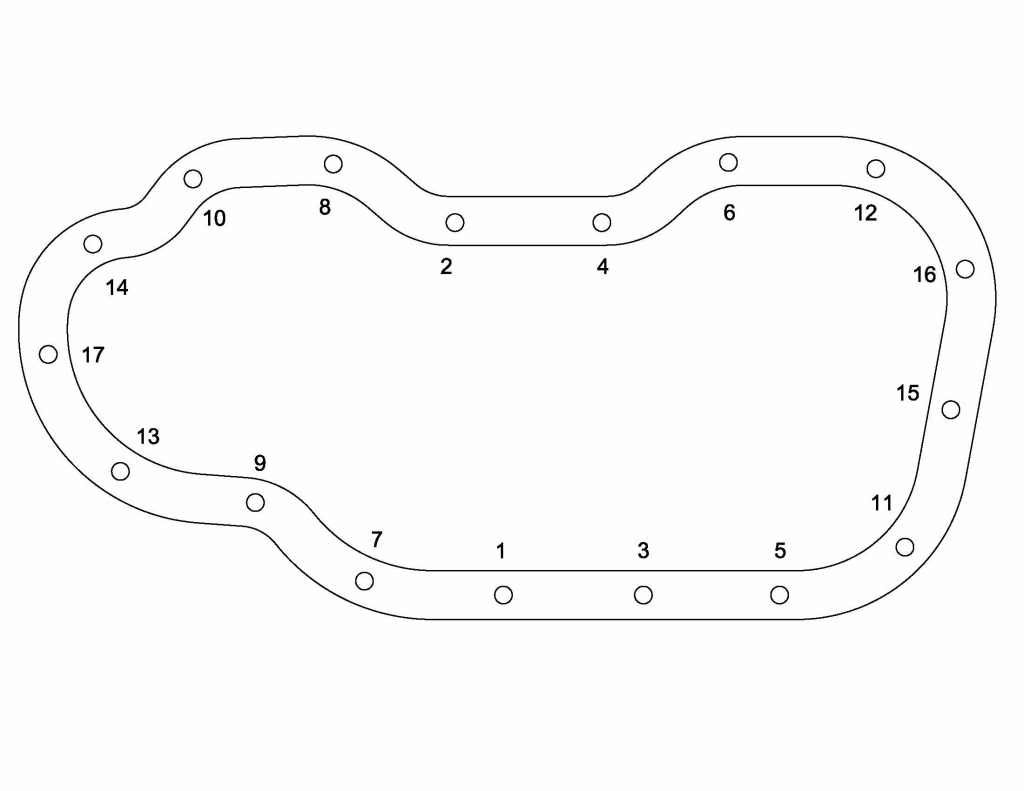
Don't let the torque sequence overwhelm you. You want to start in the middle of the pan and criss cross to the ends.
Then I set the wrench at 100 in /lbs (Toyota says 80 in/lbs). Do the same torque procedure. Do 1, 2, 3, etc.
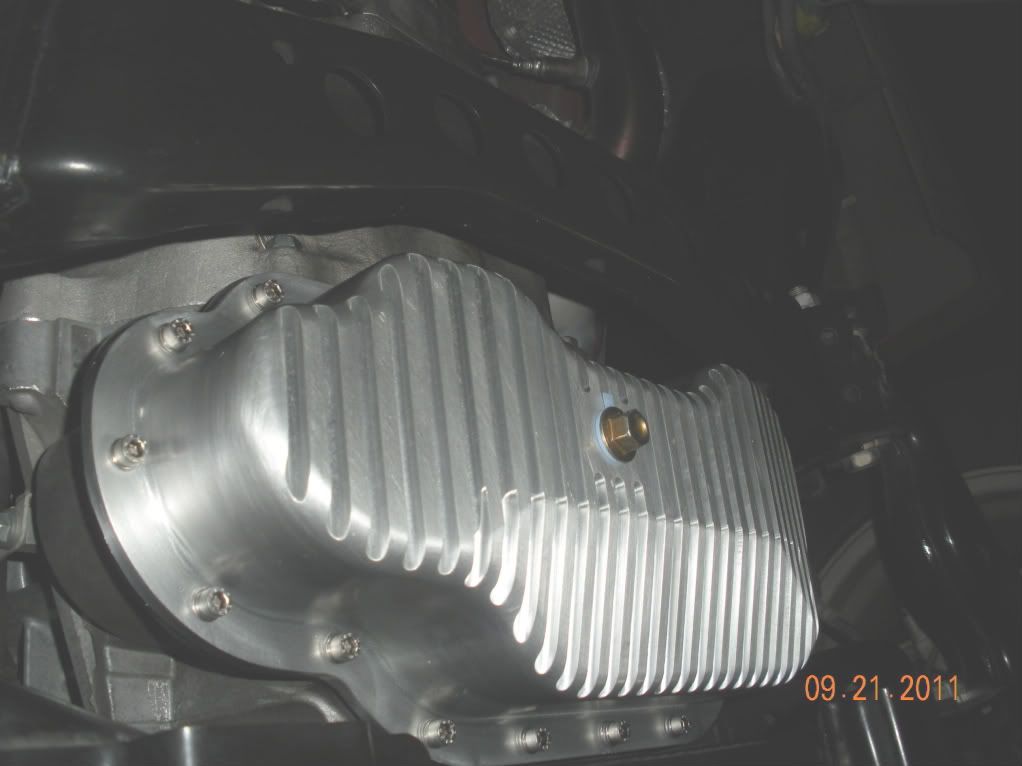
I let the pan set for a few hours to let the Toyota FIPG get a good bond.
Put the drain plug in the pan and tighten.
Replace oil filter.
Fill pan with 7 quarts of oil. Start engine. Let run for a minute and turn off engine.
Check oil. You may need to add ¼ ~ ½ quart depending on your oil filter size.
Run for a few minutes and check for oil leaks.
1. Oil Pan with baffles & installed BMW trap doors.
2. Tear drop oil pick up tube spacer.
3. Stainless bolts, washers & lock washers for the tear drop spacer (long bolts)
4. Two (2) Toyota gaskets for the oil pick up spacer.
5. Stainless bolts, washers & lock washers for the oil pan. (short bolts)
6. One tube of Toyota FIPG.
7. Magnetic oil pan plug w/gasket.
Drain engine oil.
Jack up front of truck and install jack stands. Chock rear wheels.
Take all of the bolts out of the stock oil pan.
This is a pic of the stock oil pan, on the truck.
I have a valve where the drain plug is. I do not recommend this. After closer examination, it will not allow the pan to drain fully. With all of the bolts out, gently pry off oil pan. Sometimes is you take a soft faced hammer and whack it, it will pop off.
This is a pic with the stock oil pan removed. You can see the oil pick-up tube.
Clean off oil gasket material off of engine block. Steel wool does a good job of this.
There are two bolts that hold the oil pick up tube to the engine block. Remove these.
I use a Q-tip and clean the oil out of the bolt holes. I am going to use loc-tite on these screws and I want it to get a good grip.
The kit comes with a tear drop spacer. Place one gasket on each side of this spacer.
The oil pick up tube goes on one side, the engine block on the other side. The kit comes with longer stainless bolts, washers & lock washers. I use a blue loctite (242) on the threads. Toyota says to torque the bolts to 80 in/lbs. I went a little higher to 100 in/lbs.
Go put your oil pan bolts, washers & lock washers together and place conveniently to yourself under the truck.
This is an important step. The Toyota FIPG is time sensitive. You need to install the pan in 15 minutes after coating the flange on the oil pan.
Paint the flange of the oil pan with the Toyota FIPG. You just need a thin coat. DO NOT GOOP IT UP.
I just used my finger to spread a thin coat over the flange.
Wipe the engine block flange once more time, before installing pan. You will find that the oil constantly drips from the engine, during this install.
Place the pan on the engine and put a few bolts in the pan and hand tighten. Put the rest of the bolts in the oil pan and hand tighten.
I set my torque wrench at 50 in/lbs. Torque from the inside and work your way outward. See diagram. Follow 1, 2, 3, etc.
Don't let the torque sequence overwhelm you. You want to start in the middle of the pan and criss cross to the ends.
Then I set the wrench at 100 in /lbs (Toyota says 80 in/lbs). Do the same torque procedure. Do 1, 2, 3, etc.
I let the pan set for a few hours to let the Toyota FIPG get a good bond.
Put the drain plug in the pan and tighten.
Replace oil filter.
Fill pan with 7 quarts of oil. Start engine. Let run for a minute and turn off engine.
Check oil. You may need to add ¼ ~ ½ quart depending on your oil filter size.
Run for a few minutes and check for oil leaks.