bombs
"Affliction Guy"
- Joined
- Feb 19, 2011
- Messages
- 700
- Reaction score
- 0
I was lucky enough to get my hands on a Coupe custom B&M shifter. This thing is incredible! And the best part is that it was quick and easy to install!
So with that being said, here's what all I used:
10mm socket w/extension
12mm socket w/deep extension
Philips/flat head screwdriver
Silicon sealant
#6 Allan key
small hammer
Oops! all purpose remover
Note: It is important to cover the seats and anything else you could possibly come into contact with. I didn't have my whole seat covered and silicon went everywhere! Lol
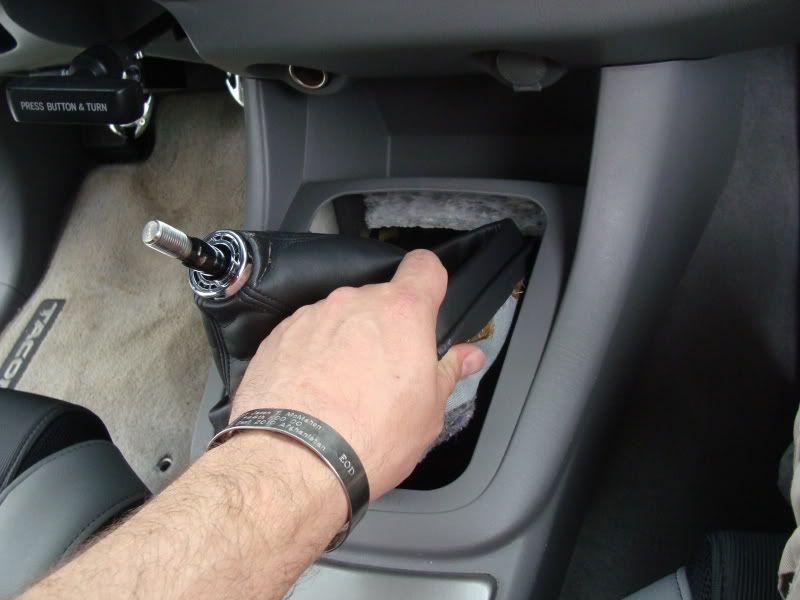
I started with removing the shift ball and the shifter cover
Note: This step is not needed if you are not going to pull the boot up flush to the shift ball. You can remove the front center console piece as one to eliminate steps.
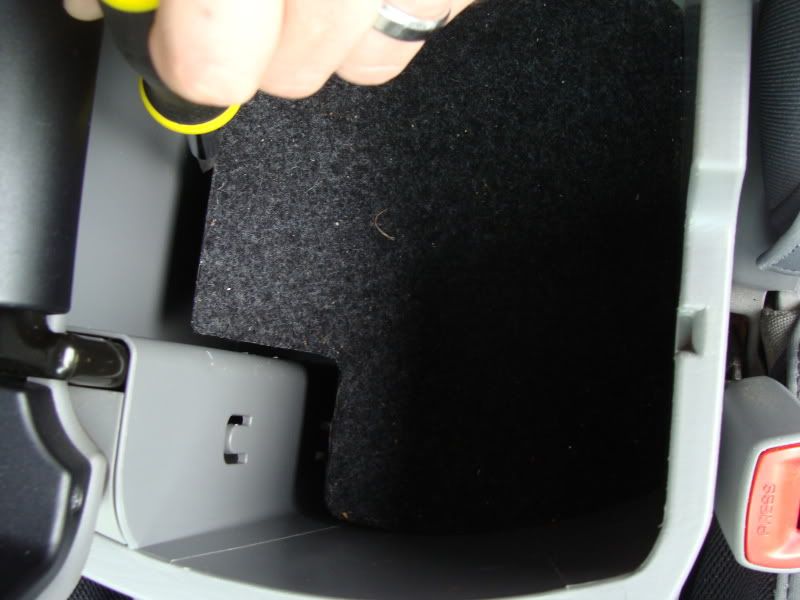
You can remove the cup holder by pulling it straight up and it easily separates.
After that open the center console and stick a flat head screw driver or knife between the side of the wall and the carpeted bottom to pull it up and out of the console to expose the two bolts below. Remove those bolts and move back to where the center console was.
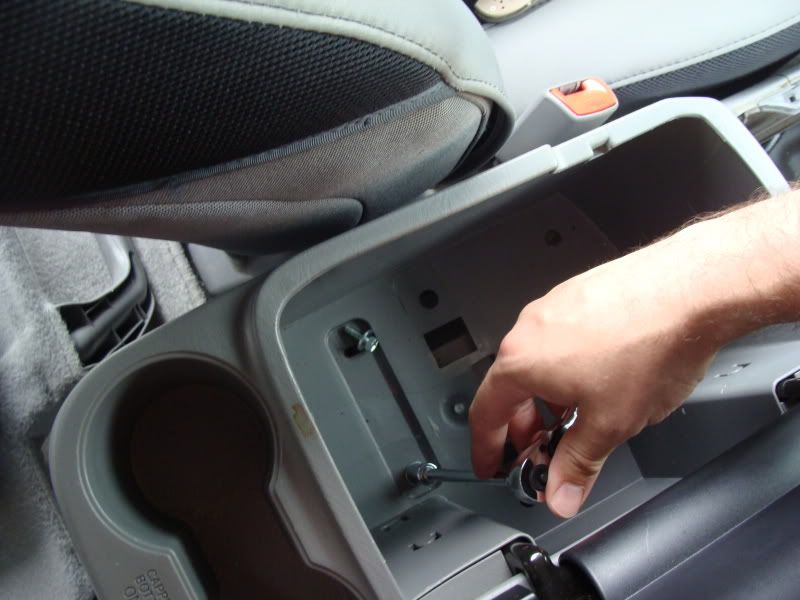
There are four black Philips screws that you can remove.
Note: With all screws and nuts, you want to retain them until you're done so that they can be used again, or to make sure that a replacement isn't needed.

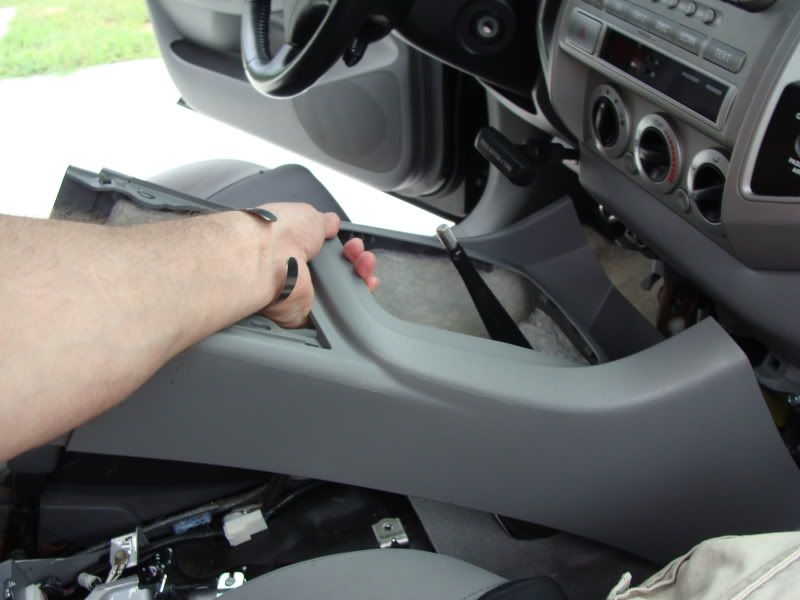
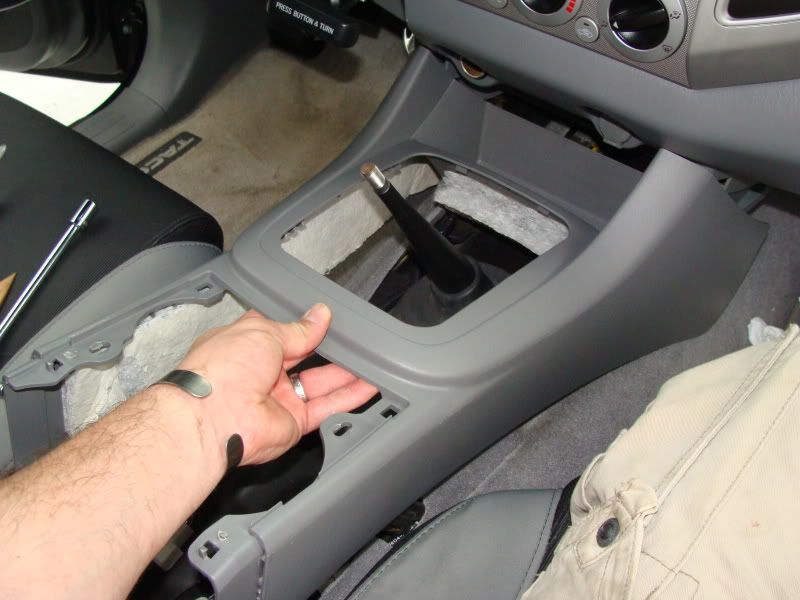
After you have removed the two black screws holding the center console and the two 10mm bolts you can pull the center console straight out.
Then pull the other section out at a small angle, it slides out pretty easily.
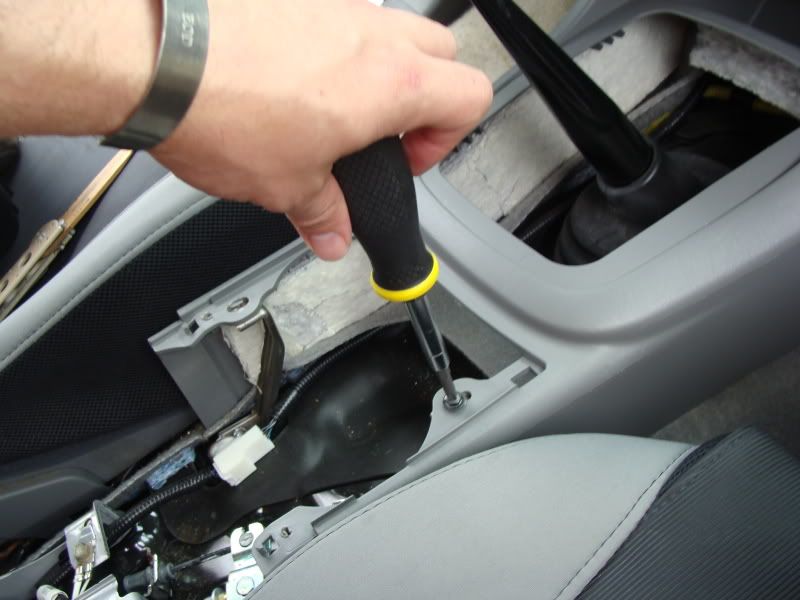
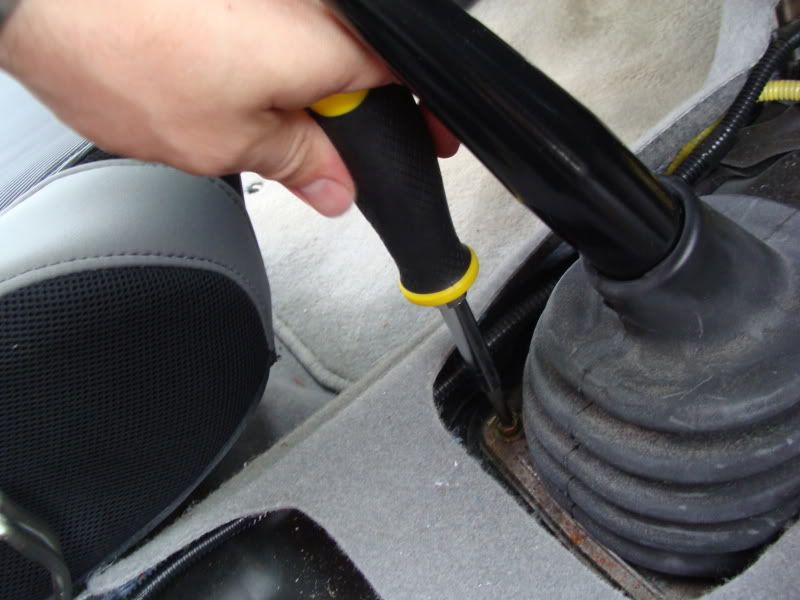
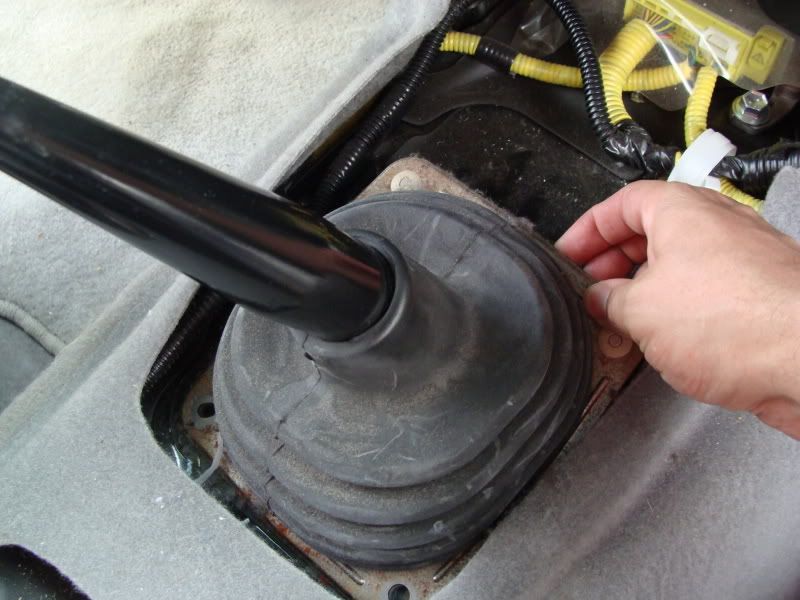
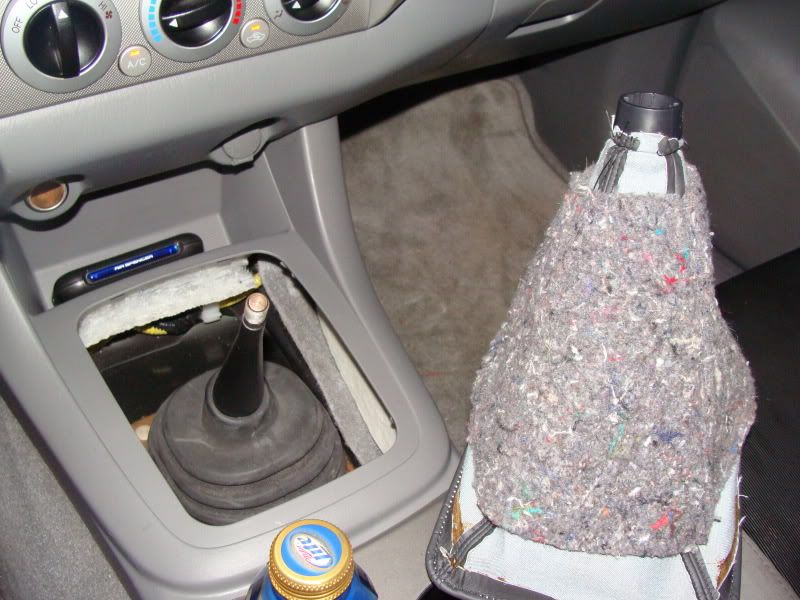
The boot cover is really easy. There are two screws, goldish in color that need to be removed. Once you have them removed, carefully pop out the top retaining plastic pieces and save them for later as well.

Note: Now is a good time to clean everything. All of your center console pieces, and some other pieces as well. You know that you're not going to see it for a long time, might as well get that piece of pepperoni that you lost a year ago")
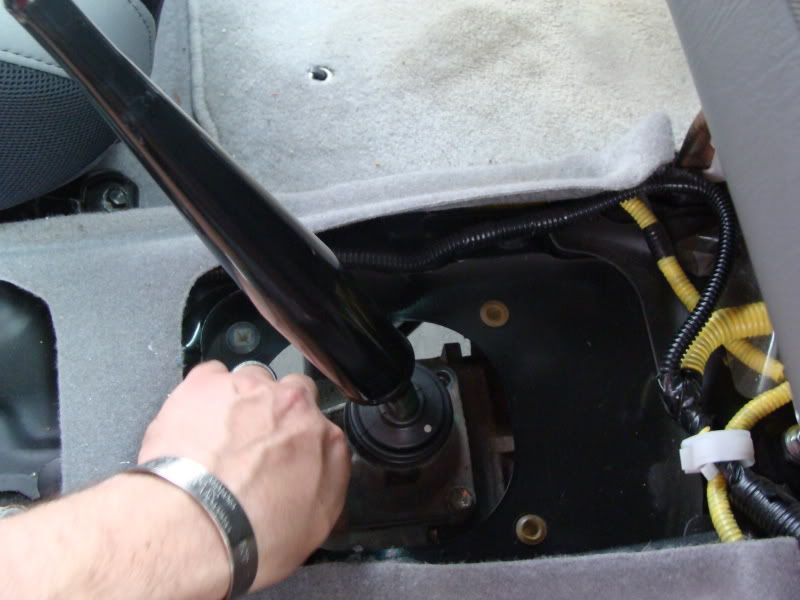
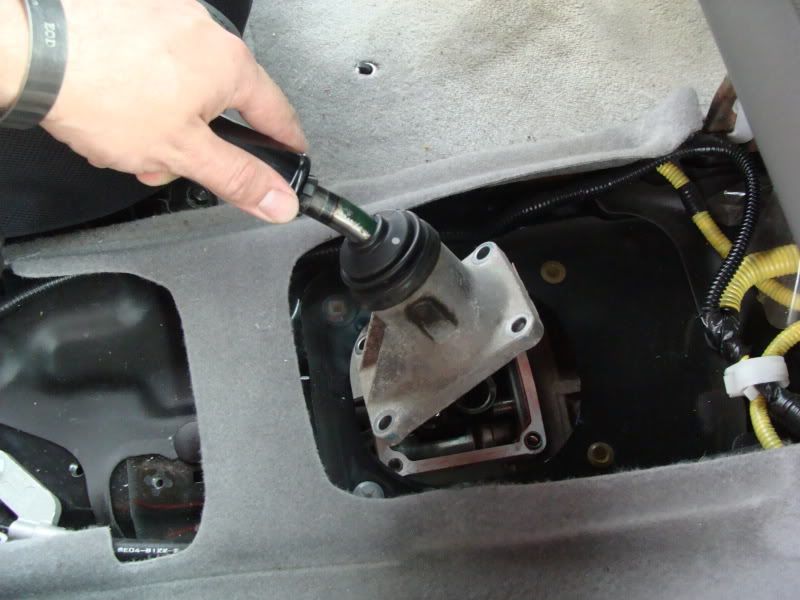
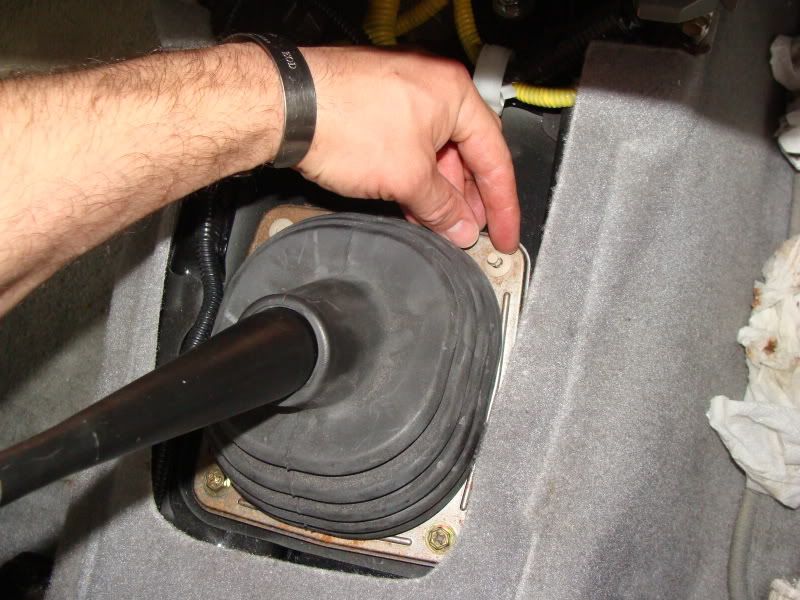
There are four 10mm screws holding the shifter on, and they're not very tight. After you've removed them you can give the shifter a little "love tap" as you're lifting it up and it will come right off.
Place a rag in the transmission that is showing so you don't get anything in there.
I used Oops! all-purpose remover to remove any residue left over from the old silicon and it worked great. After it's cleaned out give it a second rub with your finger to make sure it's smooth and good to go.
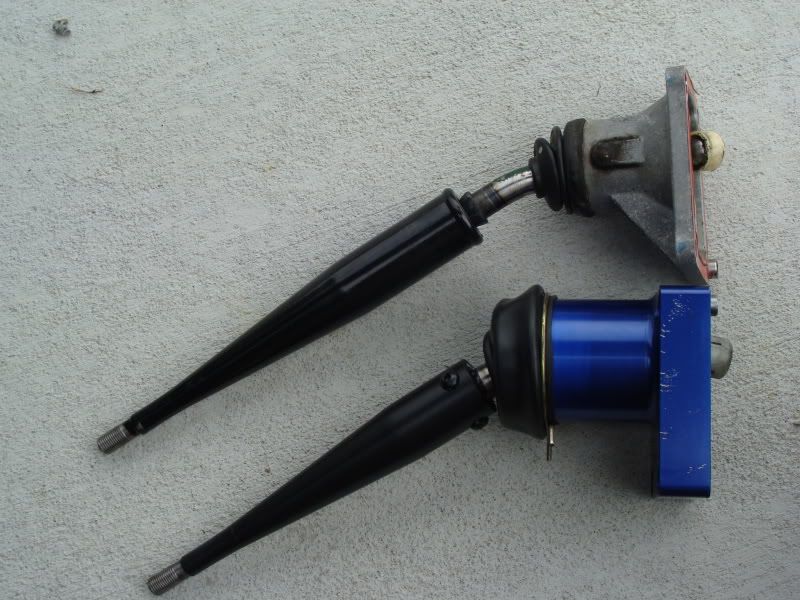
Here's the B&M(bottom) compared to the stock(top) shifters.
Now that we've had some time to gawk and awe about the new shifter we're about to put in, let's get back to business.
Apply the silicon to the bottom of the shifter
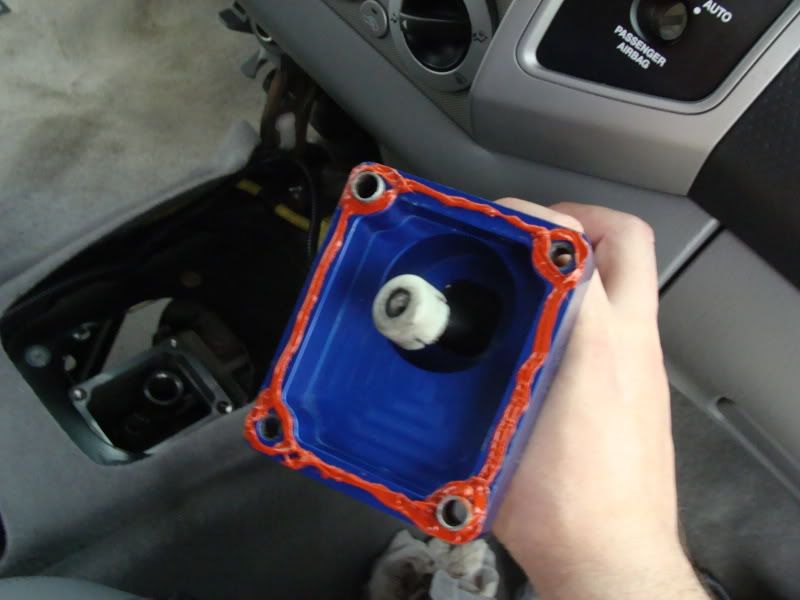
When you put this in, try and feel for the knuckle, or ball go into the shifter. then you wiggle it a little bit until you can get the holes to line in place. the metal guides help you find the holes and get it seated properly.
Once you have it on start placing your new bolts in and tightening them with the #6 Allen key
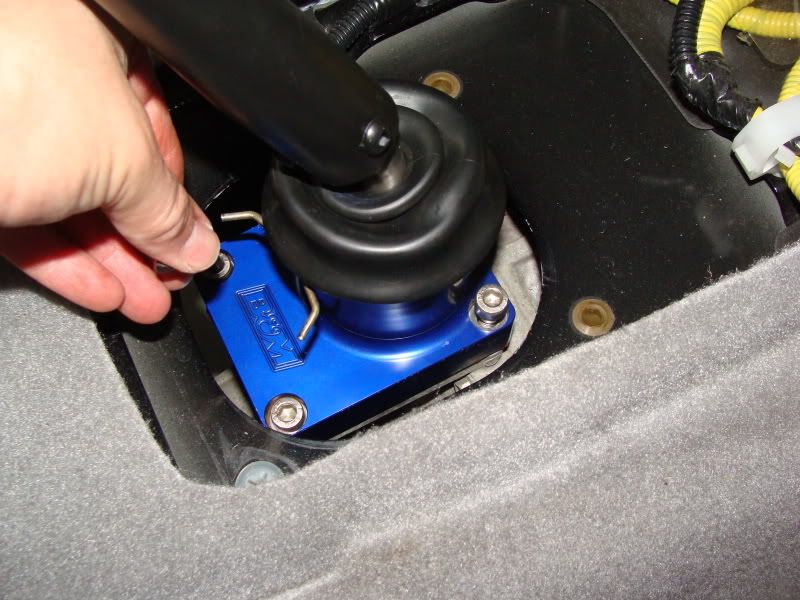
When I was placing the boot back on, I found it a little difficult the get it to line up easily, so I started with the bottom and started the two screws where they were supposed to be with the boot on. Then I lined up my holes for the plastic pieces. once they're lined up, snap them in place then tighten your screws.
After that it's reverse order for putting everything back together.
Note: This is if you want to remove the extra space from the shifter
Once you have everything together except the shifter cover you want to turn it inside out and remove the black piece on the bottom. Take your threaded nut and place it on first, followed by your shift ball. You may need to remove it and adjust the nut to make sure it sits in the position you want it at.
Snap your last pieces into place and you're all done!
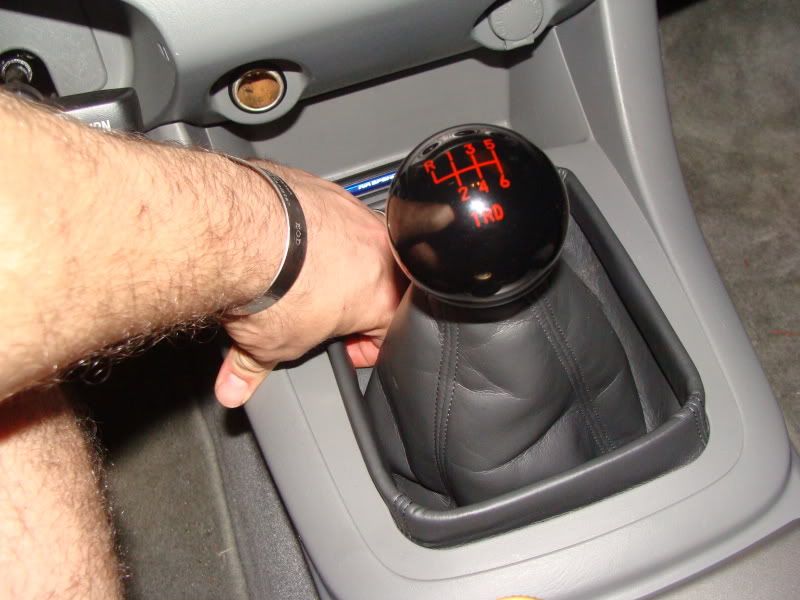
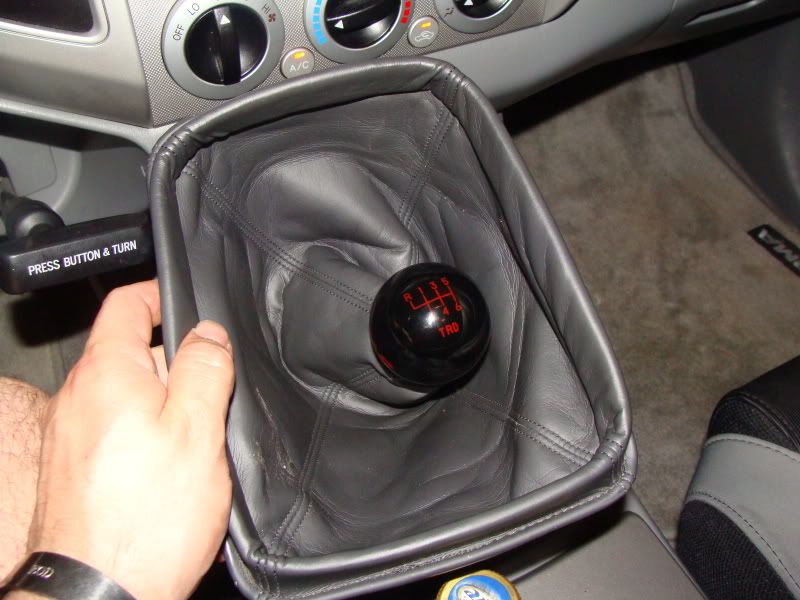
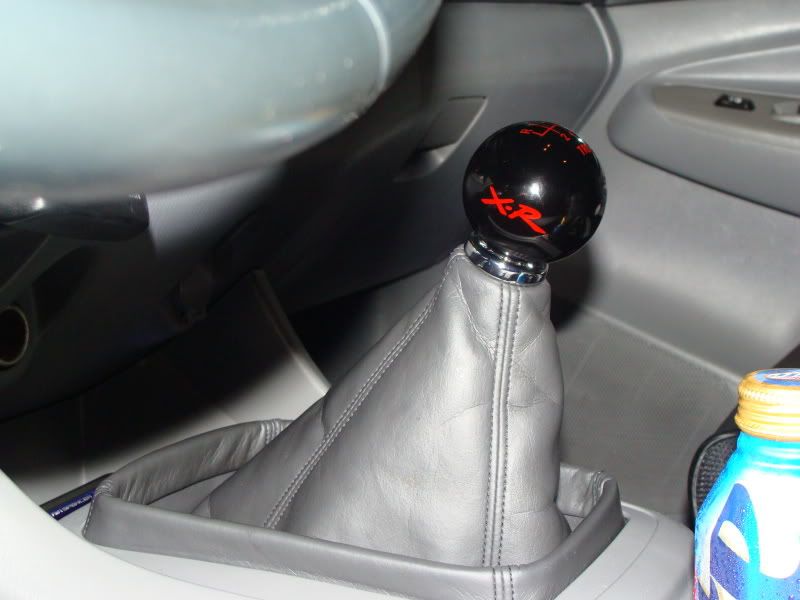
SO Here are the before and after pics. The after pics, the first is without having the boot brought up, and the second is with having it done. I did it without so you could see the difference in the height.
Before:

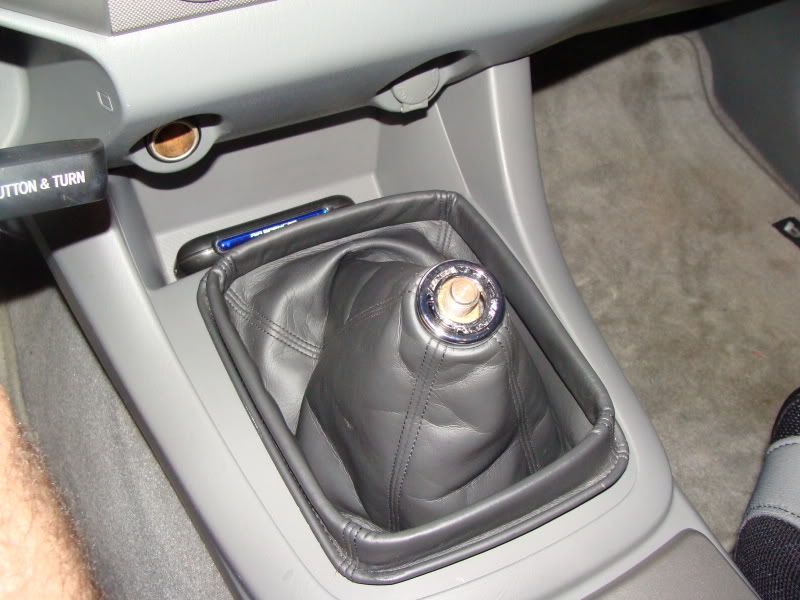
After:

After, with the shift boot mod:
So with that being said, here's what all I used:
10mm socket w/extension
12mm socket w/deep extension
Philips/flat head screwdriver
Silicon sealant
#6 Allan key
small hammer
Oops! all purpose remover
Note: It is important to cover the seats and anything else you could possibly come into contact with. I didn't have my whole seat covered and silicon went everywhere! Lol
I started with removing the shift ball and the shifter cover
Note: This step is not needed if you are not going to pull the boot up flush to the shift ball. You can remove the front center console piece as one to eliminate steps.
You can remove the cup holder by pulling it straight up and it easily separates.
After that open the center console and stick a flat head screw driver or knife between the side of the wall and the carpeted bottom to pull it up and out of the console to expose the two bolts below. Remove those bolts and move back to where the center console was.
There are four black Philips screws that you can remove.
Note: With all screws and nuts, you want to retain them until you're done so that they can be used again, or to make sure that a replacement isn't needed.
After you have removed the two black screws holding the center console and the two 10mm bolts you can pull the center console straight out.
Then pull the other section out at a small angle, it slides out pretty easily.
The boot cover is really easy. There are two screws, goldish in color that need to be removed. Once you have them removed, carefully pop out the top retaining plastic pieces and save them for later as well.
Note: Now is a good time to clean everything. All of your center console pieces, and some other pieces as well. You know that you're not going to see it for a long time, might as well get that piece of pepperoni that you lost a year ago
There are four 10mm screws holding the shifter on, and they're not very tight. After you've removed them you can give the shifter a little "love tap" as you're lifting it up and it will come right off.
Place a rag in the transmission that is showing so you don't get anything in there.
I used Oops! all-purpose remover to remove any residue left over from the old silicon and it worked great. After it's cleaned out give it a second rub with your finger to make sure it's smooth and good to go.
Here's the B&M(bottom) compared to the stock(top) shifters.
Now that we've had some time to gawk and awe about the new shifter we're about to put in, let's get back to business.
Apply the silicon to the bottom of the shifter
When you put this in, try and feel for the knuckle, or ball go into the shifter. then you wiggle it a little bit until you can get the holes to line in place. the metal guides help you find the holes and get it seated properly.
Once you have it on start placing your new bolts in and tightening them with the #6 Allen key
When I was placing the boot back on, I found it a little difficult the get it to line up easily, so I started with the bottom and started the two screws where they were supposed to be with the boot on. Then I lined up my holes for the plastic pieces. once they're lined up, snap them in place then tighten your screws.
After that it's reverse order for putting everything back together.
Note: This is if you want to remove the extra space from the shifter
Once you have everything together except the shifter cover you want to turn it inside out and remove the black piece on the bottom. Take your threaded nut and place it on first, followed by your shift ball. You may need to remove it and adjust the nut to make sure it sits in the position you want it at.
Snap your last pieces into place and you're all done!
SO Here are the before and after pics. The after pics, the first is without having the boot brought up, and the second is with having it done. I did it without so you could see the difference in the height.
Before:
After:
After, with the shift boot mod:
Last edited: